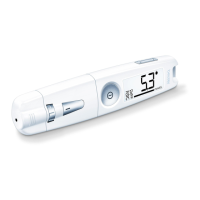
Beurer GL50 mmol/L 15
6
Reattach the clip to the rear of the monitor. Fit the lancing device and monitor back together.
Note
•
If the replace battery symbol appears, it means that the batteries are almost empty. Replace
both batteries as soon as possible.
•
If “ LP” appears on the display, the battery power level is so low that no more measurements can be
taken.
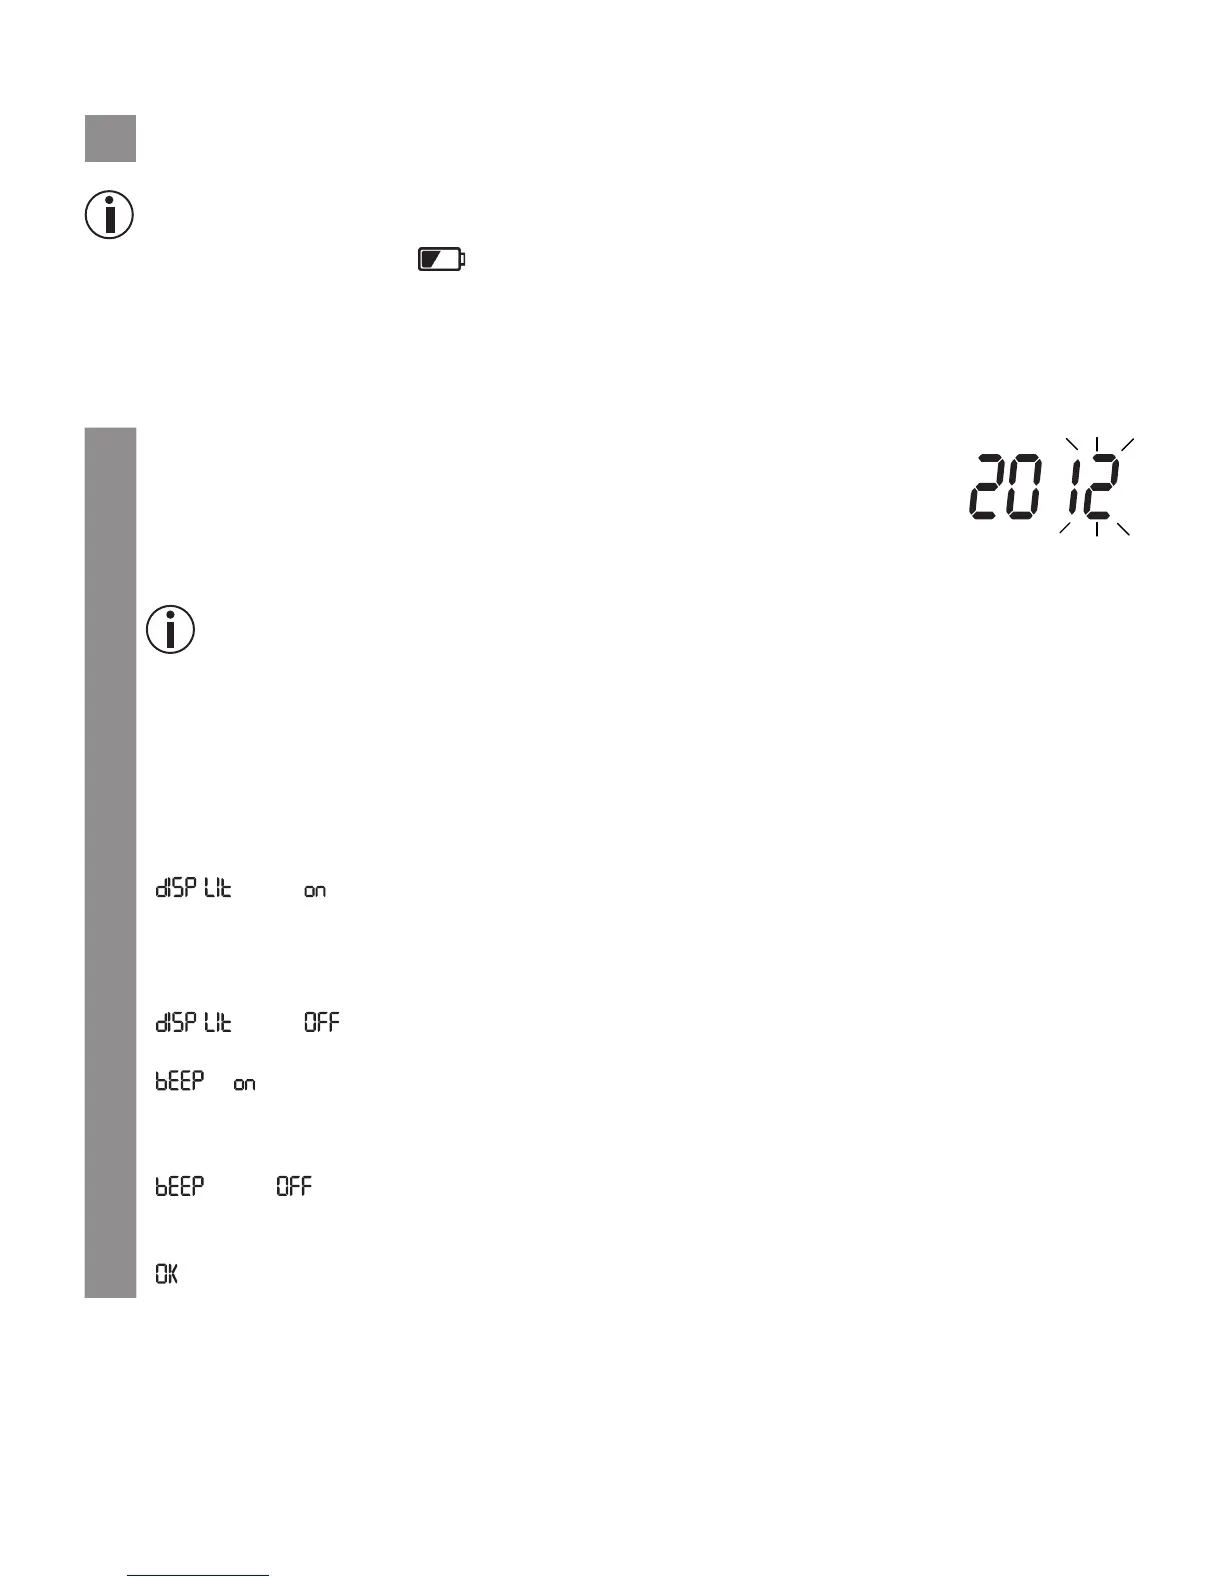
4.2 Making and changing basic settings
1
Remove the batteries and reinsert them. Alternatively, hold down the “+” but-
ton and the ON/OFF button for a minimum of five seconds.
An acoustic signal sounds.
The year display flashes.
2
Setting the date and time
Note
•
You must set the date and time. Otherwise, you will not be able to save your measured values
correctly with a date and time and access them again later.
•
The time is displayed in the 24-hour format.
Set the year (calendar to 2099) by pressing the “+” or “–” button. Confirm by pressing the ON/
OFF button.
The day display flashes.
Proceed as described above for the month, day, hour and minute.
“ ” and “ ” are displayed. The background of the display is simultaneously illuminated
for a few seconds.
3
Switch backlighting on/o
To switch the blue backlighting o, press the “+” or “–” button.
“
” and “ ” are displayed.
Confirm by pressing the ON/OFF button.
“ ”, “ ” and the speaker symbol are displayed.
4
Switching the acoustic signal on/o
To switch the acoustic signal o, press the
“+” or “–”
button.
“ ” and “ ” are displayed.
The speaker symbol is no longer shown in the display.
Confirm by pressing the ON/OFF button.
“ ” and “Mem” are displayed.