20/22 Inallation and commissioning
Inallation and commissioning
CAUTION
Cable trip hazard
Carelessly laid cables pose a trip hazard. This can injure people and damage the
microphone.
► Always lay cables so that no one can trip over them.
Attaching the microphone
1. Unscrew the mounting nut from the microphone thread.
2. Inse the microphone into the spider with the bottom side fir.
3. Tighten the mounting nut on the thread.
4. Attach the microphone to the and with the and connector.
5. Attach the microphone to the and with the and connector.
Connecting the microphone
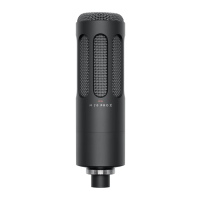
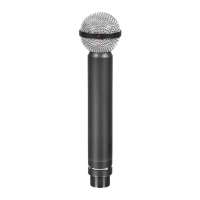
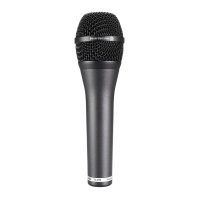
• The M 70 PRO X has a 3-pin XLR connector. It can be connected to any microphone input
with a suitable microphone cable.
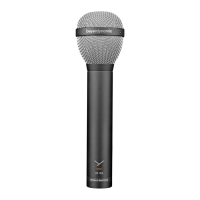
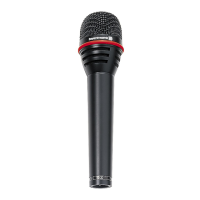
• The M 90 PRO X has a 3-pin XLR connector. It can be connected to any microphone input
with phantom power (24–52V) with a suitable microphone cable. You therefore need to
activate the phantom power.
Aligning the microphone
WARNING
Unable and
An unable and can fall and damage the microphone mounted on it.
► Make sure that the and used and the microphone mounted on it are able.
► Position the microphone so that the speech direction is opposite that of the source of
inteerence to achieve the be possible noise suppression.
Disposal
At the end of its life, this product should not be disposed of with normal
household wae but should be taken to a recycling facility for electric and
electronic devices. This symbol on the product, inructions for use or packaging
indicates this.
WEEE
Troubleshooting
If you have technical problems while using the microphones or need fuher guidance,
please visit our FAQ website at suppo.beyerdynamic.com