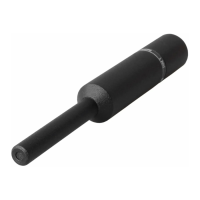
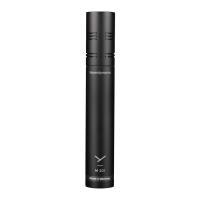
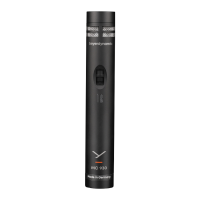
MM 1 — Condenser Measurement Microphone 5
EN
INSTALLATION AND OPERATION
Connection
� The MM 1 is equipped with a 3-pin XLR connector.
You can connect it to any microphone input with
phantom power (12 - 48 V) with a suitable microphone
cable. Activate phantom power for this purpose.
� Caution: Carelessly laid cables are a trip hazard.
People can be injured and the microphone
can be damaged.
Operation
� When setting up the MM 1, make sure that there
are no large objects close to the microphone, which
could influence the sound field and place the
microphone clamp as far down as possible.
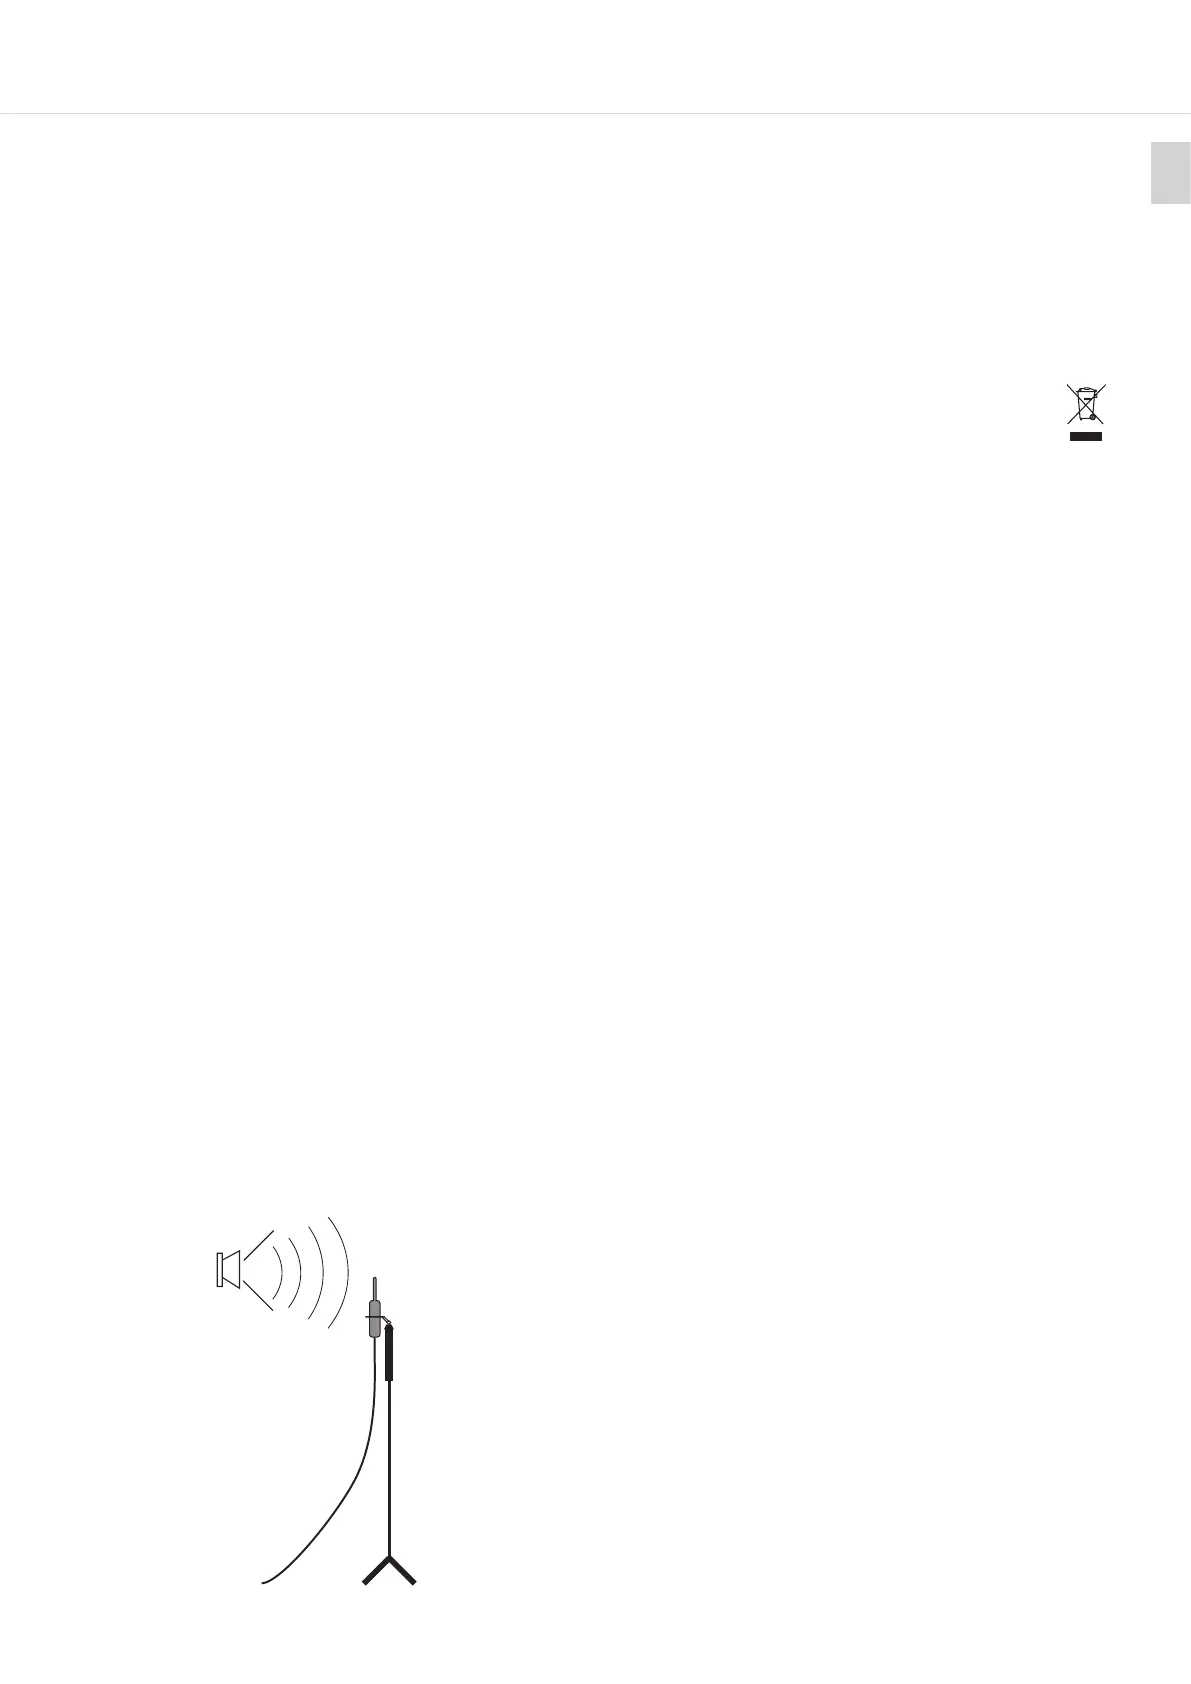
� Note on the calibration of loudspeakers in udio
rooms:
When measuring loudspeakers and other sound
sources with a high direct sound level, you should set
up the MM 1 so that the microphone axis is at 90° to
the sound source (see illuration below). This ensures
a linear recording with all frequencies. With direct
sound input from the front, a slight pressure build-up
becomes evident at frequencies above 10 kHz. This
leads to a boo at high frequencies (refer to the
frequency response curve at 0°).
With lower frequencies, there is no pressure build-up
and the polar pattern is exactly omnidirectional.
� Depending on the alignment of the microphone to
the sound source, you should use the appropriate
calibration file. The individual compensation curves
of the 0° and 90° free-field measurement of your MM 1
can be requeed from beyerdynamic free of charge,
ating your serial number: https://www.beyerdyna-
mic.com/formulare/konferenztechnik/mm1-regier
� The MM 1 is supplied with the MA-CL 21 microphone
clamp for tripods with 3/8" thread. For tripods with
a 5/8" thread, you can unscrew the threaded inse.
� Caution: A tripod with an insecure and can fall
over and damage a microphone mounted
on it. Make sure the tripod ands able.
MAINTENANCE
� Use a so cloth moiened with water to clean the
microphone sha.
� Make sure that no water enters the microphone.
� Do not use cleaning agents containing solvents.
DISPOSAL
� This symbol on the product, in the operating
inructions or on the packaging means that
electrical and electronic devices mu be
disposed of separately from household wae
at the end of their life cycle.
� Always dispose of used equipment in
accordance with applicable regulations.
� Dealers for electronic equipment are generally
obliged to take back wae electrical/electronic
equipment free of charge. This obligation also
applies to sales via remote communication.
� For fuher information, please contact the local
authorities or the dealer from whom the product
was purchased.
TROUBLESHOOTING AND SERVICE
� Should you have technical problems when using the
microphone or should you need more inructions,
please visit our FAQ website at
https://suppo.beyerdynamic.com
� In case of service, please contact authorised service
personnel. Never open the microphone yourself, as
this could invalidate all warranty claims. Please visit
our website https://www.beyerdynamic.com for
service and replacement pas.
FURTHER INFORMATION
� If you need fuher information, please visit our
website. On our product detail page
https://www.beyerdynamic.com/mm-1.html
� If you would like to learn more about beyerdynamic
microphones for various applications, please visit
https://www.beyerdynamic.com/microphones-ma-
de-in-germany
WARRANTY
beyerdynamic oers a limited warranty of 2 years
on the purchased beyerdynamic product. The exact
warranty conditions can be found on our website at
https://www.beyerdynamic.com/service/warranty
CONFORMITY
Information on the conformity of the product can be
found on our website at https://www.beyerdynamic.
com/downloads
Sound source
MM 1 on tripod