3 x 1,5 mm
2
Ø=8÷10.5
40 mm
5 mm
M1
M2M2M1 M1
M2 M2M1
M2M1
1 2 3
13
4
3
1 2 3
14
6
5
M2M1
1 2 3
13
3
4
1 2 3
14
5
6
M1
M1M1
M1
M1
1 2 3
13
4
3
M1
1 2 3
13
3
4
*
1 2 3 4 5 6 7 8 9 10
1 2 3 4 5 6 7 8 9 10
Y #
F2 4 AT
F1 1.25 AT
(220-230V)
F1 2.5 AT (120V)
S4
T1 T2 T3
T4
PWR ON
FLT2
FLT1
PHOT
STOP
OPEN
START
SW02
SW01
SWC2
SWC1
BAR
10
11
14 15
20
21
28 29
40
41
42
43
44
45 50
51
52
60 61
62
70
71
72
73
74 75
JP5 JP2
JP4
++++
1 2 3 4
ON
5 6 7 8 9 10
1 2 3 4
ON
5 6 7 8 9 10
2
1
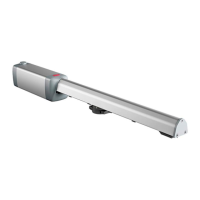
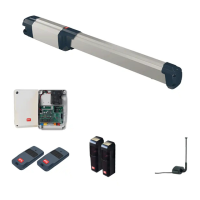
MOTOR CONNECTION
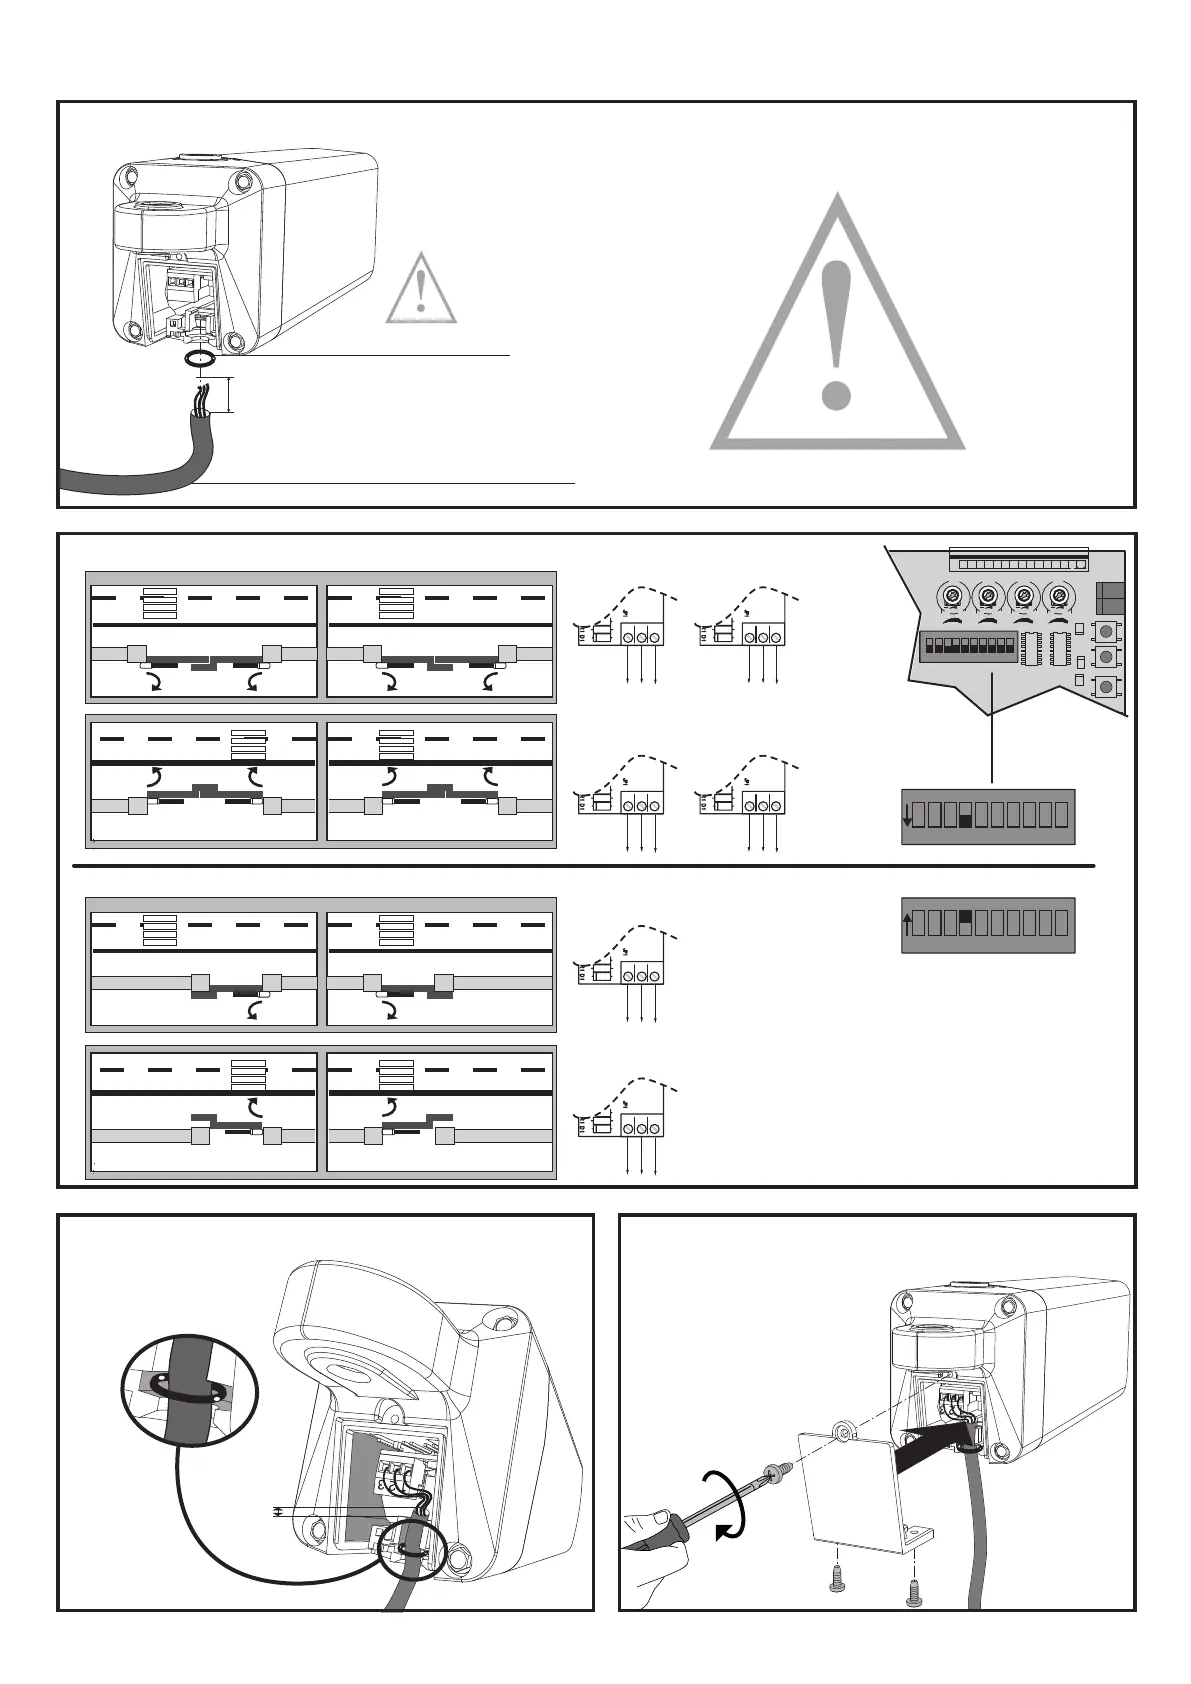
1� Insert the power cable:
2A� Connection 2 motors DIP SWITCH No�4 OFF
2B� Connection 1 motor DIP SWITCH No�4 ON
3� Proceed with the connections as shown, paying attention to place
the O-ring in the appropriate slot*
4� Close the lid and screw the screws back in
IMPORTANT:
INSERT THE O-RING
(not provided)
POWER CABLE
The cable must be H 05 RN-F or equivalent� An equivalent
cable must have the following properties:
- permanent outside use
- max� temperature on cable surface +50°C
- minimum temperature -25°C
If the motor vibrates but does not rotate, the problem may be:
- Incorrect wiring (see wiring diagram)
- If the leaf moves in the wrong direction, swap over the motor's
start connections in the control unit�
The rst command following a mains power outage should
be open�
48 - FABER BT - FABER L BT KIT
D812458 10550_01