Wireless Setup
There are three installation methods to connect to the Wi-Fi socket;
QR code - Scan the QR code to take you directly to the setup page.
Web browser - using your computer, smart phone or tablet’s Internet browser (Safari, Chrome, Firefox, Edge, Internet Explorer).
WPS (Wi-Fi Protected Setup) - One touch setup, no configuration needed.
• On your smartphone or tablet, connect to a new
Wi-Fi network called “BG” (no password is required).
*Note: if the BG network is not showing, please
reset the Wi-Fi socket.
• Scan the QR code.
• Select the Wi-Fi network
to be extended.
• Enter your Wi-Fi router password.
• Ensure tick-box “Set Local & Internet SSID as the
same” is ticked. This will change the BG network
name to match your current router network name.
• Click ‘Next’.
*Note: Should you need to change the network
encryption mode, choose from the drop-down menu.
Default is WPA2-PSK. Refer to your router handbook
for further details.
• Click ‘Apply’.
• The Wi-Fi socket should show a solid blue LED, and
is now ready to use.
• Your device will connect using your exisiting Wi-Fi
network name.
QR code setup
• Connect to a new Wi-Fi network called “BG”. (no
password is required)
*Note if the BG network is not showing, please
reset the Wi-Fi socket.
• Enter http://bg.repeater.net into your browser
search bar.
• Select the Wi-Fi network to be extended.
• Ensure tick-box “Set Local & Internet SSID as the
same” is ticked. This will change the BG network
name to match your current router network name.
• Click ‘Next’.
*Note: Should you need to change the network
encryption mode, choose from the drop-down menu.
Default is WPA2-PSK. Refer to your router handbook
for further details.
• Click ‘Apply’.
• The Wi-Fi socket will show a solid blue LED, and is
now ready to use.
• Your devices will connect using your existing Wi-Fi
network name.
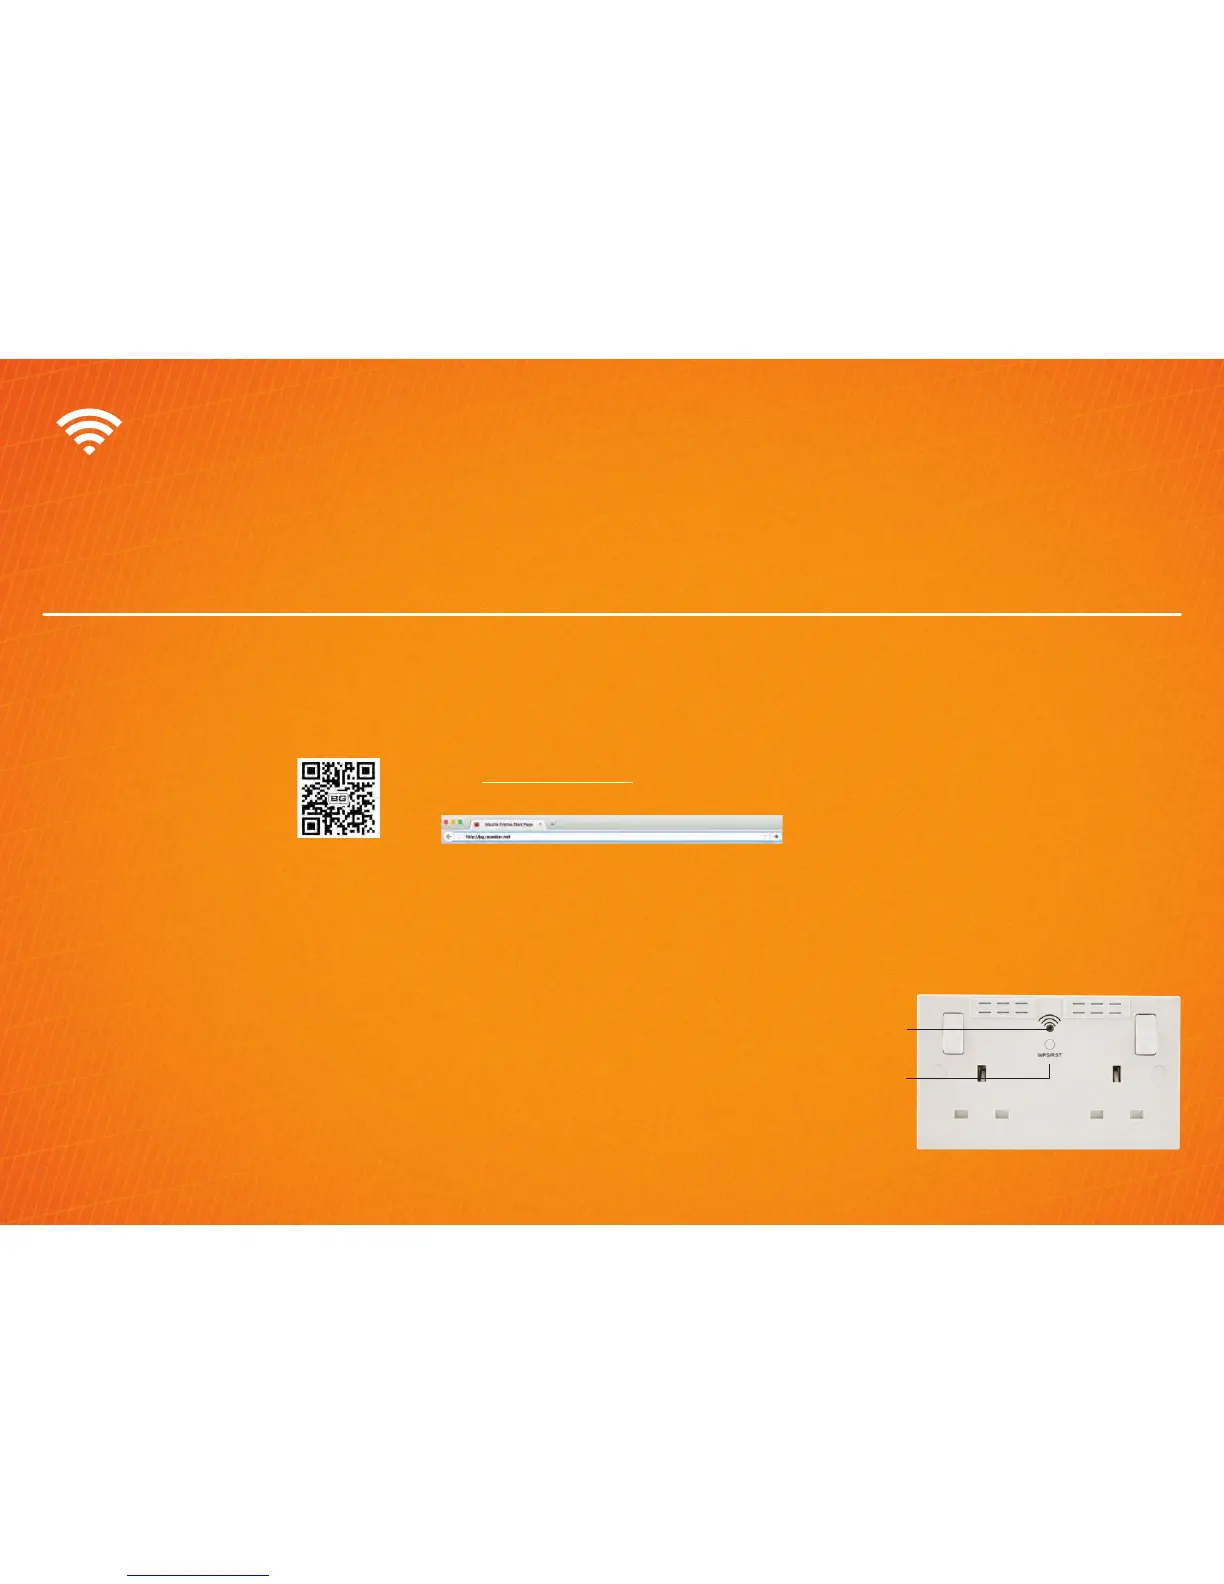
Web browser setup
WPS (Wi-Fi protected)
setup
• Press and hold the WPS button on your router for 5
seconds.
*Note: WPS connection may differ for each
manufacturer, please refer to your router handbook
for your specific WPS connection method.
• Press the WPS/RST button once on the Wi-Fi socket.
• The LED will blink orange whilst connecting to your
router.
• Once connected, the LED will light solid blue.
• Your devices will connect using your existing Wi-Fi
network name.
LED WI-FI
INDICATOR
WPS/RST
BUTTON