created: 04.16.19 E4-WM5-Y630A00_2 Page 5 of 22 latest revision: 09.29.20
G.
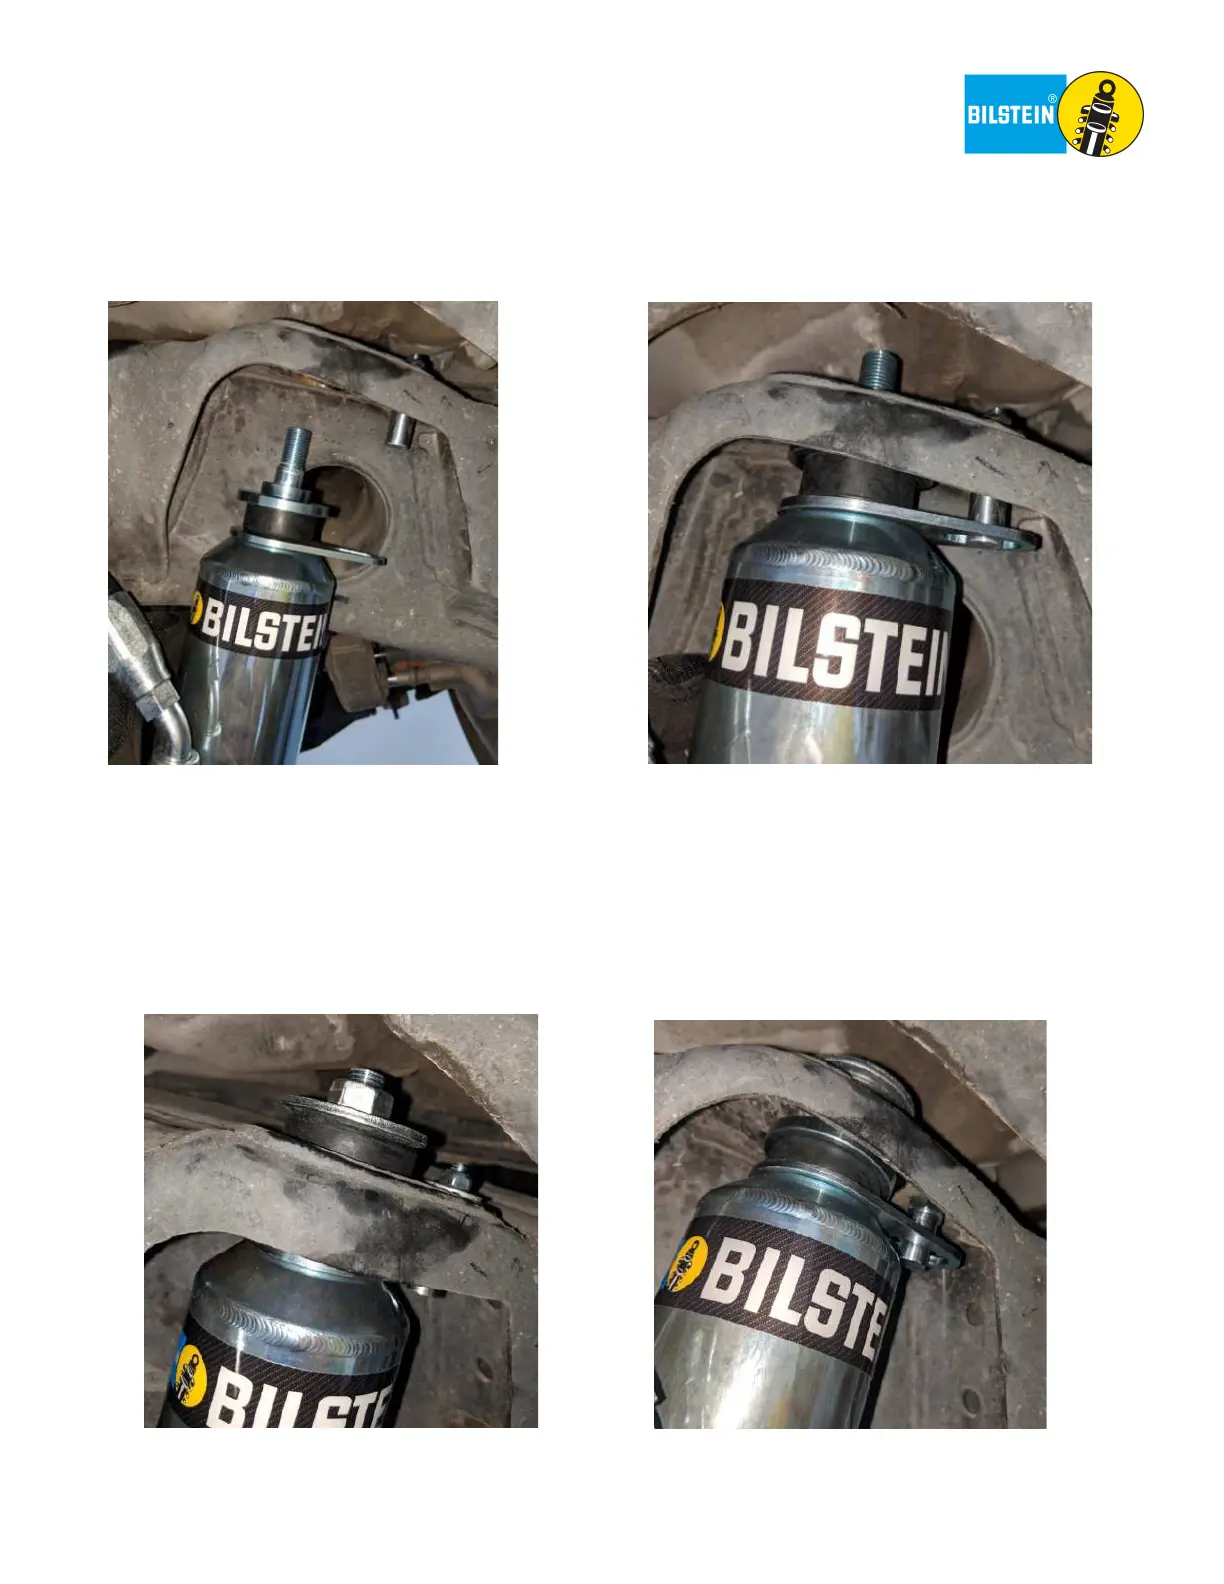
Then, using some force, compress the shock and place the threaded pin on the shock body through the chassis
mount. Guide the Anti Rotation Plate (BOM item #4) so it captures the Anti Rotation Pin (BOM item #1) and carefully
center the Alignment Washer (BOM item #6 or #7) in the chassis mount hole as shown below.
Right side depicted. Left side is a mirror image.
H.
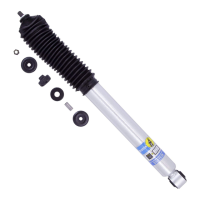
Slide the Upper Bushing (BOM item #8) over the threaded pin, followed by the Concave Washer (BOM item #9).
Verify the Concave Washer is installed concave side up as shown below. Then thread the Flange Locknut (BOM item
#10) onto the threaded pin on the shock body. Tighten the Flange Locknut using an 18mm ratcheting wrench.
Torque the Flange Locknut to 20 ft-lb (27 Nm).
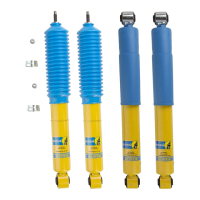
You should now have the following:
Right side