To add oxygen, connect and
clamp a 1/4" oxygen hose from
your supply to the oxygen inlet
port on the Pulmonex front
panel. (See Figure 4.) Turn the
oxygen valve to 5 psi or 6-8
liters per minute and leave it on.
If possible, use a pediatric regu-
lator on the oxygen tank.
NOTE: Use a flow regulator, not
a flow meter. Flow rates can be
high (up to 50 liters/minute) but
pressure must be kept low —
5 psi is recommended.
CAUTION: Do not use humidi-
fied oxygen.
*6+361.2,& 89)<
Using a source, position the patient in front of the scintillation camera.
Ensure both lungs are within the crystal area.
Set the camera for Xe-133. Record all data on tape.
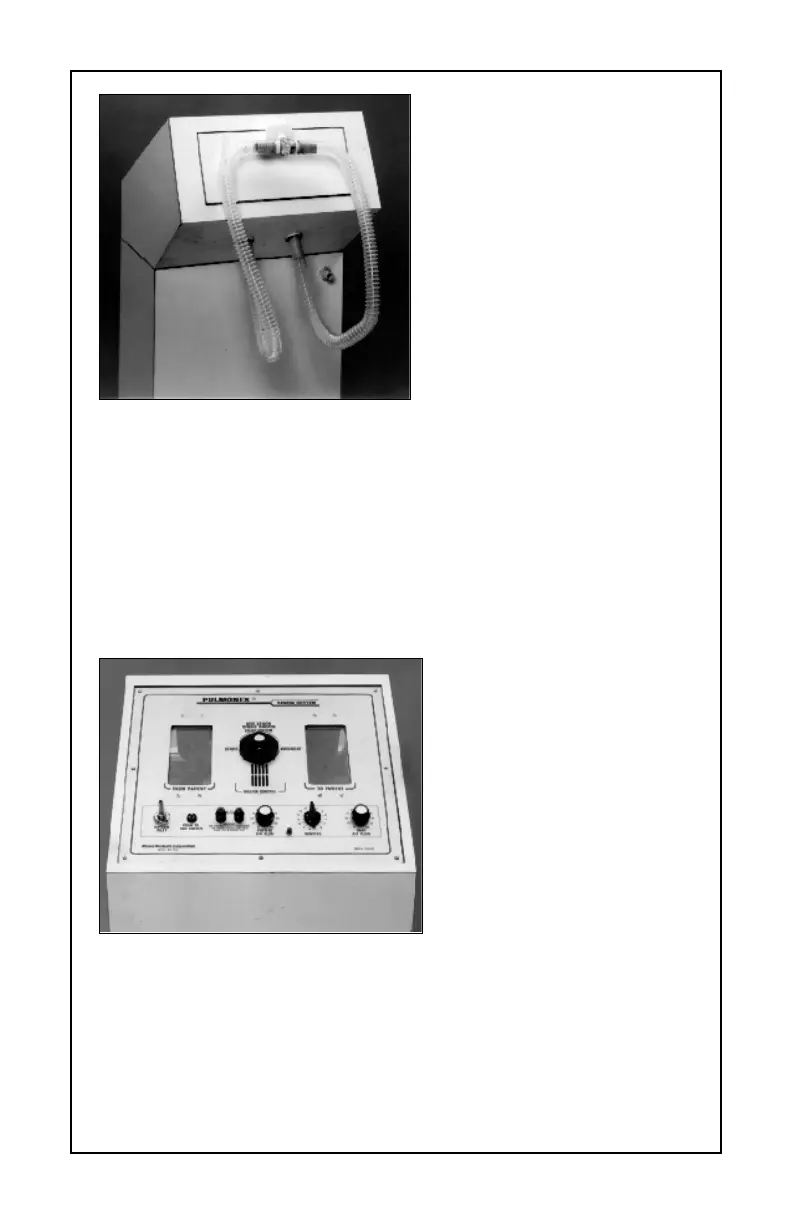
Place the Pulmonex as
close to the patient as possi-
ble and set the handle to the
“Start” position. The number
“1” will appear under the han-
dle. (See Figure 5.)
Set “Patient Air Flow” con-
trol to 30 (an arbitrary figure
that can be changed to
accommodate the patient’s
breathing pattern).
Press the button on the
front panel to add oxygen to
the “To Patient” bag. Only add
a small amount of oxygen, about 1/4 full. (The bag will only move slightly,
do not fill it up.) More oxygen can be added later if it is required for the
patient. In many cases, it is possible not to add any oxygen and perform
the entire study on ambient air. In all cases, the oxygen is only to enrich
the air in the circuit.
– 6–
Figure 4
Figure 5
 Loading...


