RL39 - Repair instructions for changing the frame
Version 1.0, last revised 03/2016
53/58
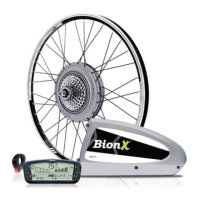
Realign the brake lever correctly and then tighten the lower brake lever
retaining nut with the T25 Torx wrench and a torque of 3 Nm.
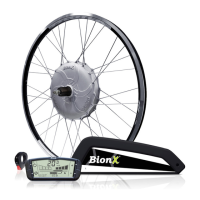
WW. Checking the pressure point
The brakes are tested at a standstill by pulling the brake levers towards the
handlebar with two fingers and normal brake force. It must not be possible to
pull the lever all the way up to the handlebar! The pressure point must be
stable immediately. If the pressure point is not reached after two thirds of the
lever travel, operate (“pump”) the lever several times until the pads lie on the
disc.
If a pressure point does not stabilize, you must repeat the filling and bleeding
process carefully. If this does not remedy the problem, the brake might be
leaking and will need to be replaced.
Keep the lever pulled at the pressure point and check that all the connections,
lines, bleed screws and the expansion reservoir are leaktight.
Use a clean cloth to carefully remove any leaking mineral oil from the brake lever and the brake caliper.
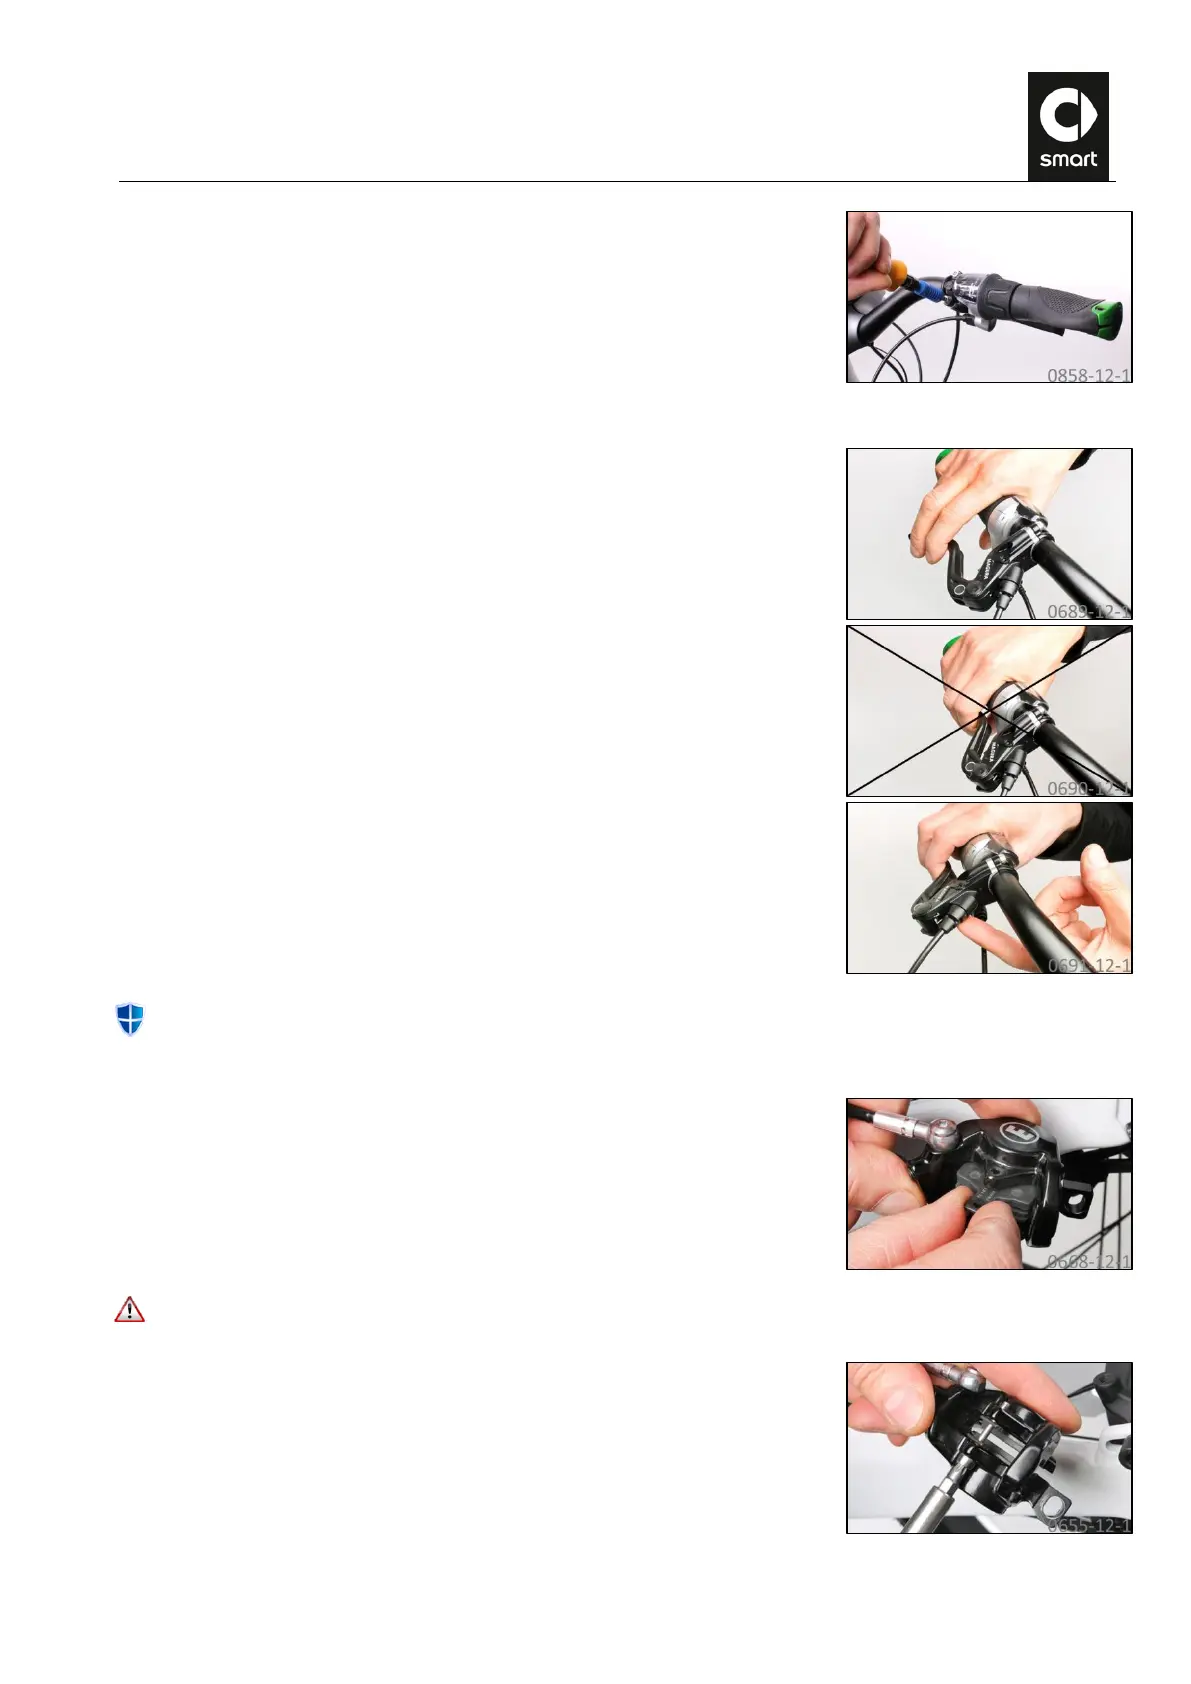
XX. Installing the rear brake caliper
Remove the transport lock from the brake caliper and install the brake pads in
the brake caliper. The brake pads must face inwards towards the brake disc.
They are held in position by magnets.
Only use genuine bolts or, if reinstalling used bolts, apply a drop of thread lock (medium strength, e.g. Loctite 243)
to the thread before reusing.
Screw the brake pad retaining bolt into the brake caliper. Make sure that it
passes through the “ears” of the brake pad carrier. Tighten the brake pad
retaining bolt to a torque of 2.5 Nm.
Clean and degrease the brake disc using a cleaning cloth and brake cleaner.
 Loading...