RL39 - Repair instructions for changing the frame
Version 1.0, last revised 03/2016
8/58
E. Removing the cable outlets
Undo the bolts of the cable outlet on the right side of the downtube using a T25
Torx wrench and detach the cable outlet.
Undo the bolts of the cable outlet on the right rear stay using a T25 angled Torx
wrench and detach the cable outlet.
Repair instructions “Replacing rear brake”: Loosen the rear bolt of the cable
outlet on the left rear stay using a T25 angled Torx wrench (approx. 3 turns). It
is not necessary to remove it completely!
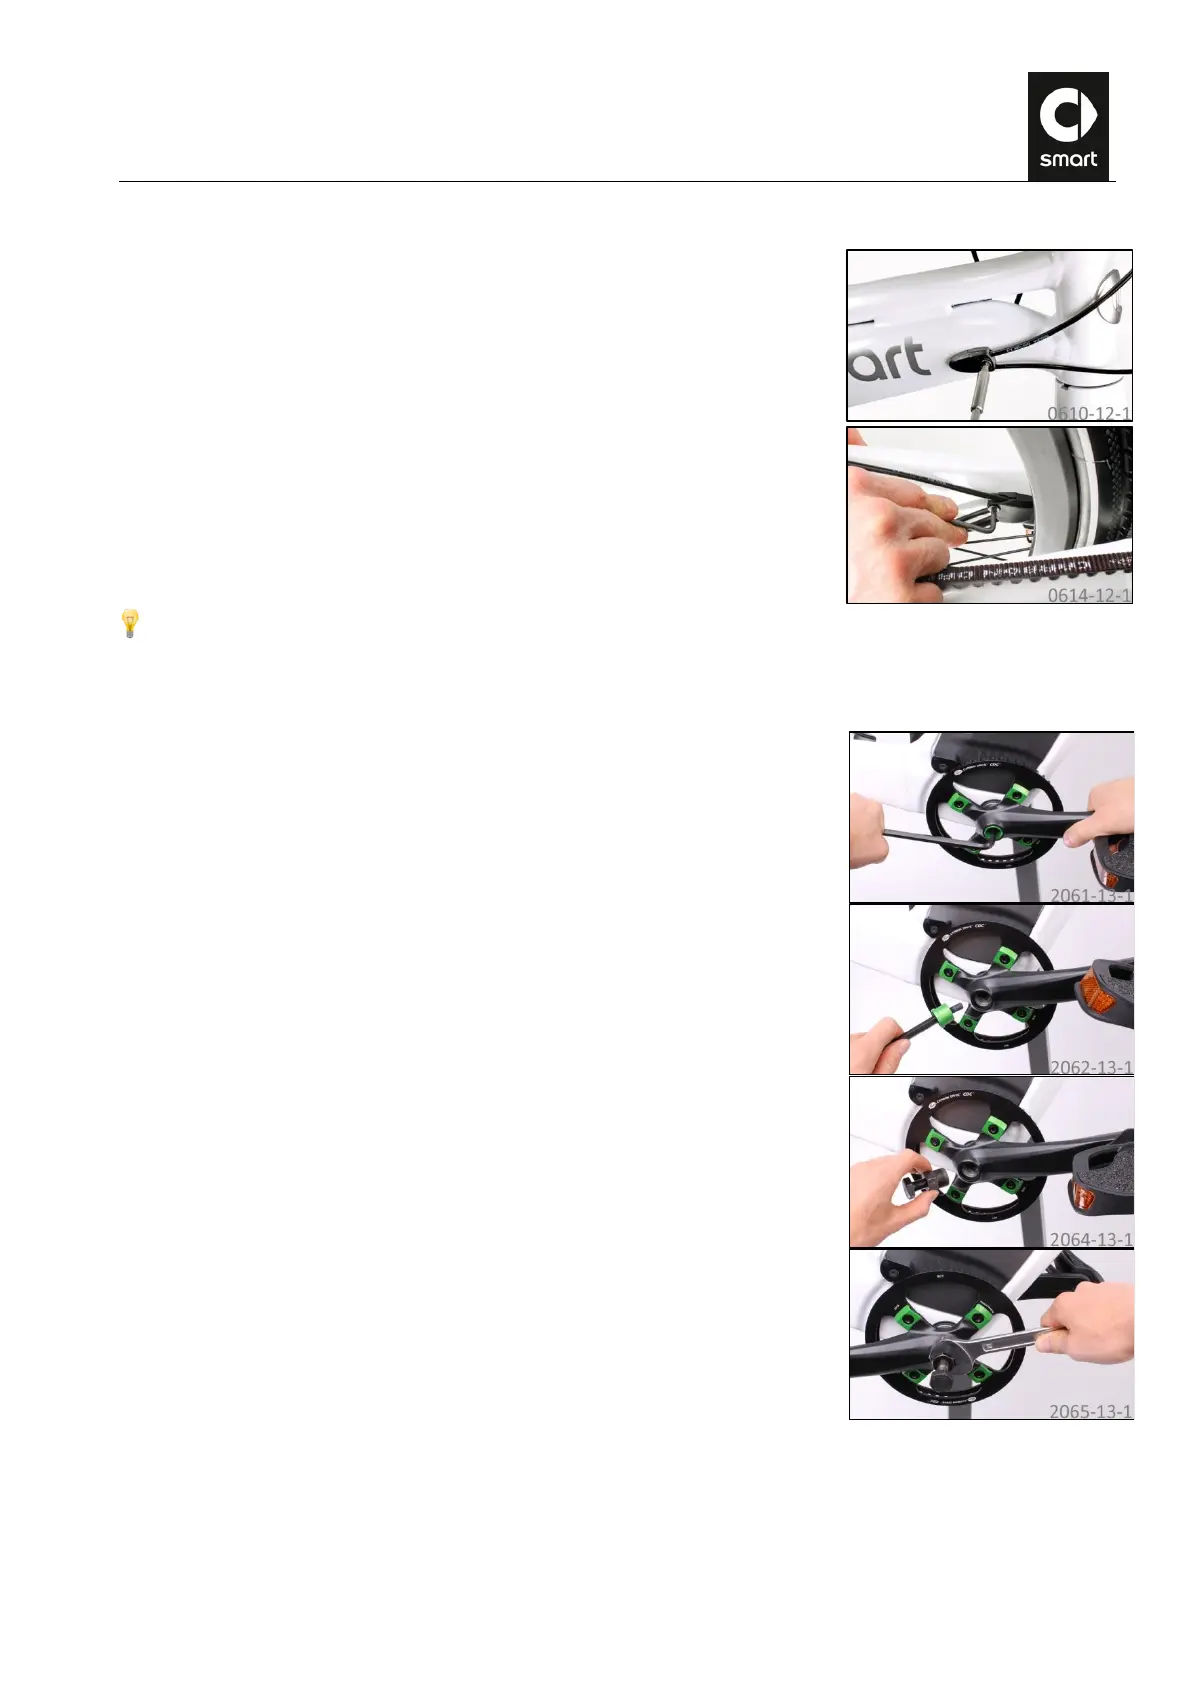
F. Removing the right crank
Undo the crank bolts using a size 8 Allen wrench and remove the trim sleeve.
Grease the crank thread and screw the crank remover clockwise all the way in
finger-tight. Make sure when doing this that the puller screw is unscrewed as
far as the stop.