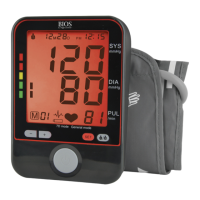
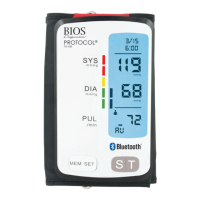
4. Data Memory
At the end of each measurement, this instrument automatically stores the result, including date and time.
4.1 Viewing the stored values
Press the M-button briefly, when the instrument is switched off. The display first shows «M» and then a
value, e.g. «M17». This means that there are 17 values in the memory. The instrument then switches to the
last stored result. Pressing the M-button again displays the previous value. Pressing the M-button repeatedly
enables you to move from one stored value to another.
4.2 Memory full
Pay attention that the maximum memory capacity of 100 is not exceeded. When the memory is full, the old
values are automatically overwritten with new ones. Values should be evaluated by a doctor before the
memory capacity is reached – otherwise data will be lost.
4.3 Clearing all values
If you are sure that you want to permanently remove all stored values, hold down the M-button (the instrument
must have been switched off beforehand) until «CL» appears and then release the button. To permanently clear
the memory, press the M-button while «CL» is flashing. Individual values cannot be cleared.
4.4 How not to store a reading
Press the ON/OFF button while the reading is being displayed. Keep the button pressed until «M» is flashing
and then release it. Confirm by pressing the M-button.
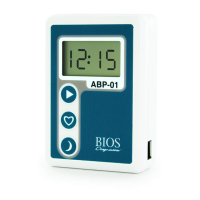
5. Setting the Alarm Function
This instrument allows you to set 2 alarm times at which an alarm signal will then be triggered. This can be a
useful aid, for instance as a reminder to take medication.
1. To set an alarm time, press the TIME button (the instrument must have been switched off beforehand) and
immediately afterwards the M-button and hold both down until the bell symbol appears in the bottom left
of the display. Then release both buttons. The flashing «1» in the display indicates that the first alarm time
can now be set.
2. Press the time button to set the hours – the hour display flashes and pressing the M-button allows you to set
the alarm hour. To confirm, press the TIME button.
3. The minute display will now flash. The minutes can be set using the M-button. To confirm, press the TIME
button again.
4. The bell symbol will now flash. Use the M-button to select whether the alarm time is to be active or
inactive . To confirm, press the TIME button.
5. To set a second alarm time, proceed as above but if the «1» flashes, press the M-button to select «2» and
confirm with the TIME button.
• An active alarm time is indicated by the bell symbol in the display.
• The alarm will sound at the set time every day.
• To switch-off the alarm when it is sounding, press the ON/OFF button.
• To permanently switch off the alarm, proceed as above and select the symbol. This will then
disappear from the display.
• The alarm times must be re-entered each time the batteries are replaced.
8