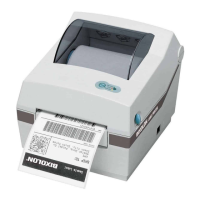
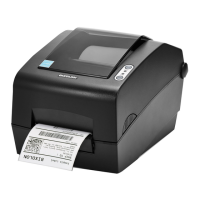
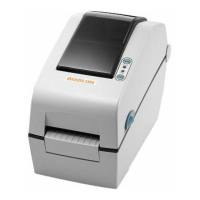
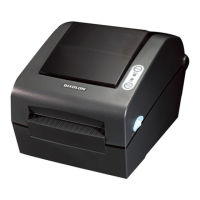
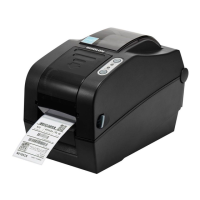
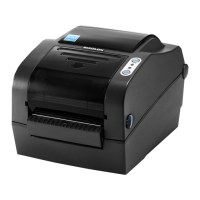
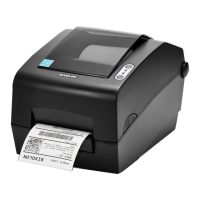
The BIXOLON SRP-770III is a label printer designed for various printing applications. It supports both roll and fan-fold paper types, offering flexibility in media handling. The printer is equipped with several features to ensure efficient and accurate label printing, as well as user-friendly operation and maintenance.
Function Description
The primary function of the SRP-770III is to print labels. It operates in a "Print Standby Mode" where it waits for data from a host PC. The printer can feed individual labels, enter a "Stand-alone Configuration Mode" for advanced settings, and pause/resume printing jobs. It also includes a "Data Dump Mode" for diagnosing communication issues by printing received data in hex format without processing.
A key feature of the SRP-770III is its ability to automatically separate labels from the liner using a peel-off function. This is particularly useful for applications requiring individual labels to be dispensed. The peel-off mechanism has a dedicated switch and LED indicator. When the peeler switch is on, labels are not printed until the previously printed label has been removed, ensuring proper dispensing. If the peeler function is not needed, the switch can be turned off. Any change to the peeler switch requires the printer to be turned off and back on.
The printer also incorporates "Media Length Measurement" to ensure proper print image alignment. This mode automatically activates when the printer has no recorded label length (e.g., after initial installation) or when a discrepancy is detected between the measured and actual label length. During this process, the printer feeds 2 or 3 labels to accurately measure and save the label length to its non-volatile memory.
Usage Features
The SRP-770III offers several usage features to enhance user experience and printing accuracy:
- Power Connection: The printer requires a stable power connection. Users must ensure the AC adapter voltage matches the power source and connect the AC adapter jack to the printer's power connector, followed by connecting the power cord to the adapter and then to a power source/outlet. The power switch should be turned off before making any connections.
- Interface Cable Connection: The printer supports multiple communication interfaces, including RS-232C (Serial), IEEE1284 (Parallel), and USB B-Type. For the Ethernet model, it also supports LAN (Ethernet) and USB Host. Users must turn off the power switch before connecting the appropriate communication cable to the printer's port. Shielded cables of specific lengths (less than 1.8m for Serial, Parallel, and USB B-Type; less than 3.0m for LAN Ethernet with CAT5 or higher UTP cable) are required for optimal performance and EMC compliance.
- Paper Installation: Installing paper involves opening the paper cover, spreading the paper holder, and inserting the paper roll so that the printing surface faces up (whether wound inwards or outwards). The paper guide then needs to be adjusted to the width of the paper, and the paper cover closed until a click sound is heard. For fan-fold paper, the paper is inserted at the rear of the printer, the paper cover is opened, paper holders are adjusted with a fix tool, and paper guides are adjusted before closing the cover.
- LED Display: The printer features an LED display with "ON Line," "Error," and "Paper Jam" indicators, providing visual feedback on its current status.
- A solid green LED indicates the printer is in normal mode, waiting for data.
- A solid orange LED signals a paper gap sensing error or paper jam, prompting the use of the Auto-Calibration function.
- A solid red LED means printing has been paused by pressing the FEED button. Pressing it again resumes printing.
- A blinking green LED indicates either the Thermal Printing Head (TPH) is overheated or the printer is waiting for button input to run Auto-Calibration.
- A blinking orange LED signifies no paper, requiring the user to load paper correctly.
- A blinking red LED indicates the paper cover is open.
- Feed Button Operations: The FEED button serves multiple purposes:
- A short press (less than 3 seconds) in Print Standby mode feeds one label.
- A long press (longer than 3 seconds) in Print Standby mode initiates the Stand-alone Configuration Mode.
- Pressing it during printing toggles between pausing and resuming the print job.
- Self-Test: A self-test function allows users to check for printer problems. This involves installing the paper roll, turning on the power while holding down the FEED button (for about 5 seconds), and observing the printed configuration information. After the self-test, the printer returns to Print Standby Mode. Note that this procedure cannot be performed if the label peel-off option is in use.
- Stand-alone Configuration Mode: This mode allows execution of various functions by depressing the FEED button at specific LED statuses. After entering this mode (by holding the FEED button for 3 seconds until the LED turns orange), the LED status changes sequentially, indicating different operations such as Factory Reset and Gap Calibration, Factory Reset and Black Mark Calibration, Toggle Power-up Auto-feed, Data Dump Mode, and Demo Mode.
- Media Sensor Auto-Calibration: This function is crucial when the printer fails to correctly detect gaps or black marks on label paper, especially with special paper types. It can be initiated from the Stand-alone Configuration Mode (Sequence Number 2 for Gap Media Auto-Calibration or Sequence Number 3 for Black Mark Media Auto-Calibration) after ensuring the paper roll is properly installed.
- Gap Sensor Manual-Calibration: For more detailed sensor parameter adjustments when auto-calibration is insufficient, a utility program provided by BIXOLON (available on CD or website) can be used. After connecting the printer and executing the utility, users can access the "Calibration Setting Manager." Here, they select the sensing type, input label length, and click "Check Sensing Value." The printer then calibrates and displays scanned values. Optimal sensing values appear in bold, allowing users to select and "Save Calibration." If the chosen value doesn't work, other bolded values can be tried. "Cancel Calibration" reverts to the initial value.
Maintenance Features
Regular maintenance is essential for preserving print quality and extending the printer's lifespan:
- Cleaning Head: Dust, foreign substances, or adhesive materials can degrade print quality. To clean the print head:
- Turn off the printer and wait 2-3 minutes for the print head to cool down, as it gets very hot during printing.
- Open the paper cover.
- Clean the print head using a cloth or cotton swab soaked in medical alcohol.
- Avoid touching the heated portion of the print head due to static electricity risk and prevent scratching or damaging it.
- Do not use the printer until the alcohol has completely evaporated (1-2 minutes) and the printer is dry.
- It is recommended to perform this cleaning process each time the paper roll is replaced to prevent print quality deterioration.
- Replacing Roller: If the roller needs replacement:
- Open the paper cover and remove the paper.
- Use a flat-head screwdriver or similar tool to rotate the 'Bush Roller' forward until the lever is visible.
- Remove the 'Bush Roller' by holding up the lever.
- Disassemble the 'Bush Shaft' from the 'Roller' and replace the 'Roller Assy' with a new one.
- Assemble the 'Roller' in reverse order.
- Cleaning Sensors, Roller, and/or Paper Path: To maintain optimal performance:
- Open the paper cover and remove the paper.
- Remove any dust or foreign substances using a dry cloth or cotton swab.
- For adhesive foreign substances or other pollution materials, soak a cloth or cotton swab in medical alcohol and use it to clean the affected parts.
- Ensure the printer is completely dry (1-2 minutes after alcohol evaporation) before use.
- This cleaning should be performed when there is a degradation in printing quality or paper detection.