Page 6
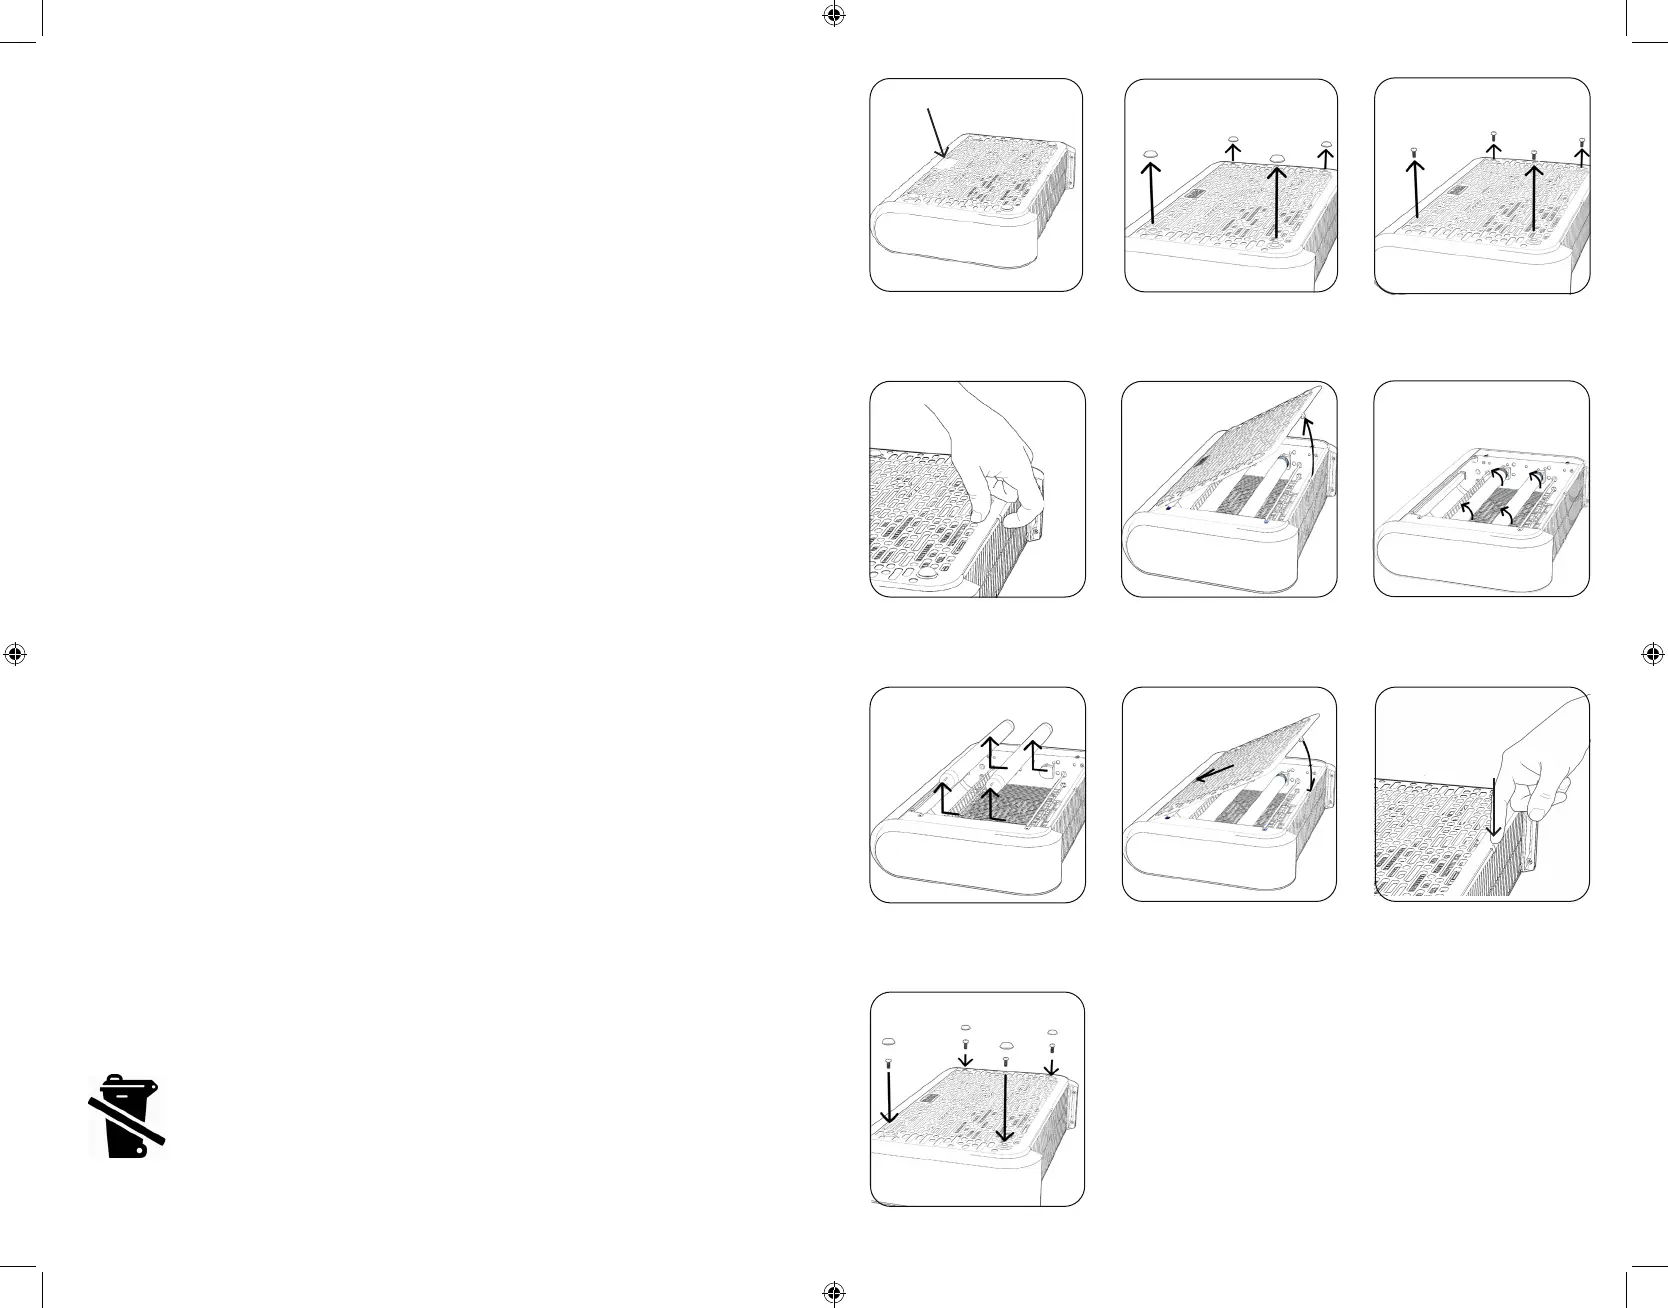
HOW TO REPLACE BULB:
To order replacement bulbs, email help@umbagroup.com or call 1-888-338-6798
1. To prepare for bulb replacement, unplug unit and allow it to sit for two hours to allow
the electrical charge within the unit to dissipate.
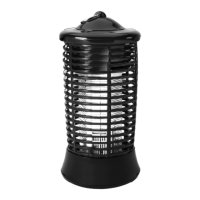
2. Remove lower tray from unit and lie unit on it’s front with Black and Decker gray logo
facing downwards. (Fig. 1)
3. Locate screw caps and remove all 4 by prying from underneath and save for
reassembly. (Fig. 2)
4. Using Phillips screwdriver, remove all four screws from under caps and store for
reassembly. (Fig. 3)
5. Unsnap grill latch located at center of bottom grill as shown. (Fig. 4)
6. Remove front grill by lifting up at an angle by grill latch and lift out carefully. (Fig. 5)
7. Gently remove both bulbs by turning a quarter turn to unlock bulb (Fig. 6) and then
gently pulling out from sockets towards the top of the unit. (Fig. 7)
8. Replace bulbs by following the reverse process from above. Insert bulb pins back into
slots on socket until fully within the socket. Then rotate bulb a quarter turn to lock in
place. Only replace with proper Black and Decker replacement bulbs.
9. Replace grill by inserting top edge in first under top of unit then pivot down until
resting against unit. (Fig. 8)
10. Snap grill latch back into internal insect grate at bottom center of grill. (Fig. 9)
11. Screw 4 screws back into grill and replace screw caps by aligning caps so inner tab
faces the top of the unit and snap back into place with gentle downward pressure.
(Fig. 10) Plug in to test replaced bulb functions properly.
12. Replace bottom insect tray.
13. Reinstall in desired location.
14. Replaceable lamp, type BL T8 F10W, Rated 10W, G13 for model BDPC959.
NOTE: Bulb contains mercury, dispose of properly.
Fig. 8
Fig. 10
Fig. 5 Fig. 6
Fig. 4
Fig. 7
Fig. 9
Logo facing down
Fig. 1 Fig. 2 Fig. 3
Page 7
NOTE: If device fails to light after bulb replacement, unplug device, and following the
instructions above ensure that the bulb was correctly installed, and re-assemble unit.
 Loading...