1
4
3
Productmayvaryslightlyfromwhatisillustrated.
HowtoUse
This appliance is for household use only.
GETTINGSTARTED
• Remove all packing material and stickers from the product.
• Remove and save literature.
• Wash and dry all removable parts as instructed in Care and Cleaning section of this
manual.
• Place appliance on a flat, stable surface.
COOKINGRICE:
1. Measure desired amount of rice to be cooked using rice
measure provided; do not use standard 1 cup measuring cup
(A). (The rice measure provided holds
2
/3 cup uncooked
rice - about 5 oz. or 150 grams ) This rice cooker can cook up
to 15 measures of uncooked rice and yield a maximum of
about 28 cups of cooked rice.
2. Place rice in the cooking bowl.
NOTE:Useonlythecookingbowlprovidedwiththisappliance
tocookrice.
3. Using the water level markings on the inside of the cooking bowl as a guide, add the
amount of water that matches the number of measures of rice to be cooked. For
example, if preparing 4 measures of rice, add water to 4 cup water level mark. Adding
too much water may make the appliance boil over.
4. Add butter or oil and desired seasonings.
NOTE:Thefirsttimeyoupreparericeusethehandyricecookingchartincludedinthe
UseandCareonpages6and7.Forsofter,fluffyriceaddalittlemorewater;forrice
thatismorefirmandhasadriertextureaddalittlelesswater.
5. Before placing cooking bowl into rice cooker, be sure the heating plate and outside
surface of the cooking bowl are clean and dry. Avoid having rice kernels or other
foods fall into the rice cooker.
6. Insert cooking bowl into rice cooker.
7. Place glass lid on the cooking bowl. For best results always keep glass lid on while
cooking.
NOTE:Asricecooks,steamwillescapethroughventinlid.Placelidonricecookerso
ventisfacingawayfromcabinetsandwalls.Donotplacehandsoversteamventwhile
riceiscookingorhasfinishedcooking;thehotsteammayburn.
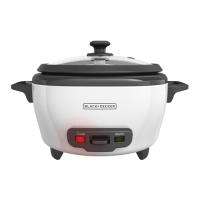
8. Uncoil cord and plug into standard electrical outlet. The WARM indicator light
comes on.
9. Press down the ON switch. The COOK indicator light comes on and cooking begins.
As the rice cooks and expands, steam comes out through the steam vent on the lid.
10. When rice is cooked, the COOK indicator light turns off and the switch pops up; the
rice cooker automatically switches to the Warm function. The WARM indicator light
will stay on until the appliance is unplugged.
NOTE:DonottrytostopthericecookerfromswitchingtotheWarmmode.Donottry
topresstheONswitchoncetheWarmcyclehasbegun.
11. For best results, let the cooked rice rest for 15 minutes, covered, to further steam
the rice. If holding cooked rice longer than 30 minutes, stir rice occasionally to
prevent browning of rice on the bottom of the cook bowl.
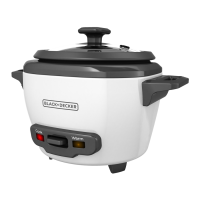
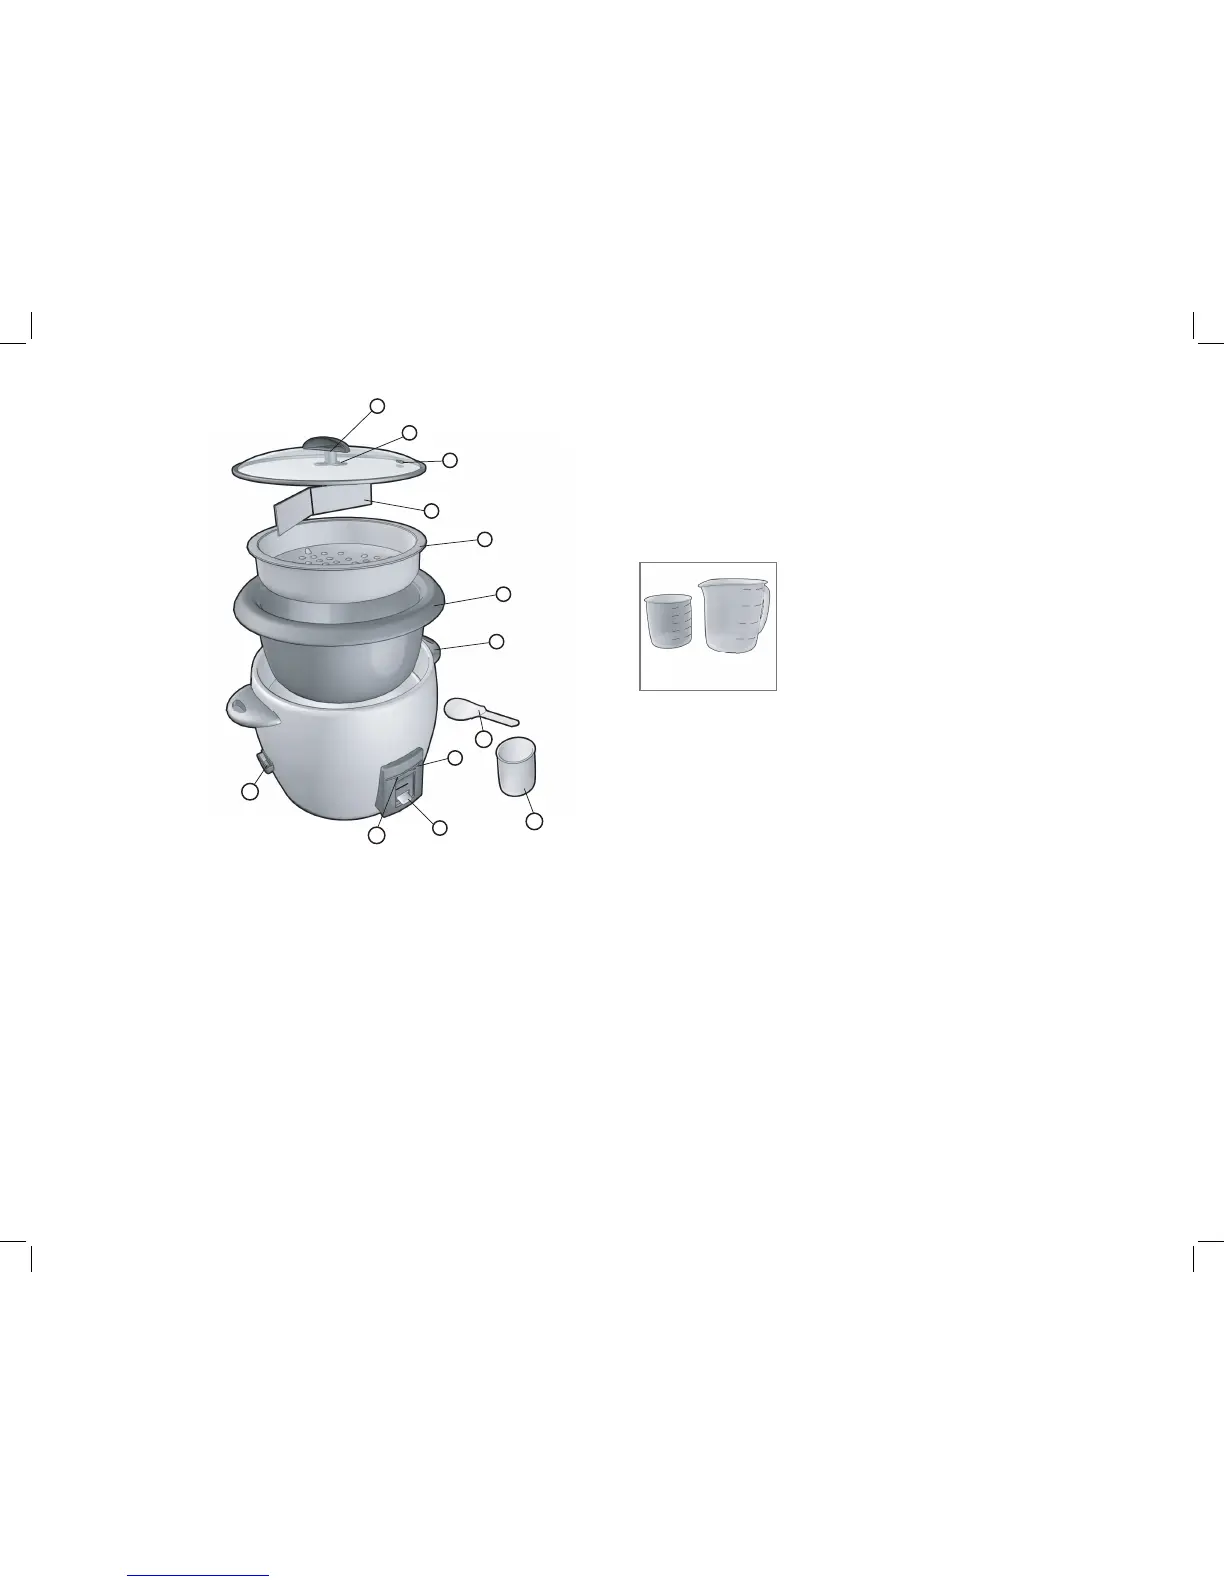
1.Lidhandle
2.Lidhanger
† 3.Temperedglasslidwithsteamvent(Part#
RC5428-01)
† 4.Steamerbasketdivider(Part#RC5428-02)
† 5.Steamerbasket(Part#RC5428-03)
† 6.Cookingbowlwithwaterlevelmarks(inside)
(Part#RC5428-04)
7.Cool-touchsidehandles
8.Warmindicatorlight
9.“On”switch
10.Cookindicatorlight
†11.Condensationcatcher(Part#RC5428-05)
†12.Ricemeasure(Part#RC5428-06)
†13.Servingscoop(Part#RC5428-07)
†Consumerreplaceable/removableparts
2
3
4
5
6
7
8
9
10
11
12
13
 Loading...