6
(Original instructions)
Autoselect (g. B)
The Autoselect feature allow you to set the optimum speed of
the tool dependant on the material you are cutting.
u Slide the Autoselect switch (3) to the top position for cut-
ting sheet metal.
u Slide the Autoselect switch (3) to the middle position for
cutting plastic.
u Slide the Autoselect switch (3) to the bottom position for
cutting wood and metal tubing.
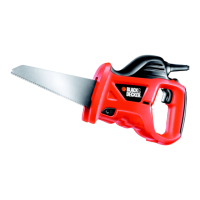
Sawing (g. C)
u If possible, always hold the tool with both hands using the
main handle (7) and secondary handle (8).
u Let the blade run freely for a few seconds before starting
the cut.
u Apply only a gentle pressure to the tool while performing
the cut.
u Keep the shoe/branch steady (5) pressed rmly against
the workpiece.
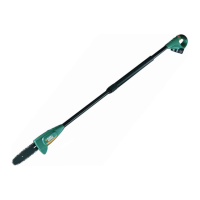
Pruning branches (g. D & E)
u If possible, always hold the tool with both hands using the
main handle (7) and secondary handle (8).
u Rotate the branch steady (5) till it clicks into place.
u Let the blade run freely for a few seconds before starting
the cut.
u Position the saw so that the blade is above the branch and
the branch steady (6) is below the branch.
u Apply only a gentle pressure to the tool while performing
the cut.
u For proper cutting, the branch being cut should be in con-
tact with both sides of the pruning shoe. The cut should
be square to the branch, and not made at an angle. If
required a rotating action could be used to further improve
the speed of the pruning cut.
Warning! The branch steady (6) is not a handle and should
never be used as a handle. Always hold the tool using the
main handle (7) and the secondary handle (8 or 9).
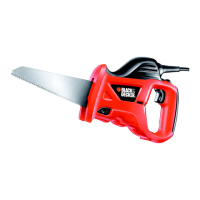
Operating in jigsaw mode (g. F)
u If possible, always hold the tool with both hands using the
main handle (7) and secondary handle (9).
u Rotate the branch steady (5) till it clicks into place.
u Fit the required blade.
Hints for optimum use
u Do not exert too much pressure on the tool.
u Regularly check the condition of accessories. Replace
when necessary.
Sawing wood
u Clamp the workpiece securely and remove all nails and
metal objects.
u When splintering is to be minimised, e.g. when cutting
laminates, clamp a piece of scrap wood or hardboard to
both sides of the workpiece and saw through this sand-
wich.
Sawing metal
u Be aware that sawing metal takes much more time than
sawing wood.
u Use a saw blade suitable for sawing metal.
u When cutting thin sheet metal, clamp a piece of scrap
wood to the back surface of the workpiece and cut through
this sandwich.
u Spread a lm of oil along the intended line of cut.
Cutting branches
u Cut downward and away from your body.
u Make the cut close to the main branch or tree body.
Maintenance
Your Black & Decker corded/cordless appliance/tool has been
designed to operate over a long period of time with a minimum
of maintenance. Continuous satisfactory operation depends
upon proper tool care and regular cleaning.
Warning! Before performing any maintenance on corded/
cordless power tools:
u Switch off and unplug the appliance/tool.
u Or switch off and remove the battery from the appliance/
tool if the appliance/tool has a separate battery pack.
u Or run the battery down completely if it is integral and then
switch off.
u Regularly clean the ventilation slots in your appliance/tool/
charger using a soft brush or dry cloth.
u Regularly clean the motor housing using a damp cloth. Do
not use any abrasive or solvent-based cleaner.
Mains plug replacement (U.K. & Ireland only)
If a new mains plug needs to be tted:
u Safely dispose of the old plug.
u Connect the brown lead to the live terminal in the new
plug.
u Connect the blue lead to the neutral terminal.
Warning! No connection is to be made to the earth terminal.
Follow the tting instructions supplied with good quality plugs.
Recommended fuse: 5 A.

 Loading...