Do you have a question about the Black Stone 1827 and is the answer not in the manual?
Indicates an imminently hazardous situation that will result in death or serious injury if not avoided.
Indicates the possibility of serious bodily injury if the instructions are not followed.
Indicates a potentially hazardous situation that may result in minor or moderate injury if not avoided.
A visual guide detailing all included components for the griddle.
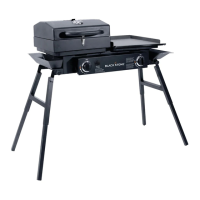
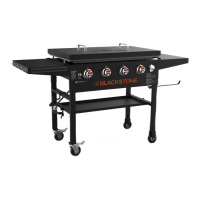
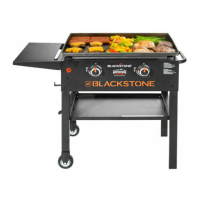
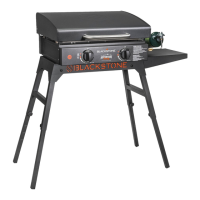
Place griddle body on a flat surface, unfold legs, and attach leg extensions.
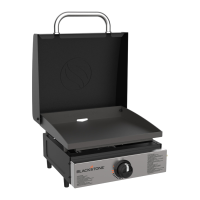
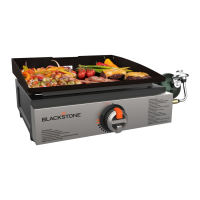
Attach control knobs and ignition button, then place griddle top onto the body.
Add thermometer with wing nut and attach air vent using M4x12 bolt.
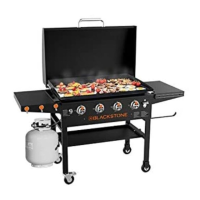
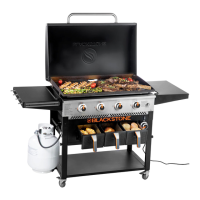
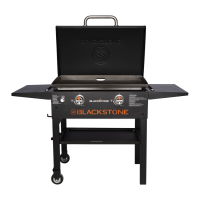
Secure the handle to the hood using two M8x19 bolts from the inside.
Attach hood to grill box using hinge pins, spacing rings, and pin clips.
Place the assembled grill box onto the unit and secure with two grill box clips.
Insert the flame tamper and the two grill grates into the grill box.
Hang the grease cups on both sides of the unit below the grease runoff.
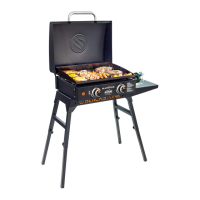
Proceed to seasoning instructions in the Owner's Manual for initial setup.
| Brand | Black Stone |
|---|---|
| Model | 1827 |
| Category | Griddle |
| Language | English |