BLACKSTONEPRODUCTS.COM/SUPPORT
ENGLISH
| OWNER’S MANUALUSING YOUR BLACKSTONE
STEP 02
Turn gas ON by turning
the gas cylinder handwheel
counterclockwise 1 to 3 turns.
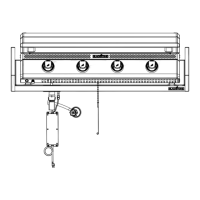
2. BATTERY POWERED IGNITION
Before starting ensure all knobs are turned to OFF.
❶❶
STEP 01
Insert one (1) AA
battery (not included) under the
ignitor button.
Screw the button into place over
the positive terminal.
STEP 03
❷❷
Push and hold the ignitor button.
❸❸
Push and turn the control knob counter-clockwise to HIGH.
(Release the ignitor button when the burner lights.)
❹❹
Adjust the temperature to desired level.
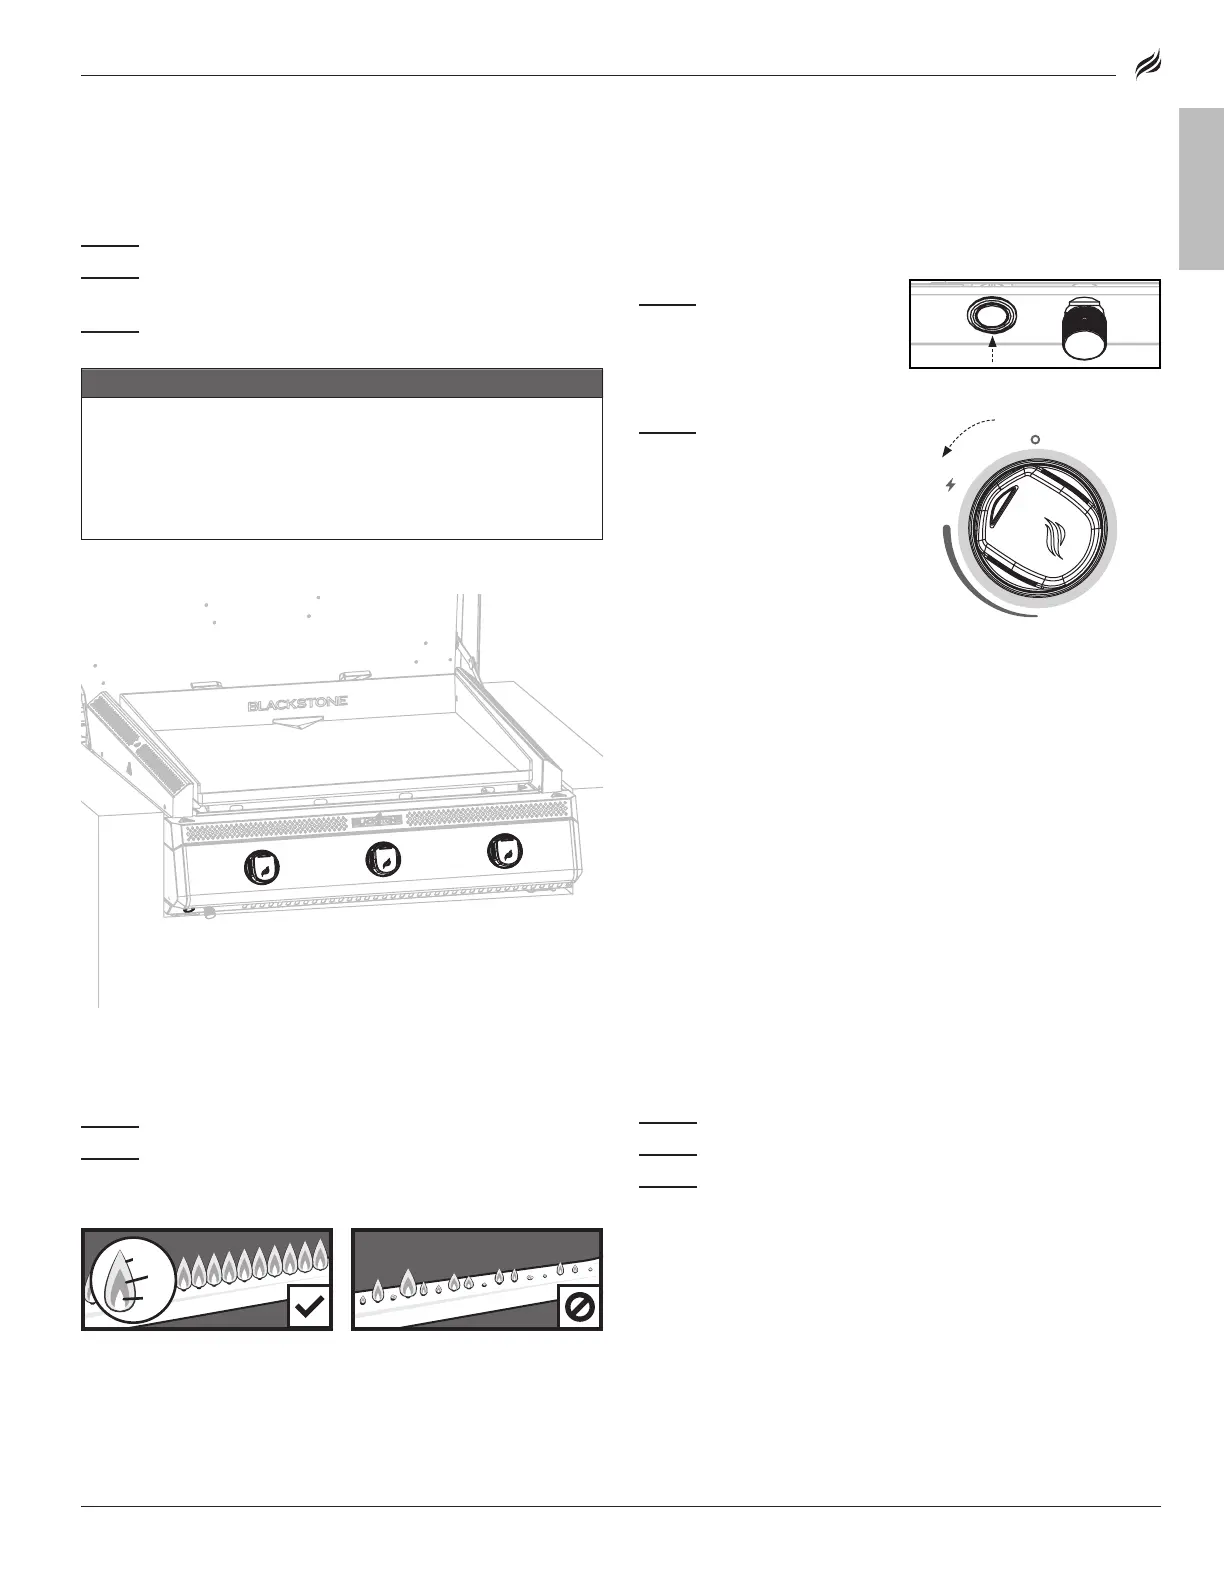
IGNITION INSTRUCTIONS
1. CHECK VALVES
STEP 01
Turn knob to OFF position.
STEP 02
Push in knob and release. Knob should spring back.
If knobs
DO NOT
spring back, replace valve assembly before using appliance.
spring back, replace valve assembly before using appliance.
STEP 03
Rotate knob to LOW then turn back to OFF. Knob should
turn smoothly.
WARNING
If burner does not ignite with open gas supply valve, gas
will continue to flow out of burner and could accidentally/
inadvertently ignite with risk of injury.
Ensure gas is o at the supply shut o valve before checking
appliance valves.
STEP 02
❶
Push the control knob in to
start gas flowing. (WHITE)
❷
Turn the control knob
counter-clockwise to activate the
starter. (FLASHING BLUE)
❸
Check flame and adjust
the temperature to desired
level. (ORANGE)
STEP 01
Press the ON button.
(Optional: Turn the dimmer
until it clicks to turn o the
puddle lights.)
2. ELECTRIC IGNITION
DO NOT lean over the appliance while lighting.
Make sure the appliance is plugged in.
❷
❶
❸
Note: If the magnet in the knob is disconnected, the indicator light
will be orange. If the knob arrow is facing UP, gas is not flowing.
STEP 02
Turn gas ON by turning
the gas cylinder handwheel
counterclockwise 1 to 3 turns.
2. BATTERY POWERED ELECTRIC IGNITION
Before starting ensure all knobs are turned to OFF.
❶❶
STEP 01
Insert one (1) AA
battery (not included) under the
battery cap.
Screw the cap into place over the
positive terminal.
STEP 03
❶ ❶
Push the control knob in to
start gas flowing.
❷ ❷
Turn the control knob
counter-clockwise to activate
the starter.
❸❸
Check flame and adjust the
temperature to desired level.
❶
❷
❸
HEALTHY FLAME PATTERN YELLOW OR IRREGULAR
3. ALWAYS CHECK BURNER FLAME BEFORE USE.
STEP 01
Light burners and rotate knobs from HIGH to LOW.
STEP 02
Look below the cooking surface to view burners. When knob
is at HIGH, flames should be larger than when knob is at LOW.
3. ALWAYS CHECK BURNER FLAME BEFORE USE.
STEP 01
Light burner and rotate knob from LOW to HIGH.
STEP 02
Look below the turntable to view burner. When knob is at
HIGH, flames should be larger than when knob is at LOW.
❶
❶
Flickers of yellow color.
Flickers of yellow color.
❷
Dark blue color.
❸
Vibrant blue.
If there is a sudden drop or low
If there is a sudden drop or low
flame issue, please reference the
flame issue, please reference the
Troubleshooting chapter.
IF IGNITION DOES NOT OCCUR IN 5 SECONDS:
STEP 01
Turn the burner control knob OFF.
STEP 02
Wait 5 minutes.
STEP 03
Repeat the lighting procedure.
If burner does not ignite, please reference the Troubleshooting chapter.
If burner does not ignite, please reference the Troubleshooting chapter.
IF IGNITION DOES NOT OCCUR IN 5 SECONDS:
STEP 01
Turn the burner control knob OFF.
STEP 02
Wait 5 minutes.
STEP 03
Repeat the lighting procedure.
If burner does not ignite, please reference the Troubleshooting chapter. If burner does not ignite, please reference the Troubleshooting chapter.
HEALTHY FLAME PATTERN YELLOW OR IRREGULAR
❶ ❶
Flickers of yellow color. Flickers of yellow color.
❷ ❷
Dark blue color. Dark blue color.
❸ ❸
Vibrant blue. Vibrant blue.
If there is a sudden drop or low If there is a sudden drop or low
flame issue, please reference the flame issue, please reference the
Troubleshooting chapter. Troubleshooting chapter.
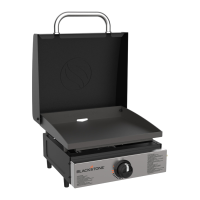
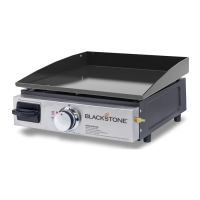
MODEL: 6301
 Loading...