BLACKSTONEPRODUCTS.COM/SUPPORT
ENGLISH
| OWNER’S MANUALASSEMBLY GUIDE
Make sure the front pins are
seated in the holes, then push
the griddle top back.
❶❶
Place the two front pins into
the front locking holes and push
the griddle top back.
❷❷
Then, set the two rear pins
into the rear holes.
❶
❶
Place the two front pins into
the front locking holes and push
the griddle top back.
❷
Then, set the two rear pins
into the rear holes.
Make sure the front pins are
seated in the holes, then push
the griddle top back.
Make sure the front pins are fully
seated in the holes, then push
the griddle top forward to lock
the griddle in place.
Make sure the front pins are fully
seated in the holes, then push
the griddle top forward to lock
the griddle in place.
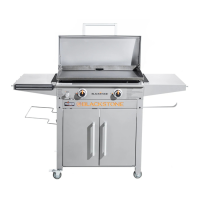
MODELS: 2322 • 2322CA
Push down on the shelf tabs to
unlock the shelf extender.
Slide out the extender until
it locks.
Push down on the shelf tabs to unlock Push down on the shelf tabs to unlock
and slide back in.and slide back in.
STEP 10
❶❶
Hang the shelf basket on the accessory rail.
❷❷
Push the basket in to secure.
STEP 11
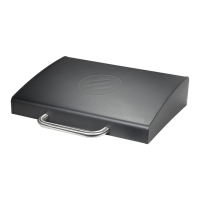
Use the two (2) pre-installed M6x16 screws to install the
hood handle and handle bezels to the griddle hood.
STEP 12
Hang the grease cup in the slot at the back of the
griddle body.
With the help of another person, place the griddle top and hood on
the main body by aligning the 4 pins to the holes of the body.
❶
❷

 Loading...
