9. Water tank
10. Water level gauge
11. Main housing
12. Warming plate
13. Bottom cover
Before first use
• Warning! Do not use the appliance without the reservoir
filled.
Check that all accessories are complete and the unit is not
damaged. Fill water into water tank to the MAX level and
brew water for several times without coffee powder, then
discard the water. Clean and dry all detachable parts
thoroughly according to the section “Cleaning And
Maintenance” .
Making coffee
1. Open the top cover and fill the water tank with drinking
water. The water level should not exceed MAX level as
indicated on the water level gauge.
2. Place the funnel into the funnel support, make sure it is
assembled correctly, otherwise the top cover cannot be
closed. Place the permanent filter in the funnel.
3. Add coffee powder into permanent filter. Usually a cup of
coffee needs a level spoon of coffee powder, but you
may adjust according to personal taste. Close the top
cover completely.
4. Insert the carafe with handle closed onto warming plate
horizontally.
5. Plug the power cord into the outlet. If you want to adjust
the coffee strength, you can press “STRENGTH” button
once, and then the STRENGTH indicator will illuminate
in orange and the appliance will brew thick coffee. If you
do not want to adjust the coffee strength, just follow the
following operation to brew normal coffee.
6. Press ON/OFF button, the ON/OFF indicator illuminates
in red. The LCD display indicates “AM 12:00”, and then
the appliance begins to work.
Note: The brewing process can be interrupted by pressing
the ON/OFF button at any time, and the ON/OFF indicator
will extinguish, indicating your coffee maker is shut off.
Note: During brewing process, the buttons of
“PROGRAM”,“DELAY BREW” ,“HOUR” and “MINUTE” are
invalid.
7. The brewing process can be interrupted by pressing the
ON/OFF button at any time, the ON/OFF indicator will
extinguish. The appliance will continue brewing once
ON/OFF button is pressed again.
Note: You can take out carafe, pour and serve at any time.
5
ENGLISH
(Original instructions)
The appliance will stop dripping automatically. But the time
cannot exceed 30 seconds.
8. Remove out carafe to serve when finish brewing (about
one minute later after the coffee stops dripping out.)
Note: the coffee you get will less than the water you have
added, as some water is absorbed by coffee ground and
adhere to the plastic.
9. When the process is finished, if you do not want to serve
immediately, keep the coffee maker is energized, the
coffee can be kept warm on the warming plate. And the
appliance will shut off automatically after 40 minutes from
the ON/OFF button being activated if it has not been
manually disconnected at the completion of brewing. For
an optimum coffee taste, serve it just after brewing.
10. Always turn the coffee maker off and disconnect the
power supply when not use.
Note: pay attention to pour the coffee out, otherwise you may
be hurt as the temperature of coffee just finished is high.
Setting the 24-hour clock
• Connect the appliance to a suitable electrical supply. The
Display Panel will light and the numbers will flash.
• Press the HOUR button, then the MINUTE button to
display the current time. Holding the buttons down will
allow the numbers to scroll, alternatively, each press will
advance the numbers by one.
Delayed brewing
If you do not want the coffee maker to start operation
immediately, for example now it is AM 8:10, you hope that the
coffee maker will automatically start working at PM 1:00, first
follow steps 1 to 5 of " MAKING COFFEE ", and then you
can set the automatic start function as follows:
1. Set the current time that is AM 8:10 by pressing the
buttons of “HOUR” and “MINUTE”.
Note: The time cycle is 12 hours.
2. Press PROGRAM button once, ON/OFF indicator flashes
in green, the LCD display indicates “AM 12:00” which will
flicker. Set the automatic start time that is PM 1:00 by
pressing the buttons of “HOUR” and “MINUTE”.
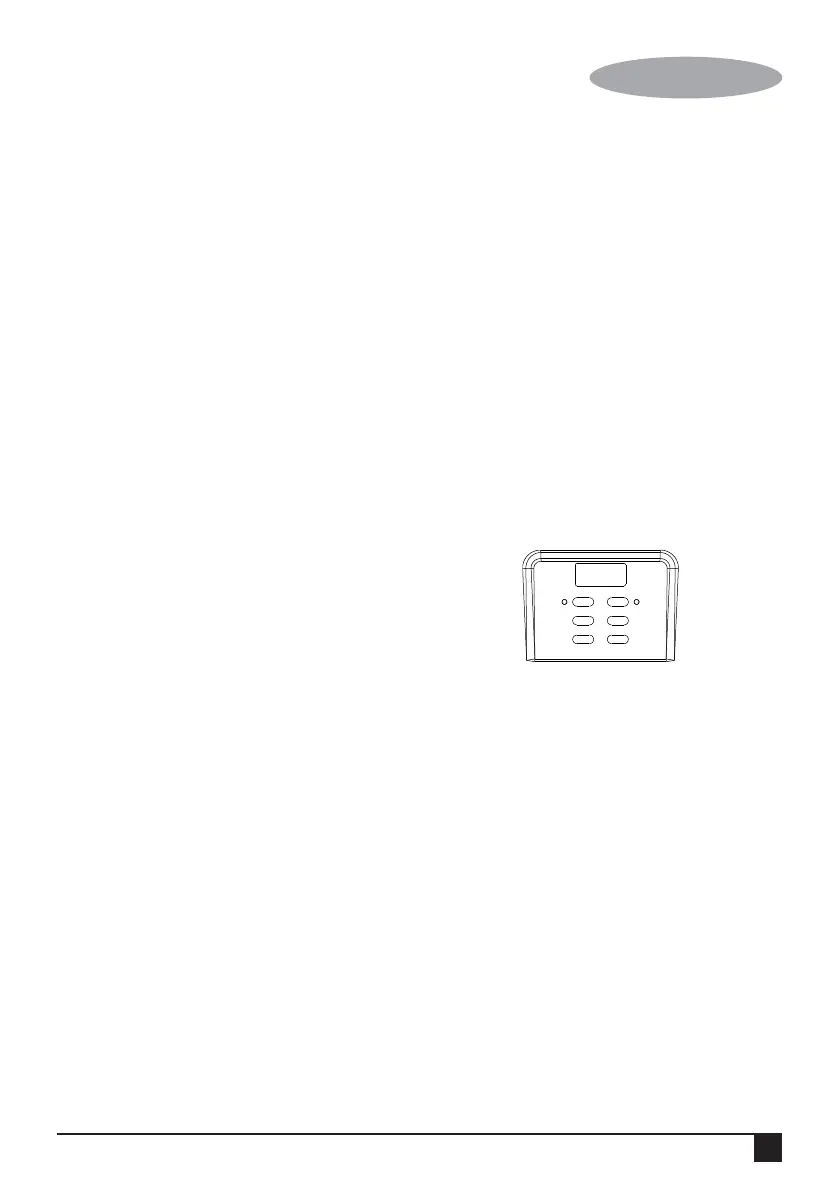
DELAY BREW MINUTE
STRENGTHON/OFF
HOURPROGRAM
AM
10:00