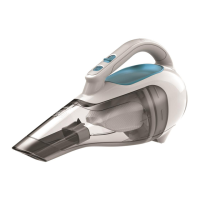
5
•Rotate the locking ring (3) counterclockwise to
release the clips.
•Pullthehoseawayfromthehandle.
•Fit the accessory directly to the hose cuff (20).
To refit the handle:
•Removetheaccessoryfromthehose.
•Pushthehoseintothehandle(2).Rotatelocking
ring (3) clockwise until it clicks into place.
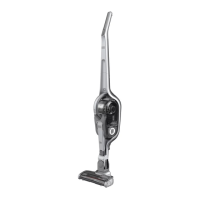
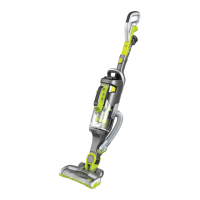
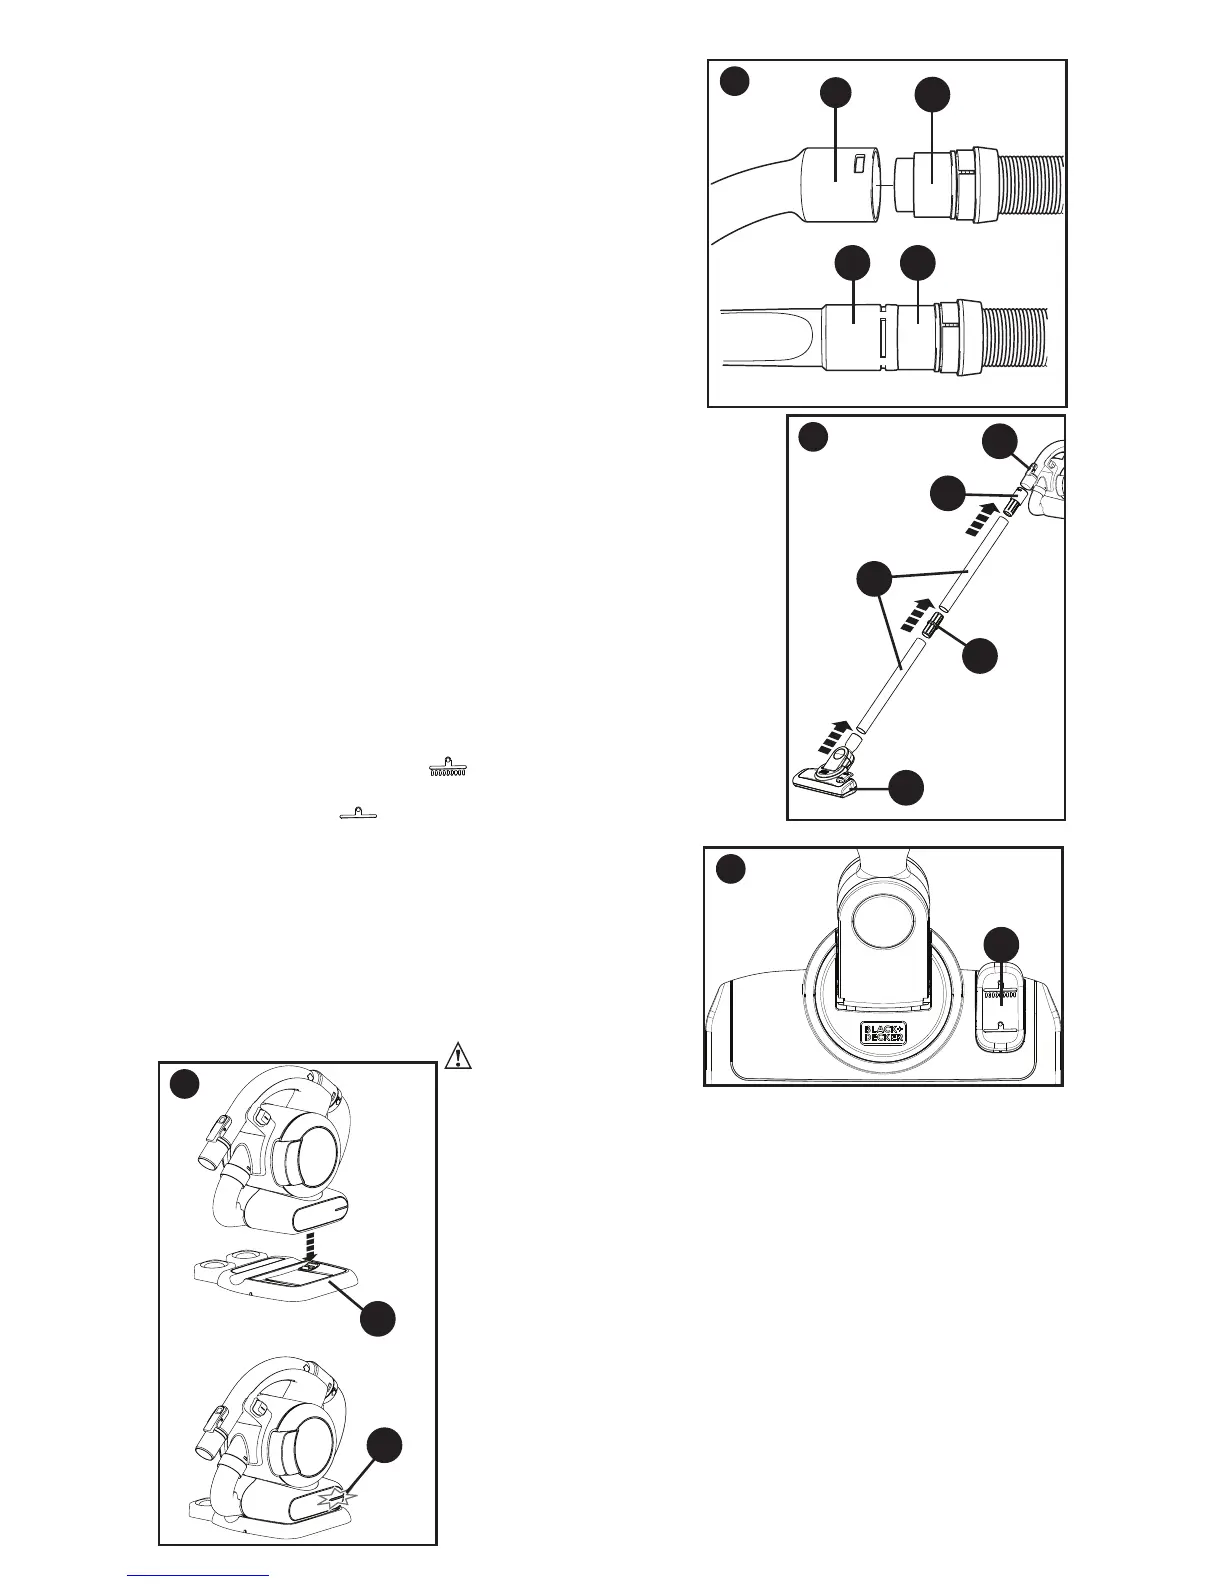
ASSEMBLING FLOOR HEAD (FIGURE E)
(BDH2020FLFH ONLY)
This vacuum is equipped with a floor head for wider
floor cleaning.
•Pressandholdtheaccessoryclip(11).
•Slidethefloorheadadapter(17)ontothehandle
(2).
•Connectthetwofloorheadextensions(18),extension
connector (19), and the floor head (20) to the end for the
floor head adaptor.
NOTE: The floor head attaches using friction fitting, so a
click will not be heard when assembled. Ensure that all
parts of the floor head assembly are securely connected.
CARPET / FLOORING SELECTOR SWITCH (FIGURE F)
The floor head’s agitator brush can be used for light carpet
cleaning and removing tough messes on hard floors. It can
be activated by depressing the selector switch (21) located
on the top of the floor head accessory.
•Toengagetheagitatorbrush,depressthesideofthe
selector switch marked
.
•Todisengagethebrush,depressthesideoftheselector
switch marked .
OPERATION
Before first use, the batteries must be charged for at
least 4 hours.
•Connecttheappliancetothechargerforaminimumof
4 hours.
•Chargethebatteriesasdescribedbelow.
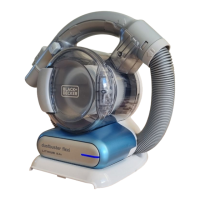
CHARGING THE BATTERY (FIGURE G)
WARNING:
Charge only at ambient
temperatures between 50°F (10°C)
and 104°F (40°C). The charger supplied with this product is
intended to be plugged in such that it is correctly oriented in
floor mount position.
To charge the appliance:
•Makesuretheapplianceisswitchedoff.Thebatterywillnot
be charged with the on/off power switch (1) in the on position.
•Plug the charging base (15) into a standard 120 Volt 60
Hz electrical outlet.
•Lowertheapplianceontothechargingbase.The
charging indicator LED will illuminate.
•Whenchargingiscomplete,theLEDwillturnoff.
Whilecharging,thechargermaybecomewarm.Thisis
normal and does not indicate a problem.
Leaving the appliance connected to the charger indefinitely
will not damage the appliance’s batteries or shorten
its run time. The charger automatically reduces power
consumption when charging is complete.
D
2
13
20
20
F
21
G
15
6
E
20
17
18
11
19