10
ENGLISH
(Original instructions)
11
ENGLISH
(Original instructions)
Conguration
F
S
M
H
1
3
2
1
B
H
S
M
1
6
8
D
B
H
S
M
1
6
8
U
B
H
S
M
1
6
6
D
S
M
B
H
S
M
1
6
8
D
S
M
B
H
S
M
1
6
9
D
S
M
B
H
S
M
1
6
1
0
D
S
M
B
H
S
M
1
6
1
5
D
S
M
B
H
S
M
1
6
1
5
D
S
G
B
H
S
M
1
6
1
5
D
A
M
S
E
T
T
I
N
G
S
12
All
12a
All
12d
All
13
All
16
All
18
●
18a
●●●
19
●●●
20
●
20a
●
21
●
21a
●
22
All
22a
All
22b
All
22c
All
23
All
24
All
25
All
26
All
27
All
28
All
29
All
Assembly
@
Warning! Before attempting any of the following
instructions, make sure that the appliance is
switched off and unplugged and the appliance is
cold and does not contain any water.
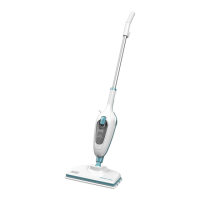
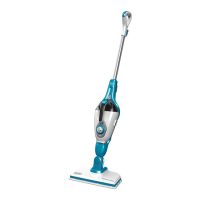
Attaching the handle (Fig. A)
u Slide the bottom end of the handle (8) into the top end of
the steam mop body (11) until it clicks into place.
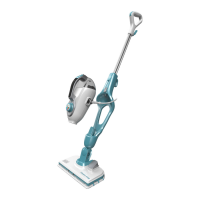
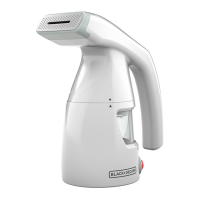
Attaching the hand held steam cleaner (Fig. B)
u Holding the back of the steam mop body (11) push the
handheldsteamcleaner(5)rmlyintothesteammop
body (11) making sure it sits correctly over the interface
(11a) and clicks securely into place.
Removing the hand held steam cleaner (Fig. B)
u Push the release button (10) on the main body (11) and lift
the hand held steam cleaner (5) off the interface (11a) and
away from the main body (11).
Attaching a cleaning pad (Fig. C)
Replacement cleaning pads are available from your
BLACK+DECKER dealer :- (cat no. FSMP20-XJ).
u Placeacleaningpad(13)ontheoorwiththevelcro'loop'
side facing up.
u Lightly press the steam mop down onto the cleaning pad
(13).
Note: Thisunitmaybesuppliedwithastandardoorcleaning
head (12) or a steam burst cleaning head (12a). In either case
usetheseinstructionstotacleaningpad.
Caution! Never leave the steam mop in one spot on any
surface for any period of time. Always place the steam mop
with the handle (8) supported in the upright position when
stationary and make sure the steam mop is turned off when
not in use.
Removing a cleaning pad
Caution! Always wear suitable shoes when changing the
cleaning pad on your steam mop.
Do not wear slippers or open toed footwear.
u Return the handle (8) to the upright position and turn the
steammop'OFF'.
u Wait until the steam mop cools down (approximately 5
minutes).
u Lift the steam mop away from the cleaning pad freeing it
from the velcro fastening.
Caution! Never leave the steam mop in one spot on any
surface for any period of time.
Always place the steam mop with the handle (8) supported in
the upright position when stationary and make sure the steam
mop is turned off when not in use.
Filling the water tank (Fig. O)
Note! Fill the water tank with clean tap water (Do not use any
additives or chemicals).
Note! In areas of hard water, the use of de-ionised water is
recommended.
u Openthellercap(4)byippingitup.
u Fill the water tank with water (Do not use any additives or
chemicals).
Warning!Whenlling,detachfrommainunitandmaintainin
a horizontal position.
Warning! Your water tank has a 0.5 litre capacity. Do not over
llthetank.
u Closethellercap(4).
Note! Ensurethellercapisrmlysecured.