12
ENGLISH
(Original instructions)
13
ENGLISH
(Original instructions)
Do not use the appliance. Inspect the seal on the SteaMitt
TM
and hose If the seal is missing, damaged or any steam
is escaping then please contact your nearest authorised
repair agent. Do not use the appliance. Ensure there is no
blockage or impedence in the SteaMitt
TM
hose or attachment
hose. If any are detected then please contact your nearest
authorised repair agent. Do not use the appliance.
Fitting a cleaning pad to the SteaMitt
TM
(Fig. J)
Warning! Ensure there is no blockage or impedence in
the steam release vents If any are detected then please
contact your nearest authorised repair agent. Do not use the
appliance.
u Fit the cleaning pad (26) to the SteaMitt
TM
(24) by
attachingthe'loop'velcrostrips(26a)ontheupperside
ofthecleaningpad,tothe'hook'velcropads(24a)onthe
underside of the SteaMitt
TM
(24).Pressdownrmly.
Warning! The SteaMitt
TM
shouldnotbeusedwithoutttinga
cleaning pad.
Note: The SteaMitt
TM
accommodates 4 types of cleaning pads
of varying thickness. Scouring pad (for use on tough stains
and non delicate surfaces), Bathroom pad (for use on taps
and other moulded bathroom surfaces), Standard pad (for use
on all larger surfaces) and Polishing pad (for use on delicate
surfaces).
@
@
Warning! Always use the SteaMitt
TM
as shown in
figure K, with your hand inside the protective glove.
Warning! Never attempt to use the SteaMitt
TM
by
gripping it externally as shown in figure L.
This will result in scalding.
@
@
@
@
Warning! Avoid using the SteaMitt
TM
in tight corners
asshowninfigureM.
Warning! Should a problem occur during use,
use the quick release tab to quickly remove the
SteaMitt
TM
fromyourhandasshowninfigureN.
Warning! Do not use the SteaMitt
TM
on cold glass,
such as windows as damage may be caused by the
sudden change in temperature.
Warning! Never point or direct the mitt at yourself
or any other person.
Note: Variable steam dial is disconnected when the
SteaMitt
TM
isttedandsubsequentlytheowofsteamis
limited.
Use
Important! This unit will kill 99.9% of bacteria and germs
when used in accordance with the instructions in this manual
andwiththemicrobrepadsttedandacontinuousruntime
of 90 seconds.
Switching on and off
u Toswitchtheapplianceon,presstheON/Offswitch(1).
It takes approximately 20 seconds for the steam mop to
heat up.
u Toswitchtheapplianceoff,presstheON/Offswitch(1).
Note: always have your hand inside the SteaMitt
TM
before you
press the steam button.
Caution! Never leave the steam mop in one spot on any
surface for any period of time.
Always place the steam mop with the handle (8) supported in
the upright position when stationary and make sure the steam
mop is turned off when not in use.
Caution! Always empty the steam mop after use.
Note! Whenrstlledorafterrunningdry,itcantakeupto45
seconds for steam to be produced.
Autoselect
TM
Technology (Fig. P)
ThissteammopisttedwithanAutoselect
TM
dial (2) which
shows various cleaning applications. They are used to select
the correct operating mode for your particular cleaning
operation.
Using Autoselect
TM
, choose from one of the following
applications by turning the Autoselect
TM
dial (2) until the
required setting is selected.
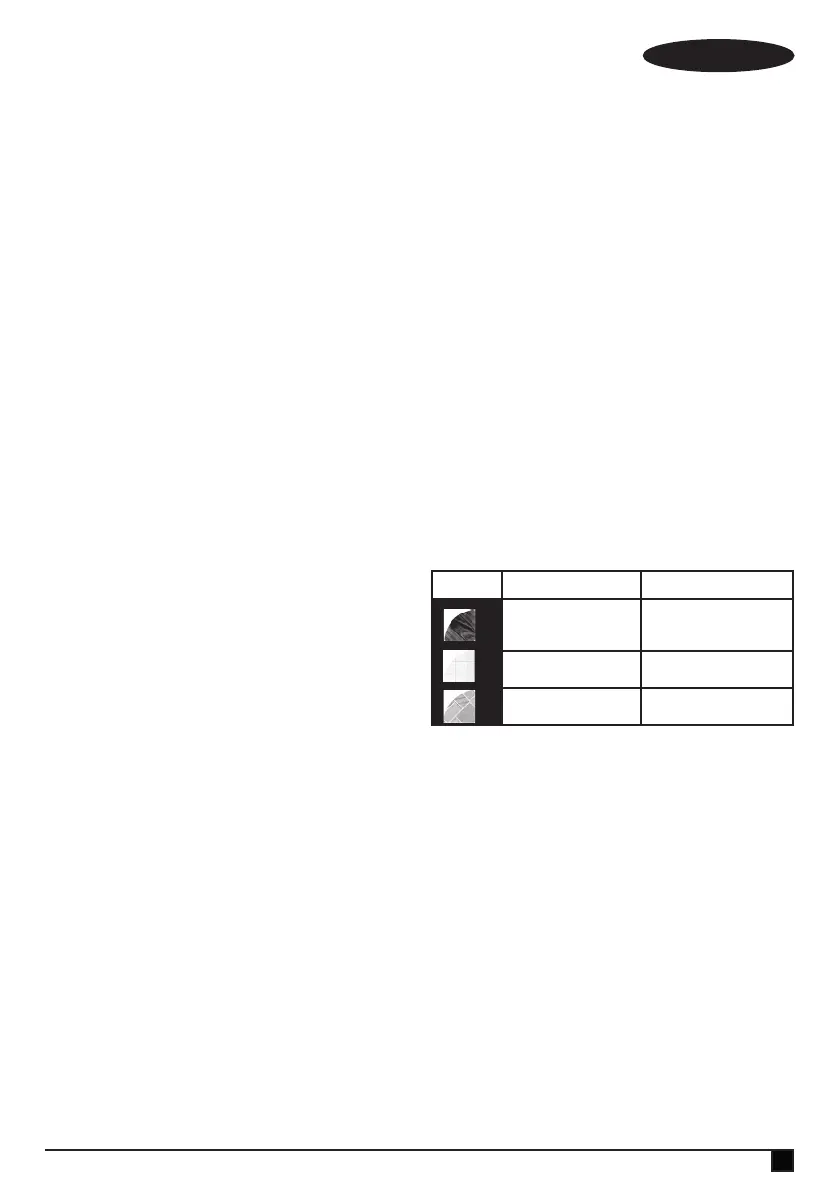
Setting Mop Hand held
Wood/Laminate Lowsteamow
Tiles/Vinyl
Mediumsteamow
Stone/Marble
Highsteamow
The steam mop will select the correct volume of steam
required for your particular cleaning operation.
Note: Always check you are using the correct setting before
using your steam mop.
Hints for optimum use
General
Caution:Neverusethesteammopwithoutrstattachinga
cleaning pad.
u Alwaysvacuumorsweeptheoorbeforeusingthesteam
mop.
u The easiest way to use the appliance is to tilt the handle
to a 45º angle and clean slowly, covering a small area at a
time.
u Use water only with no additives or chemicals with your
steam mop. To remove stubborn stains from vinyl or
linoleumoors,youcanpre-treatwithamilddetergent
and some water before using the steam mop.