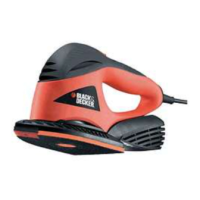
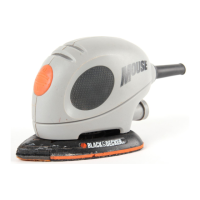
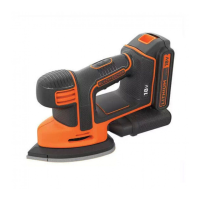
120 grit detailed finger sanding sheet. For a medium finish for detailed sanding. (Part
Number – X3277-XJ)
Assembly
Warning! Before assembly, make sure that the tool is switched off and unplugged.
Fitting sanding mesh (fig. A)
Hold the tool with the sanding base facing
Place the sanding mesh (5) onto the sanding base, making sure that the holes in the sheet line up with the holes in the base
Fitting sanding sheets (fig. B – Optional accessory)
Detach the two additional diamond-shaped tips (7) from the sanding sheet (6).The diamond-shaped tip (7) can be reversed and
replaced when worn.
When the front part of the tip is worn, detach it from the sheet, reverse it and press it onto the sanding base
When the whole tip is worn, remove it from the sanding base and fit a new tip.
For optimal dust collection, ensure the correct type of sanding paper is used.
Finger attachment (fig. C)
The finger attachment is used for fine detail sanding.
Remove the screw (9).
Remove the diamond-shaped tip (8) from the sanding base.
Fit the finger attachment (4) onto the sanding
Fit and tighten the screw.
Fit the appropriate sanding sheet onto the finger attachment.
Fitting and removing the dust cassette (fig. D)
Slide the dust cassette (2) onto the tool and make sure that it is securely located.
To remove the dust cassette, pull it to the rear and off the tool.
Use
Warning! Let the tool work at its own pace. Do not overload.
Switching on and off
To switch the tool on, slide the on/off switch (1) to the forward position l.
To switch the tool off, slide the on/off switch (1) to the back position O.
Emptying the dust cassette
The dust cassette should be emptied every 10 minutes of use.
While holding the tool, pull the dust cassette (2) off the tool.
Remove the cassette lid (10).
Shake the lid (10) and dust cassette (2) to empty the contents, the filter (11) inside the lid (10) can be cleaned with a soft dry
brush.
Refit the lid (10) to be dust cassette(2)
refit the dust cassette(2).
Maintenance
Your tool has been designed to operate over a long period of time with a minimum of maintenance. Continuous satisfactory

 Loading...
