OPERATING INSTRUCTIONS
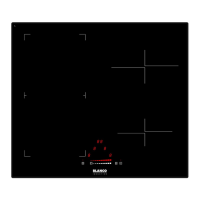
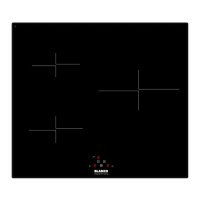
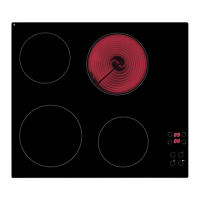
The basic layout of the induction cooktop is shown in the diagrams below.
The induction cooktop appliance is operated by touching the control buttons, with the functions confirmed by
LED displays and acoustic signals. Clean glass surface with a damp cloth and dry before use.
Note: All cooking zones have a pre-set limit on the length of time they will run without any setting changes
(table further in the manual).
The four Cooking Zone Controls are related to the four cooking zones as follows (from left to right):
a) Left rear cooking zone.
b) Left front cooking zone.
c) Right rear cooking zone.
d) Right front cooking zone.
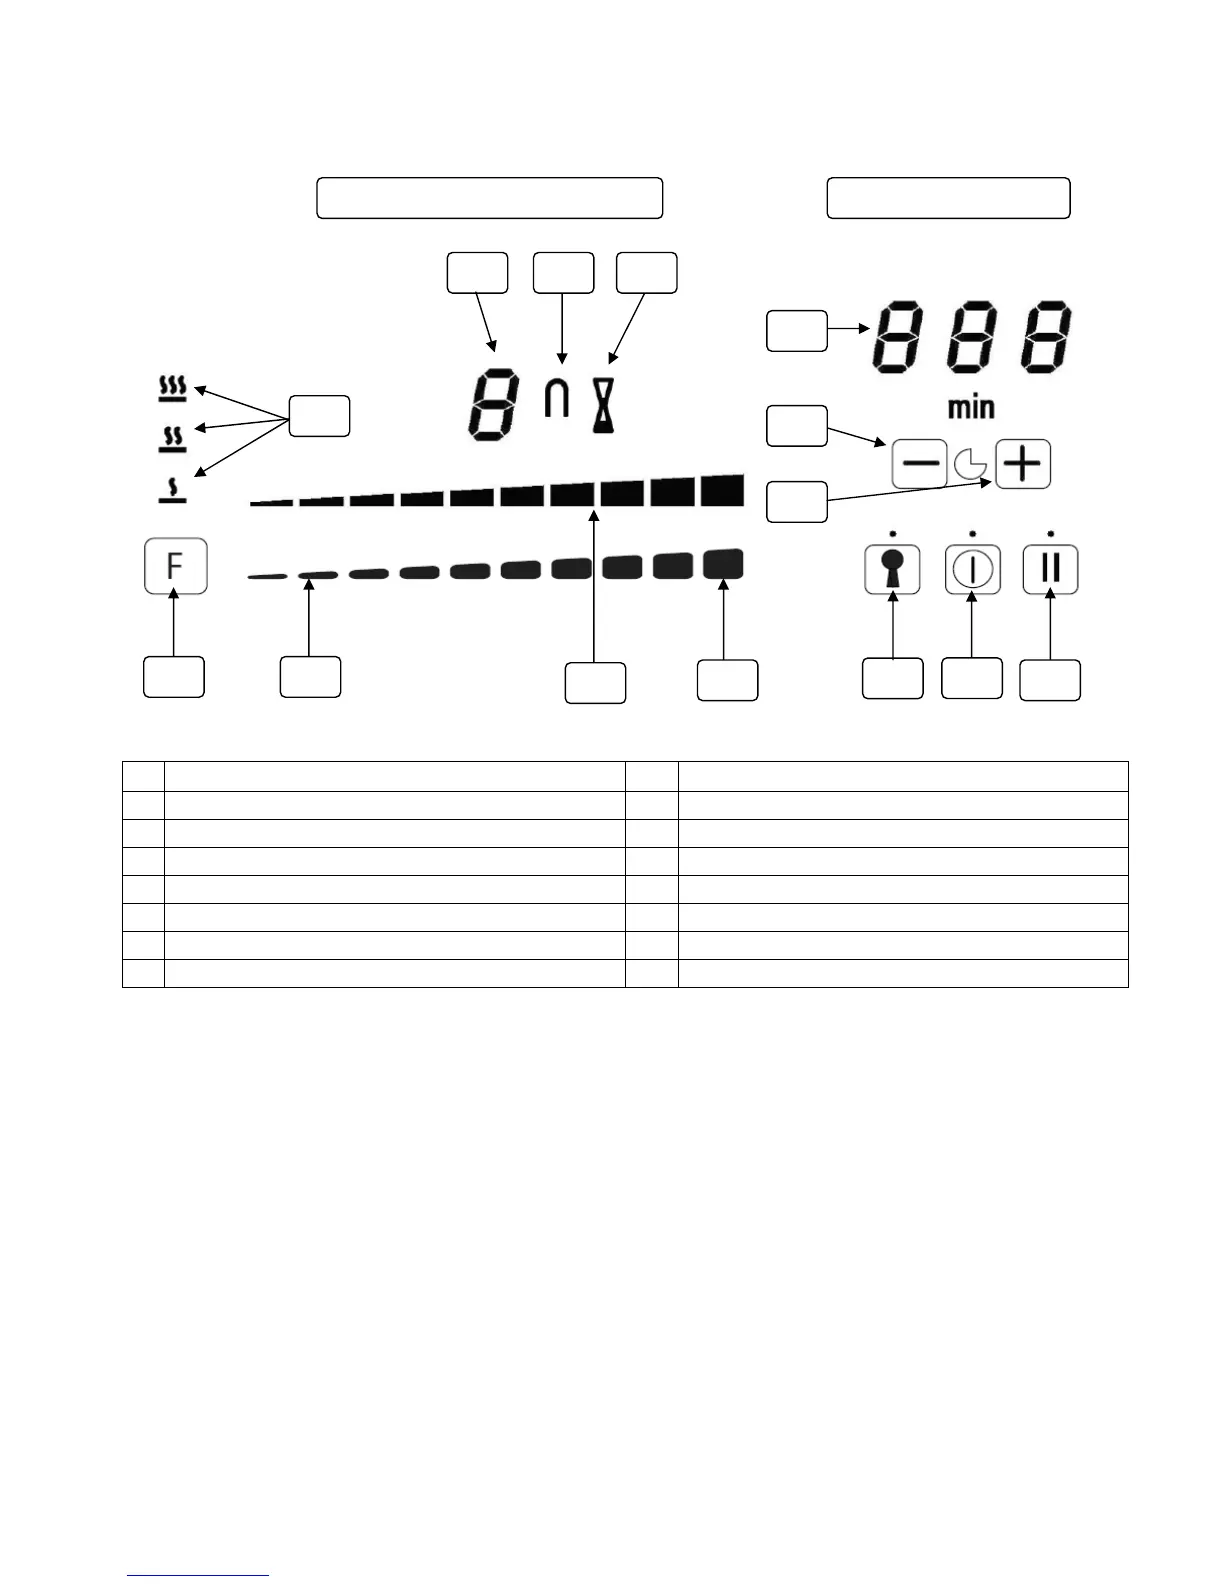
DESCRIPTION DESCRIPTION
01 On/off Power touch control 08 Key Lock touch control
02 Stop N Go/Recall Function touch control 09 Timer Decrease touch control
03 Melting, Keep Warm & Boil Control Function touch control 10 Timer Increase touch control
04 Boost Power touch control 11 Timer LED display
05 Power Slide touch control 12 Cooking Zone Power LED display
06 Power Slide LED Indicator 13 Vertical Bridge Zones Function indicator
07 Melting, Keep Warm & Boil Control Function Setting Icons 14 Timer Set/Active indicator
12
05
01
02
07
10
11
03
04
3
06
08
09
13
COOKING ZONE CONTROL MAIN CONTROL
14