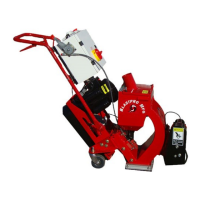
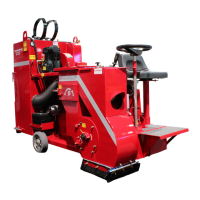
© 2011 Blastpro Manufacturing Inc.
®
8. Verify that the switch on the control panel of the shot blasting machine is set to the
OFF position.
9. Verify that the switch on the control panel of the dust collector is set to the OFF
position.
10. After confirming proper voltage with a voltmeter, insert the plug from the shot
blasting machine into a 230 volt electrical outlet. Site power should never drop
below 187 volts.
11. After confirming proper voltage with a voltmeter, insert the plug from the dust
collector into a 230 volt electrical outlet. For the dust collector, use an outlet which
is operated by a separate circuit breaker than is being used to power the shot
blasting machine.
12. Make sure that any hardwiring or circuit breaker changes are performed by a
licensed electrician.
13. Before loading the steel shot into machine, turn the switch on the shot blasting
machine & the dust collector to the ON position for two minutes so as to verify that
the circuit breaker will not trip.
14. Disconnect the hose from the shot blasting machine to verify that the dust collector
has proper suction.
15. After verifying proper suction, reconnect the hose to the shot blasting machine.
16. Check the seals on the shot blasting machine to verify that the seals are set at the
proper height. The seals should be rubbing the surface of the concrete or steel.
17. Insert drive pin.
18. Place a handful of steel shot in front of the shot blasting machine.
19. Push the shot blasting machine over the handful of steel shot. This will attach the
steel shot to the magnetic seals & prevent shot from escaping from the shot
blasting machine. Be certain to dispose of any shot that remains on the surface to
be blasted.
20. Pour steel shot into the shot blasting machine shot hopper to the bottom of the
screen.
21. Turn the switch on the shot blasting machine to the ON position, turn pot switch up
to desired speed & drive the shot blasting machine forward as you push the shot
valve to open the shot valve, & verify that the blast pattern is uniform. If blast
pattern is uniform, then proceed to step #23. If blast pattern is not uniform, then
release the shot valve handle to close the shot valve, turn the switch on shot
blasting machine to the OFF position, & proceed to step #21.
22. Adjust the control cage (if necessary, refer to Setting the Blast Pattern section
below).
23. Turn the switch on the shot blasting machine to the ON position, open the shot
valve, squeeze the shot valve handle & push the shot blasting machine. Be sure
to verify that the blast pattern is uniform.
24. Once blast pattern is uniform, start shot blasting.
25. After approximately ten feet of shot blasting, close the abrasive valve, stop the
machine, shut off blast wheel & inspect the recently blasted area.
26. If test area appears to have been blasted evenly, proceed to step #27.
27. If test area appears to have been blasted unevenly, then go to the section in this
manual that addresses “Setting the Blast Pattern.” After adjusting the blast pattern
to a satisfactory degree, proceed to step #27.