Blichmann Engineering, LLC 2016 BeerGun Owners Manual NEW-V1
For replacement parts visit blichmannengineering.com
Step Six:
Slip the 10ft length of 3/16 ID beer hose onto the end of
the beer tube about 3/8” as shown. Sliding it on further makes it more
difficult to remove and is unnecessary for sealing. Install the black
liquid ball lock connector to the other end of the hose. (Figure 7)
Step Seven:
Connect the CO
2
hose to the fitting on the rear of the
grip. A snug fit is all that is needed – take care not to overtighten this
fitting. (Figure 8)
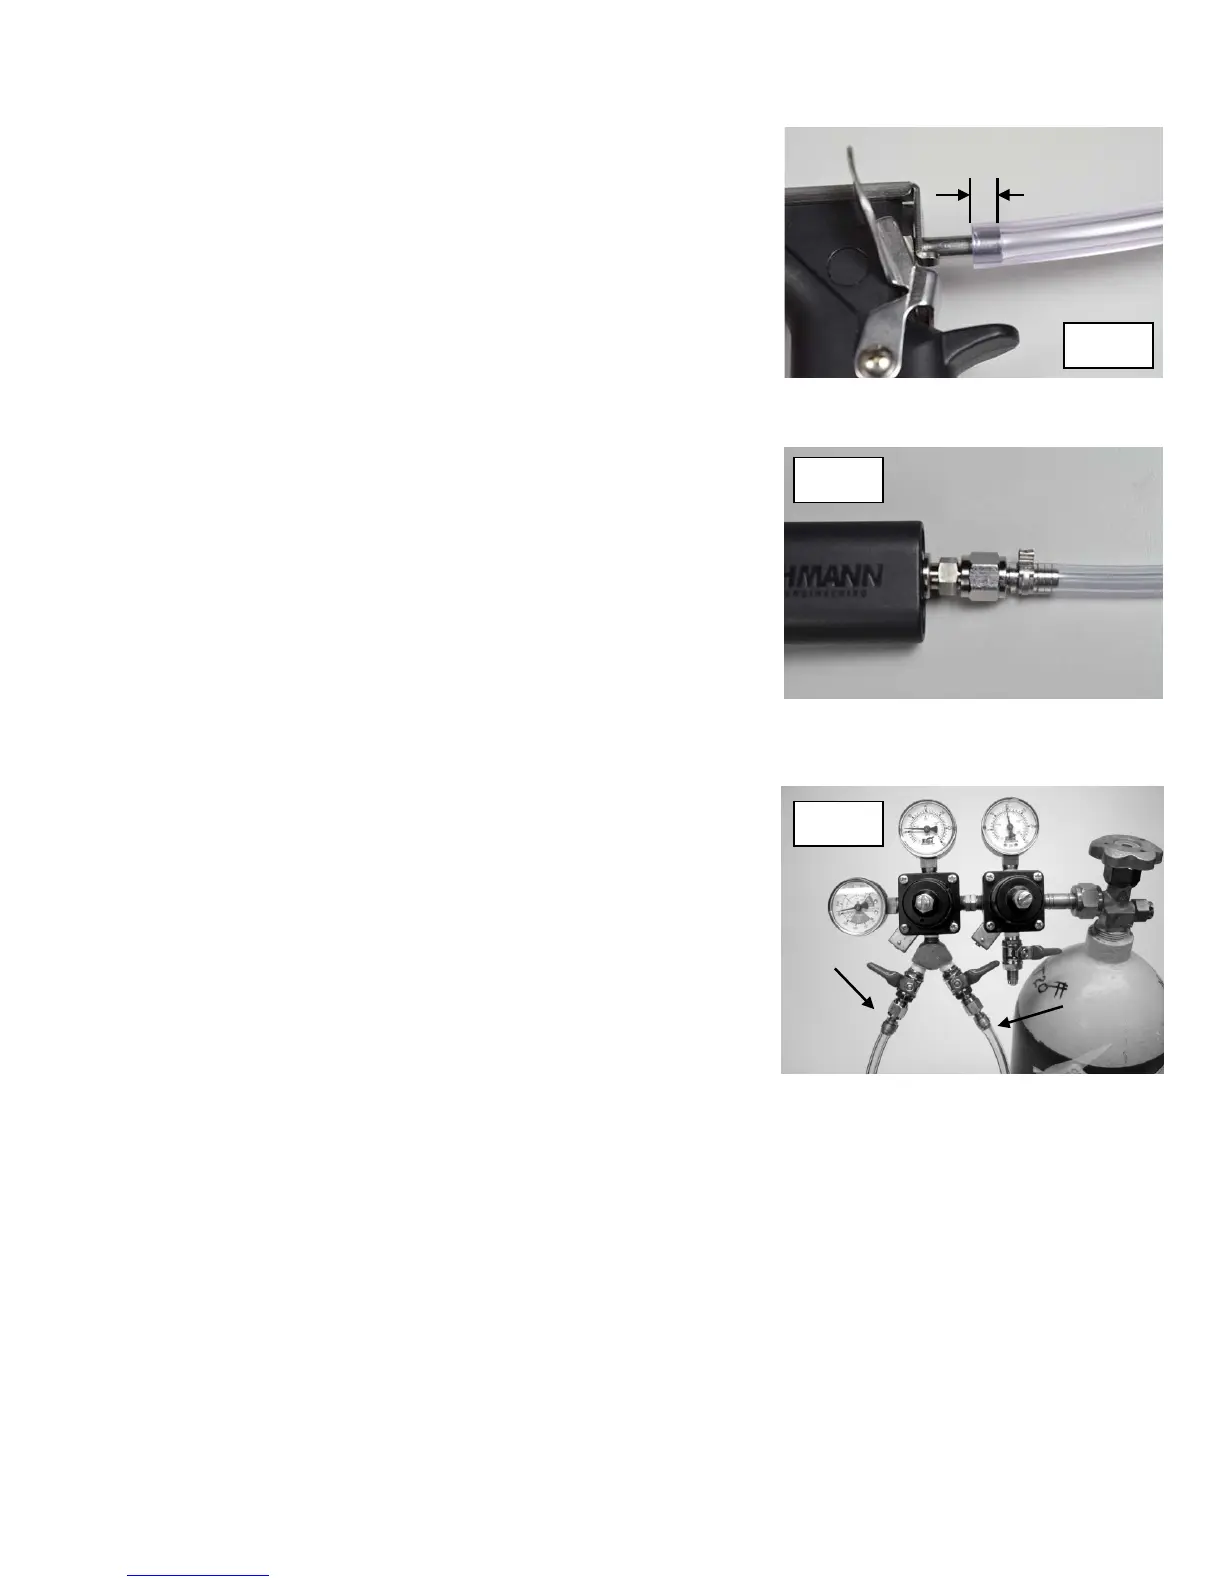
Step Eight: Connect the CO
2
hose to the regulator “Y” fitting or to the
second regulator as shown. (Figure 9)
If you have a dual regulator setup, it is convenient to use one regulator
to purge bottles at 15-20 PSI, and the other regulator to pressurize the
keg for dispensing.
2