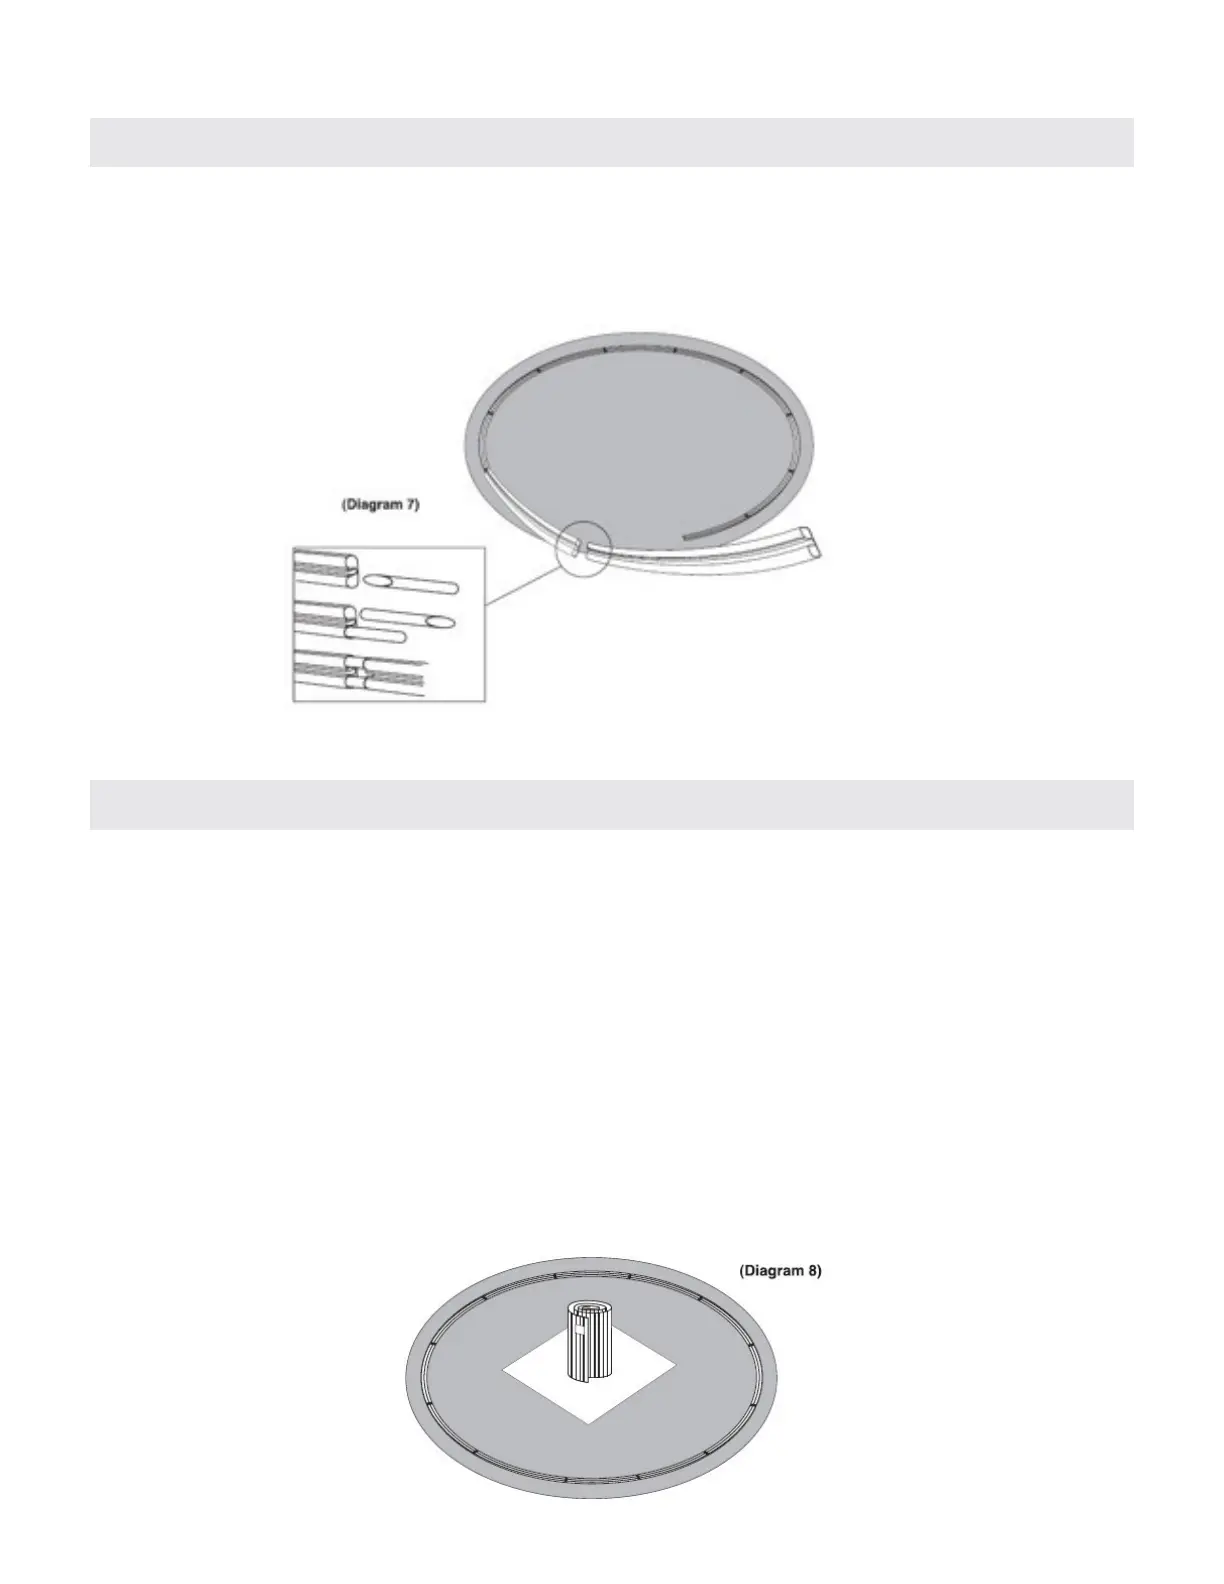
• Place the base pieces equally around the circle line drawn in step 1, slide the rail connectors into
one end of the base rail, and then connect another base rail, continue around the circle until all
base rails are joined together except for the last one. Leave the last joint unconnected and the
excess length of the last bottom rail uncut until the wall installation step is completed. (see diagram
7, 10, and 11).
INSTALLING THE POOL WALL
DO NOT ATTEMPT WALL INSTALLATION ON A WINDY DAY!
CAUTION: It is advisable to wear protective gloves when handling the metal wall.
CAUTION: Have 2 or 3 additional people for the installation of the pool wall into the bottom rail. This
is necessary to hold the pool wall upright until the wall ends are connected and the bolts have been
inserted in the bolt holes.
HELPFUL HINT: Use tent stakes, string, and “S” hooks stretched out from several points around the
pool to hold up the wall until the liner installation is complete and the pool is partially filled
with water.
• Put the pool wall on a 4-ft x 4-ft plywood (see diagram 8). This is to protect the leveled ground while
installation of the pool wall is taking place.