16
Installation
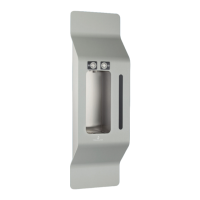
Unpacking
Remove the two plastic tape and the
internal packing.
Carefully check that the unit has not
been damaged during transport. Any
signs of damage must be reported to the
forwarder immediately.
Ensure that a qualified technician
connects it to the electric supply following
the manufacturer’s instructions and
according to the local safety regulations.
The end user is not permitted to access
the internal service parts of the unit. Only
technical personnel should carry out
operations of this nature.
Siting the unit
Wear safety gloves when handling the
unit. Take care when touching the metal
parts, which could be sharp.
Site the unit away from sources of heat
and on a flat and strong surface suitable
to support its weight.
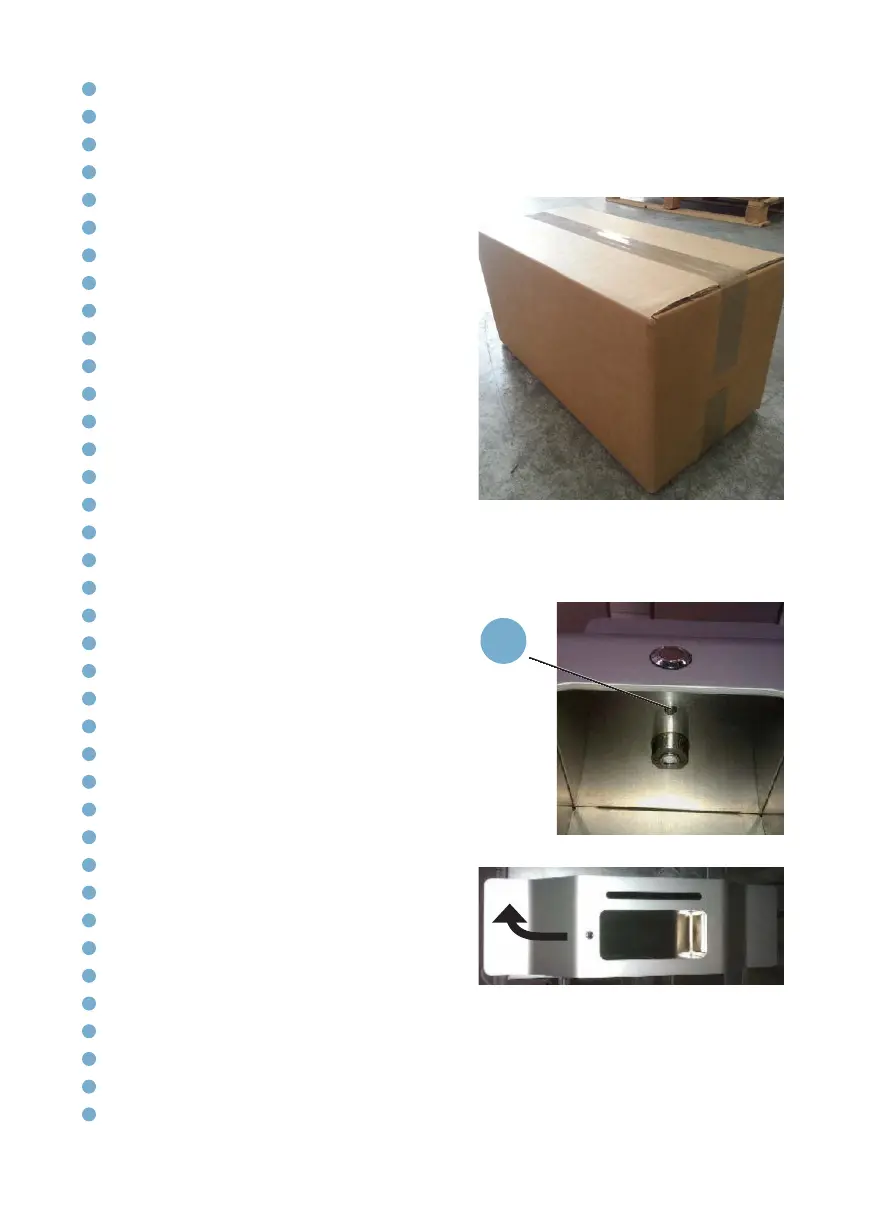
Unscrew the cross head screw placed on
the top surface of the supply zone, near
the nozzle (1).
Separate the aluminium cover and the
sides from the rear frame, pushing up and
pulling towards yourself (fig. 16.3).
Unplug the electrical connector (2, fig.
17.1).
Using some screws, fix the unit on the 4
Ø6 holes on the back.
Use the provided washers to separate
the frame from the wall and appropriate
screws and anchors according the type of
wall.
Fig. 16.\
Fig. 16.2
Fig. 16.3
1