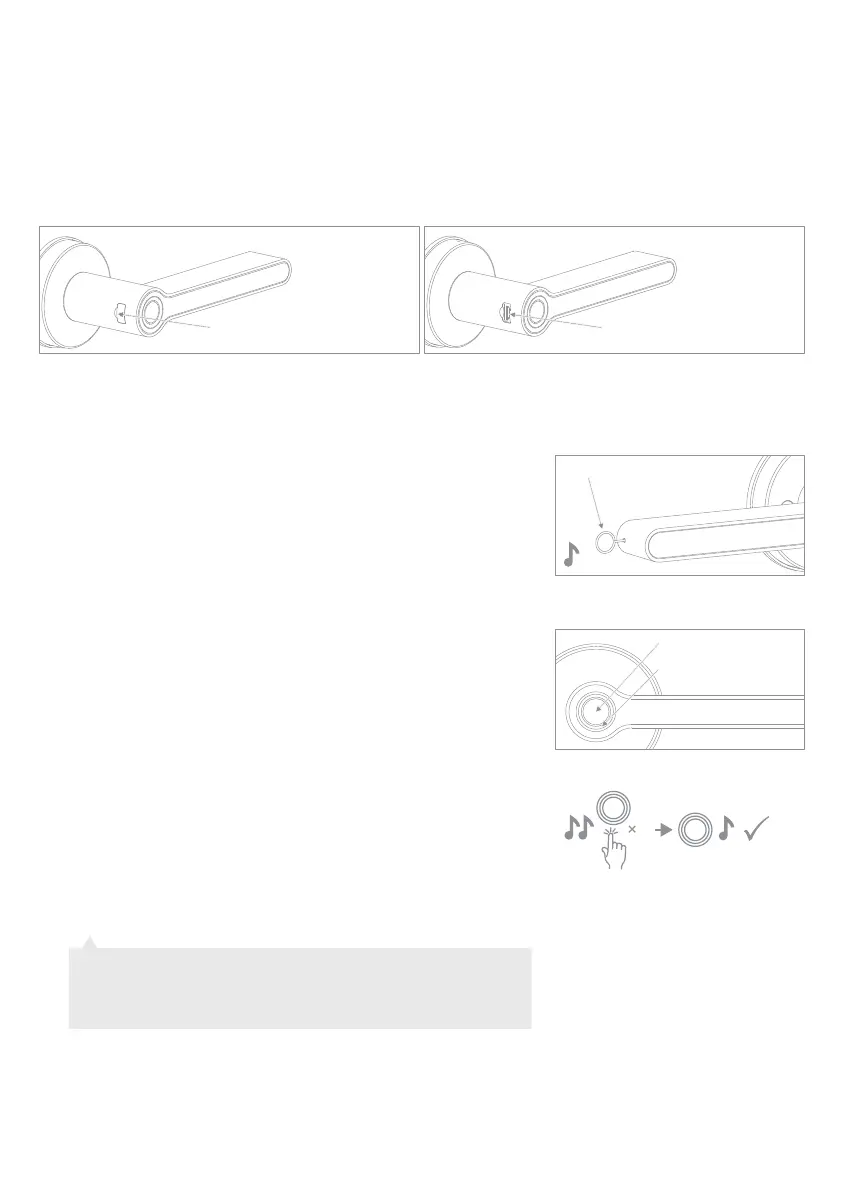
USB Socket
If the handle runs out of battery, you can use a mobile power pack to power the handle.
Open the rubber charging cover next to the fingerprint sensor on the external handle. Insert a Micro-USB
cable into the handle and charge using a mobile power bank or USB mains device.
The handle also has a backup key that can be used in this scenario.
Emergency Power Supply
Fingerprint Registration
The FIRST 3 fingerprints registered will become ADMIN
fingerprints. The ADMIN fingerprints are required to authorise
adding any new fingerprints, or erasing fingerprint data. Please
ensure the ADMIN fingerprints belong to the main user or
trusted users.
To set up the first ADMIN fingerprint, use the setting needle (K)
to press the set button. The set button is located in the end of
the internal handle (see diagram). Press the button once, 1 beep
will sound and the LED lights up BLUE.
Press the fingerprint sensor, you will hear a long beep and the
LED will flicker GREEN, then turn BLUE. To add your desired
ADMIN fingerprint, briefly place your finger/thumb on the
sensor and then REMOVE it when you hear a double beep
(touch and remove), repeat this 3 more times until the LED
turns GREEN and you hear a beep. (When adding fingerprints,
it is recommended that you press your finger/thumb in
different positions so that the fingerprint data is fully collect-
ed).
Your ADMIN fingerprint is now registered.
To set up the 2nd and 3rd ADMIN fingerprints, repeat this
process from step 2a. When the LED turns BLUE, press the
sensor with an ADMIN fingerprint (You need to use the 1st or
2nd ADMIN fingerprint to authorise adding the 2nd or 3rd).
Follow the process in 2b again.
2. How to set up ADMIN Fingerprints
2a
2b
2c
Note: You do not need to add all 3 ADMIN fingerprints at once,
however keep in mind that the first 3 registered prints will all be
ADMIN users. (If you wish to be the only ADMIN user, register the
first 3 fingerprints as your own)
Rubber Cover
4
Fingerprint Sensor
Circular LED
Setting button once
P-14
 Loading...