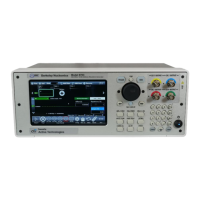
Once you’ve set the Sampling Rate as you see fit, you can start adding in your desired Tones. To add a
Tone, you only need to tap onto the button, then a dialog box will open and
within it, you can set the characteristic parameters of a Tone: Frequency, Amplitude, Phase.
This kind of waveform doesn’t have Auto Calc, yet it works in similar fashion to the Length & Cycles option
that auto calc powered waveforms have. As such, while still being displayed, the Length parameter isn’t
directly customizable, but it’s determined each time you add or remove a Tone.
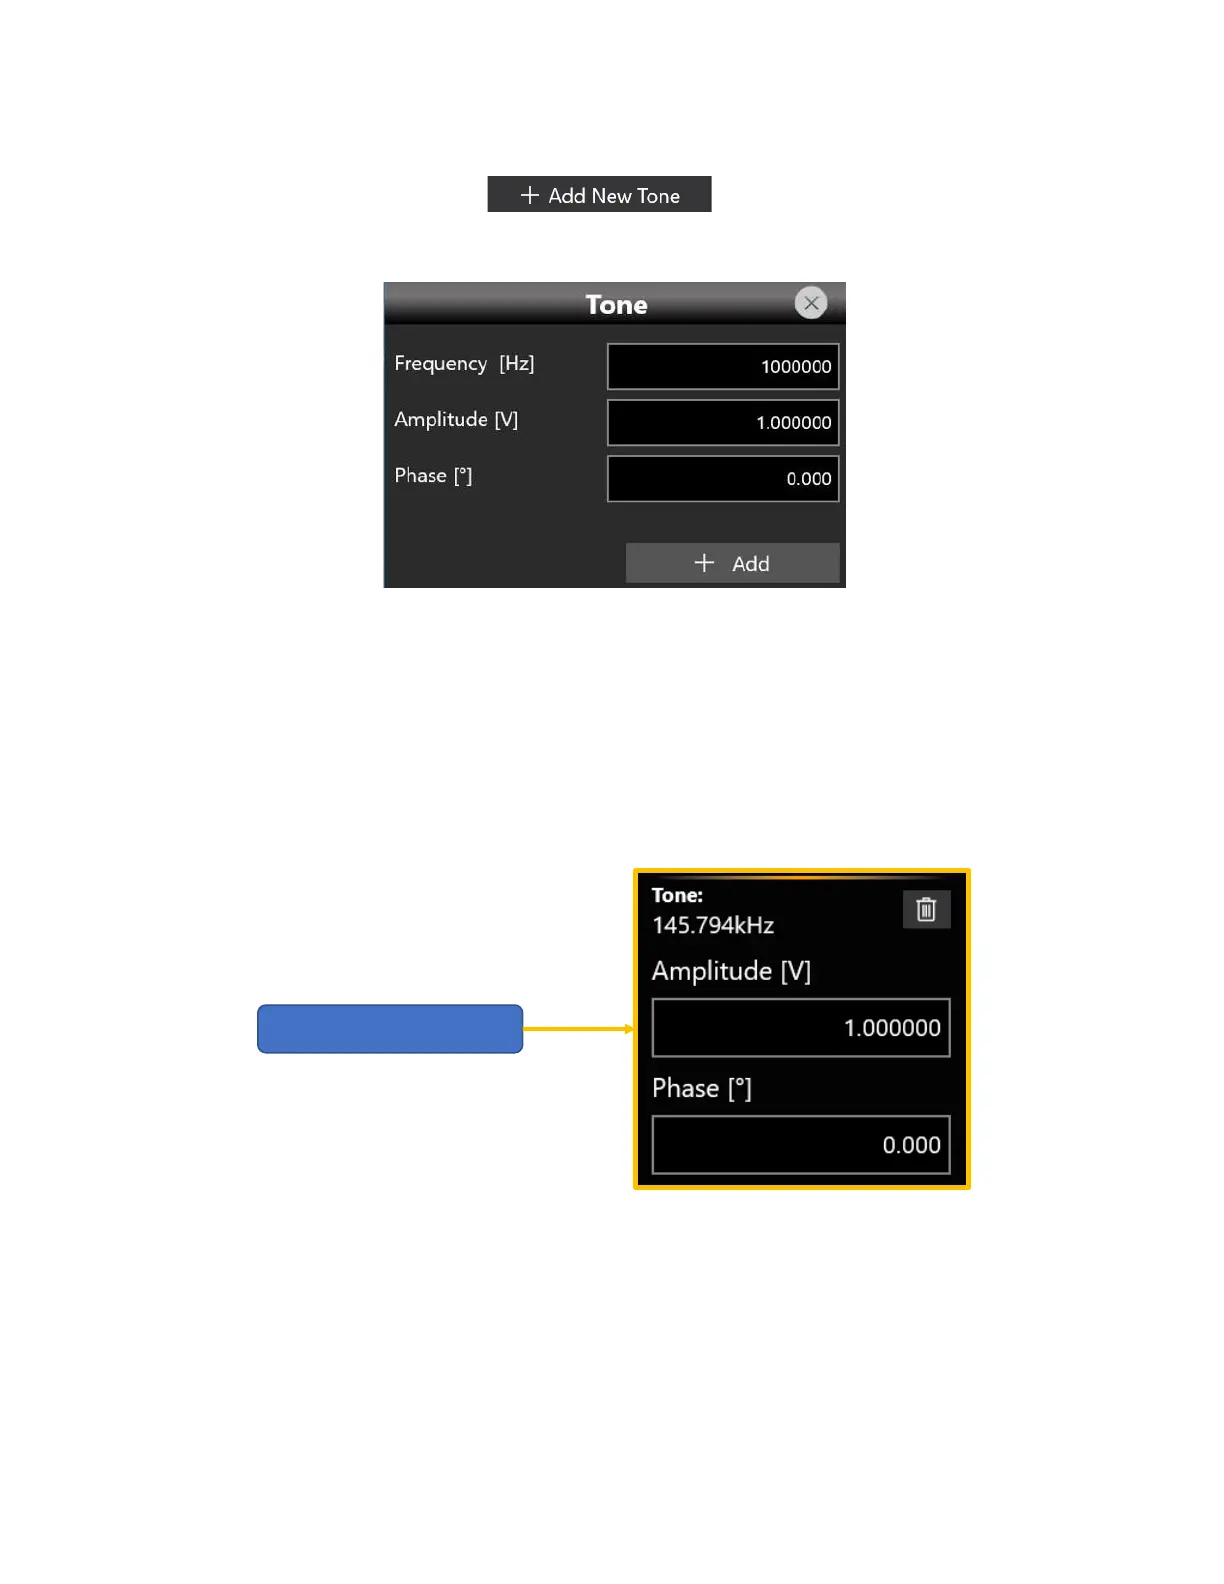
Once you have finished adding in your set of tones, you can further customize their Amplitude and Phase
on a tone-by-tone basis, as shown in the image below, simply interacting with each tone “card” in the
tone “queue”.
You can’t change the Tone Frequency though, more so as soon as a single Tone is present in the tone
queue, trying to alter the Sampling Rate will result in a warning message, prompting you to either dismiss
the change or deleting all queued tones before changing the Sampling Rate.
Whilst you’re adding a tone, it may happen that you mis-enter its frequency. If you want to delete a
tone you can follow two distinct routes:
 Loading...