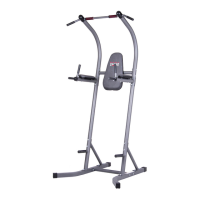
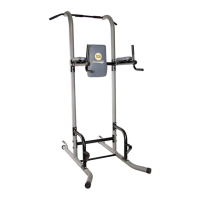
PBC528 PBC530 PBC602 Page 8
Assembly STEP 2
A.
Align and attach the left Upright Angle Support Frame (#04) to
the left Bottom Frame (#02). Insert two Carriage Bolts (#15)
through the bottom of the left Bottom Frame (#02). Please hand
tighten the two Nylon Nuts (#20) on the lower portion for now as it
may be dicult to align the holes for the upper portion if the parts
are too tightened at this point in assembly.
B.
Align and attach Left Upright Frame (#03) to the Left Bottom
Frame (#02) and Upright Angle Support Frame (#04). Insert two
Hex Bolts (#16) through both Left Upright Angle Support Frame
(#04) and Left Upright Frame (#03). Secure them together using
two Big Washers (#19) and two Nylon Nuts (#20).
C.
Align two Reinforcement Plates (#10) to Left Bottom Frame
(#02) and Left Upright Frame (#03) as illustrated. Insert four Hex
Bolts (#17) through one Reinforcement Plate (#10), left Bottom
Frame (#02), left Upright Frame (#03), and one other
Reinforcement Plate (#10). Secure them together using four
Nylon Nuts (#20).
D
Align and attach Left Upright Frame (Lower) (#03) to the Left
Upright Frame (Upper) (#23). Secure with four Hex Bolts (#25),
four Washers (#26) and two Reinforcement Plates (#24) from the
side. Then use one Hex Bolt (#25) and one Washer (#26) from the
front.
E.
Repeat this process on the other side.
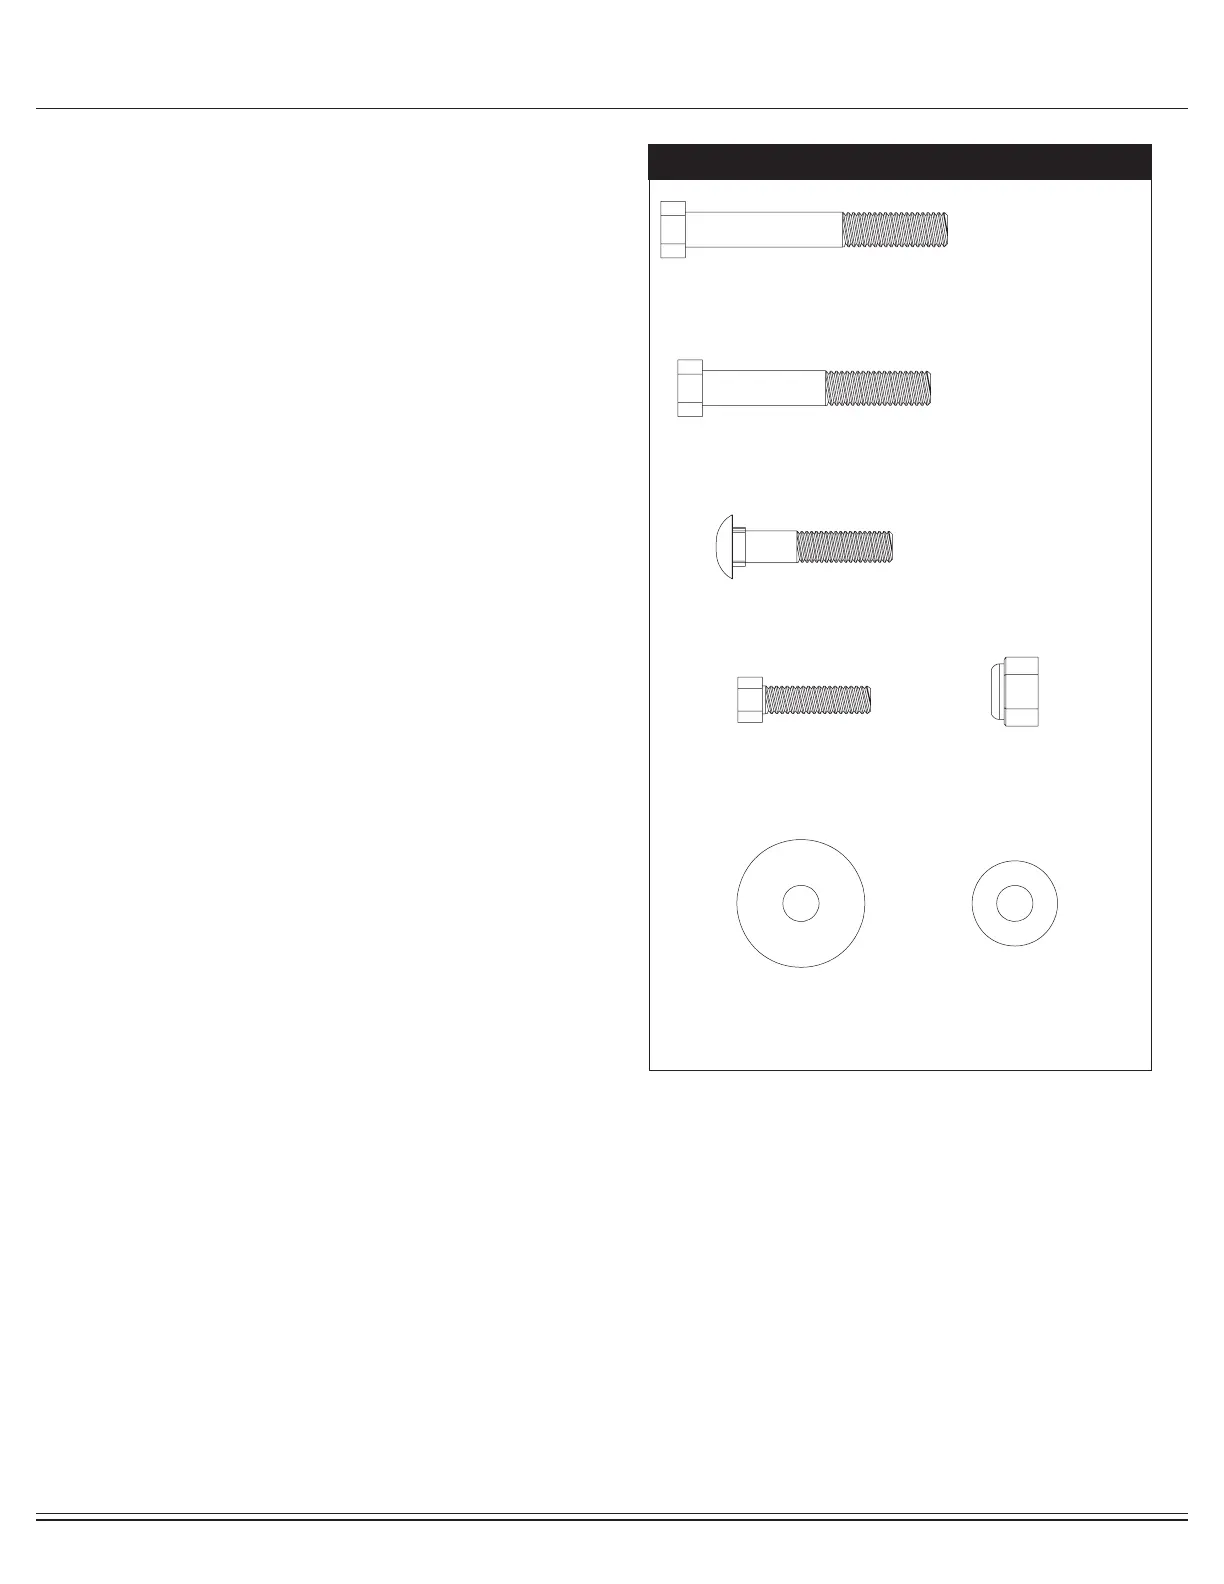
Hardware Required
#17 Hex Bolt (M10x80 mm)
[8 Pieces]
#16 Hex Bolt (M10x60 mm)
[4 Pieces]
#19 Big Washer (M10)
[4 Pieces]
#26 Washer (M8)
[10 Pieces]
#15 Carriage Bolt (M10x45 mm)
[4 Pieces]
#25 Hex Bolt (M8x20 mm)
[10 Pieces]
#20. Nylon Nut (M10)
[16 Pieces]
 Loading...