18
NOTE
NOTENOTE
NOTE:
::
:
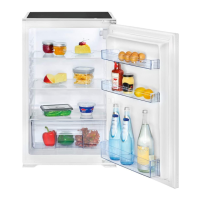
Production residue or dust may have collected on the
appliance. We recommend cleaning the appliance
according to chapter “Cleaning and Maintenance”.
Appliance Equipment
Appliance EquipmentAppliance Equipment
Appliance Equipment
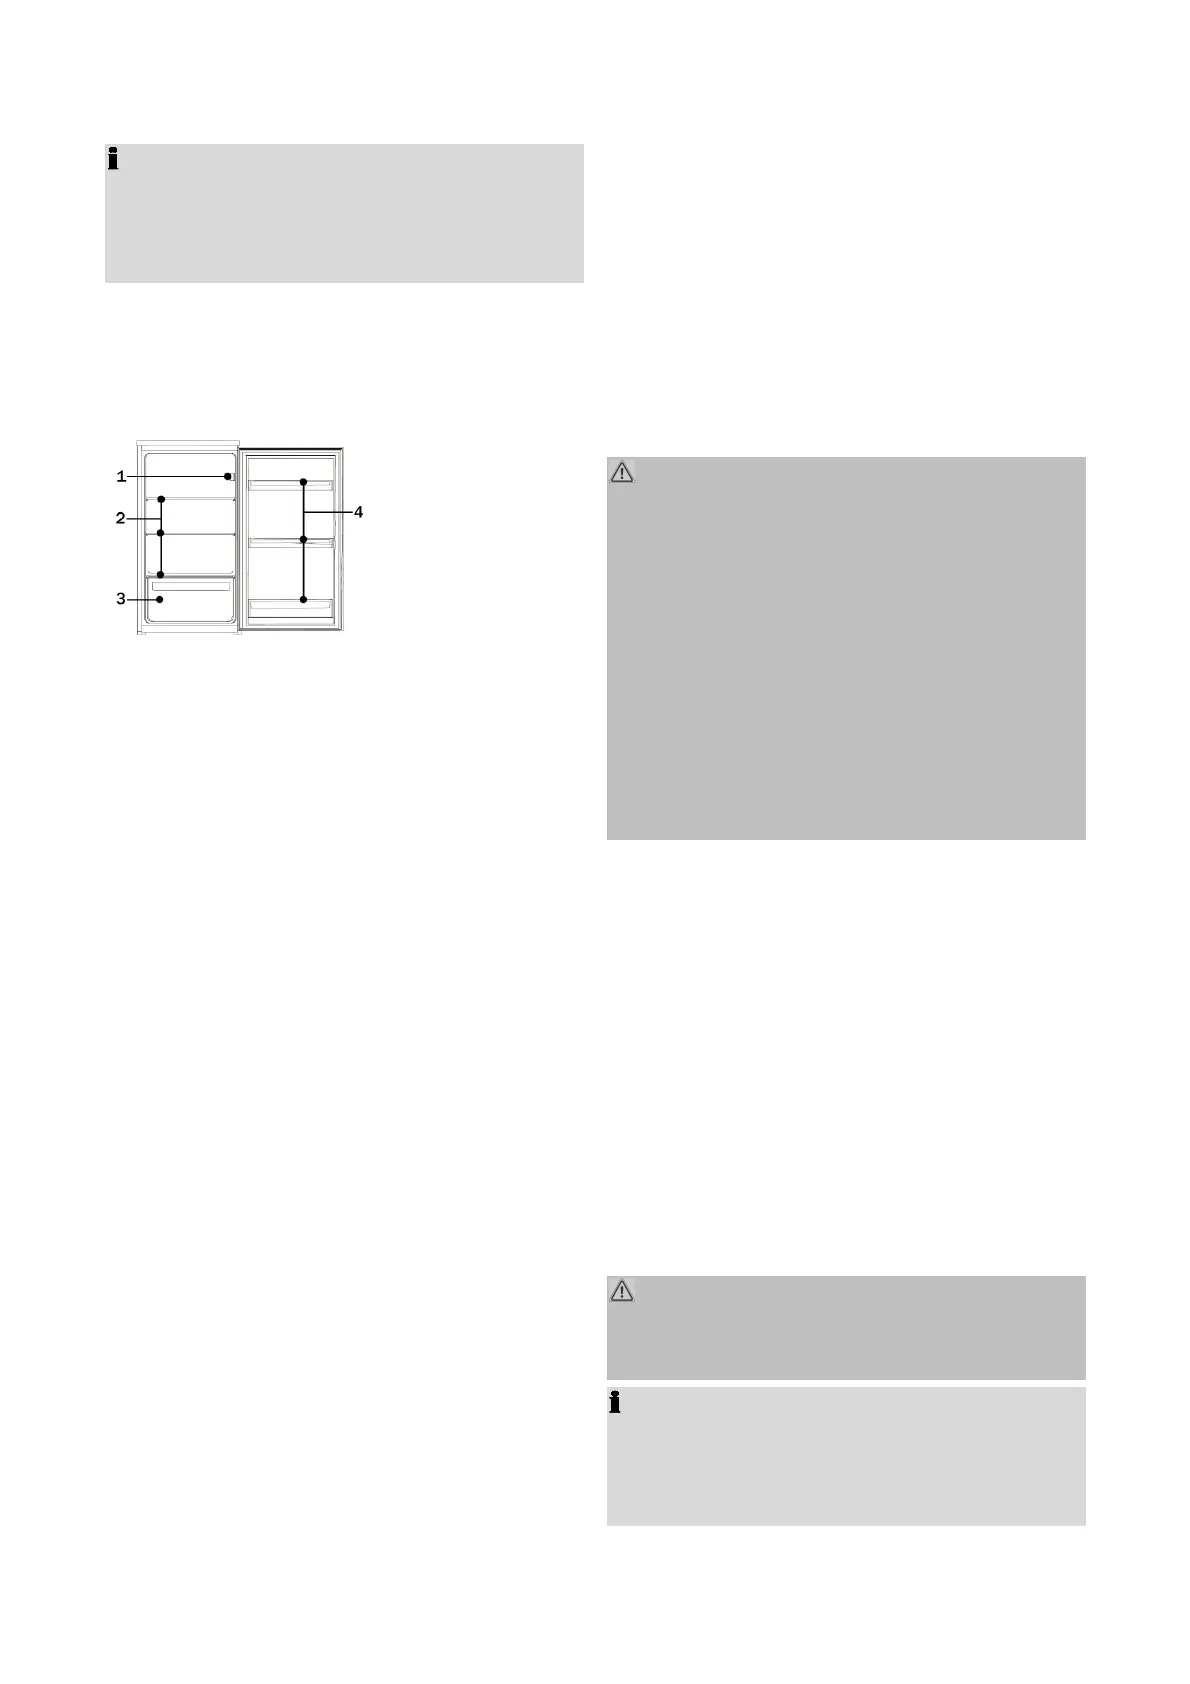
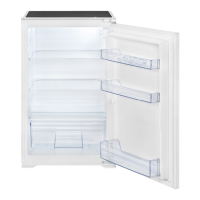
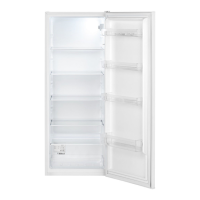
Appliance overview
Appliance overviewAppliance overview
Appliance overview
1
11
1
Temperature
control / light
2
22
2
Glass shelves
3
33
3
Vegetable box
4
44
4
Door storage
racks
Delivery scope
Delivery scopeDelivery scope
Delivery scope
3x glass shelf, 1x vegetable box, 3x door storage
rack, 1x egg tray, incl. mounting material
Installation
InstallationInstallation
Installation
Conditions fo
Conditions foConditions fo
Conditions for the installation location
r the installation locationr the installation location
r the installation location
• Good ventilation is required around the appliance
to dissipate the heat properly and to guarantee ef-
ficient cooling operation at low power consump-
tion. Enough clearance is necessary.
- Refer to the instructions which we give you in
“Built-in”;
- Place the appliance so that the appliance door
can open without being impeded.
• Only install at a location with an ambient tempera-
ture suitable for the climate class of the appliance.
For information on the climate class, please refer
to the “EU Product Data Sheet” or to the rating la-
bel located in the interior or on the appliance rear.
• Look for stable, horizontal appliance position.
• Avoid the installation:
Avoid the installation:Avoid the installation:
Avoid the installation:
- near heaters, next to a stove, direct sunlight or
any other heat sources;
- at locations with high humidity (e.g. outdoors,
bathroom), as metal parts would be suscepti-
ble to corrosion under such circumstances;
- near volatile or flammable materials (e.g. gas,
fuel, alcohol, paint, etc.), in rooms which may
have poor air circulation (e.g. garages).
- Do not expose the appliance any weather.
Elec
ElecElec
Electrical connection
trical connectiontrical connection
trical connection
WARNING:
WARNING:WARNING:
WARNING:
• The installation to the mains supply must conform
to the local standards and regulations.
• Improper connection may cause to an electric
electric electric
electric
s
ss
sh
hh
hoc
ococ
ock
kk
k!
• Do not modify the appliance plug. If the plug does
not fit properly to the outlet, let install a proper
outlet by an authorized specialist.
• The accessibility of the power plug must be en-
sured to disconnect the appliance from the power
supply in case of emergency.
• Make sure that the voltage supply matches the
specifications on the rating label before connect-
ing.
• Connect the mains cable to a properly installed
and earthed wall outlet.
• If the plug after installation is not accessible, a
corresponding disconnect device must be availa-
ble to meet the relevant safety regulations.
Reversing the d
Reversing the dReversing the d
Reversing the door opening
oor openingoor opening
oor opening
If required, the door opening can be moved from the
right (supplied condition) to the left side.
W
WW
WARNING:
ARNING:ARNING:
ARNING:
When replacing the door stop, the appliance must be
disconnected from the power supply first.
NOTE
NOTENOTE
NOTE:
::
:
• Ask another person to assist.
•
You possibly need:
screw wrench, Phillips screw-
driver as well as a thin-blade screwdriver.