English | 11
Bosch Power Tools 1 609 92A 0KD | (7.5.14)
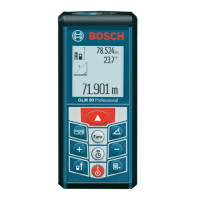
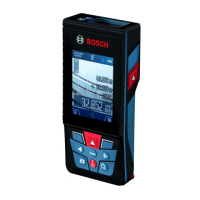
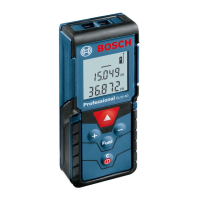
g Battery charge-control indicator
h Laser, switched on
i Measurement reference level
k Temperature warning
Assembly
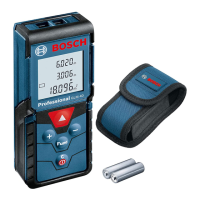
Battery Charging
Do not use a different battery charger. The battery
charger provided is matched to the lithium-ion battery in-
stalled in your measuring tool.
Observe the mains voltage! The voltage of the power
source must correspond with the data on the type plate of
the battery charger.
Note: The battery supplied is partially charged. To ensure full
capacity of the battery, completely charge the battery in the
battery charger before using your power tool for the first time.
The lithium-ion battery can be charged at any time without re-
ducing its service life. Interrupting the charging procedure
does not damage the battery.
When the bottom segment of the battery charge-control indi-
cator g flashes, only a few more measurements can be carried
out. Charge the battery.
The charge procedure begins as soon as the mains plug of the
battery charger is plugged into the socket outlet and the
charge connector 21 is plugged into socket 14.
The battery charge-control indicator g indicates the charging
progress. During the charging procedure, the segments flash
one after the other. When all segments of battery charge-con-
trol indicator g are displayed, the battery is completely
charged.
Disconnect the battery charger from the mains supply when
not using it for longer periods.
The measuring tool cannot be used during the charging proce-
dure.
Protect the battery charger against moisture!
Recommendations for Optimal Handling of the Battery
Store the battery only when within the allowable temperature
range, see “Technical Data”. As an example, do not leave the
battery in a vehicle in summer.
A significantly reduced working period after charging indi-
cates that the battery is used and must be replaced.
Observe the notes for disposal.
Operation
Initial Operation
Protect the measuring tool against moisture and direct
sun light.
Do not subject the measuring tool to extreme tempera-
tures or variations in temperature. As an example, do
not leave it in vehicles for a long time. In case of large vari-
ations in temperature, allow the measuring tool to adjust to
the ambient temperature before putting it into operation.
In case of extreme temperatures or variations in tempera-
ture, the accuracy of the measuring tool can be impaired.
Avoid heavy impact to or falling down of the measuring
tool. After severe exterior effects to the measuring tool, it
is recommended to carry out an accuracy check (see “Ac-
curacy Check and Calibration of the Grade Measurement
(see figure H)” and “Accuracy Check of the Distance Meas-
urement” on page 15) each time before continuing to
work).
Switching On and Off
Do not leave the switched-on measuring tool unattend-
ed and switch the measuring tool off after use. Other
persons could be blinded by the laser beam.
For switching on the measuring tool, the following possibili-
ties are given:
– Pressing the On/Off button 8: The measuring tool is
switched on and is in length measurement mode. The laser
is not activated.
– Pressing the measuring button 2: Measuring tool and laser
are switched on. The measuring tool is in length measure-
ment mode. When the measuring tool is inserted in the
measuring rail 24, the grade measurement function is acti-
vated.
Do not point the laser beam at persons or animals and
do not look into the laser beam yourself, not even from
a large distance.
To switch off the measuring tool, press the On/Off button 8
for a few seconds.
When no button on the measuring tool is pressed for approx.
5 minutes, the measuring tool automatically switches off to
save the batteries.
When the angle is not changed for approx. 5 minutes when in
the “Grade measurement” operating mode, the measuring
tool automatically switches off to save the batteries.
When switching off automatically, all stored values are re-
tained.
Measuring Procedure
When the measuring tool is inserted in the measuring rail 24,
it is always in the length measurement or grade measurement
function after switching on by pressing the measuring button
2. Other measuring modes can be switched to by pressing the
respective function/mode button (see “Measuring Func-
tions”, page 12).
Volume measurement
Continuous measurement
Indirect height measurement
Double indirect height measurement
Indirect length measurement
Timer Function
Wall-surface measurement
Grade Measurement

 Loading...