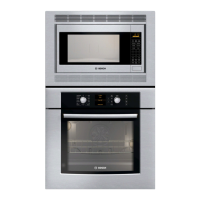
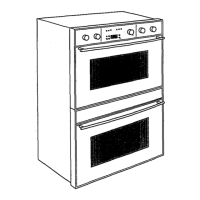
Service Manual for Bosch Built-in Wall Ovens
1. Press and hold Info for two seconds to access the Setup
menu.
2. Remove the 2 T20 screws on either side of the element
terminals.
2. Press the arrows UV to advance through the menu to Oven
Temperature Offset.
3. Pull the element toward you so that the terminal wires are
inside the oven cavity.
4. Disconnect the wires from the inner broil element terminals.
3. Rotate the Settings dial to set the desired value.
5. Use an ohmmeter to check for resistance of ~16 ohms.
4. Press the arrows UV to advance to the next menu item,
which will confirm the offset entry.
4.8 User Interface
5. Press Info to exit the Setup menu.
Figure 12 reflects the variations of the B1, B2, and B3 user interfaces
used in the Bosch ovens.
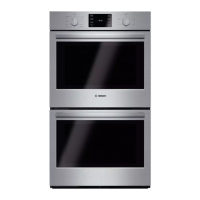
Note: for double ovens, an offset can be entered separately for each
oven by selecting either Up. Offset or Lo. Offset from the menu.
4.6.1.3 HBL8x50
The oven must be Off in order to access the menu.
1. Press and hold Info for two seconds to access the Setup
menu.
2. Press the arrows UV to advance through the menu to Oven
Temperature Offset.
3. Press + and – to set the desired value.
4. Press the arrows UV to advance to the next menu item,
which will confirm the offset entry.
5. Press Info to exit the Setup menu.
Note: for double ovens, an offset can be entered separately for each
oven by selecting either Up. Offset or Lo. Offset from the menu.
4.7 Broil Element
All Bosch models have a recessed 10-pass (240V 3600W) broil
element.
Refer to the Element Strip Diagram to test the element at the control
module, or
1. Remove the 2 T20 screws securing the element to the broil
reflector.
Page 13 of 36
 Loading...