1 609 929 M09 | (26.9.07) Bosch Power Tools
20 | English
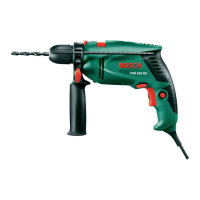
Changing the Tool
Keyless Chuck (see figure D)
The drill spindle is locked when the On/Off
switch 6 is not pressed. This makes quick, con-
venient and easy changing of the tool in the drill
chuck possible.
Open the keyless chuck 1 by turning in rotation
direction n, until the tool can be inserted. Insert
the tool.
Firmly tighten the collar of the keyless chuck 1 by
hand in rotation direction o until the locking ac-
tion (“click”) is no longer heard. This automati-
cally locks the chuck.
The locking is released again to remove the tool
when the collar is turned in the opposite direction.
Screwdriver Tools
When working with screwdriver bits 20, a univer-
sal bit holder 19 should always be used. Use only
screwdriver bits that fit the screw head.
For driving screws, always position the “Drill-
ing/Impact Drilling” selector switch 3 to the
“Drilling” symbol.
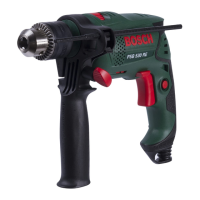
Replacing the Drill Chuck
f For power tools without spindle lock, the
drill chuck must be replaced by an author-
ised after-sales service agent for Bosch pow-
er tools.
Removing the Drill Chuck (see figure E)
Clamp the short end of an Allen key 21 into the
keyless chuck 1.
Place the machine on a stable surface (e.g. a
workbench). Hold the machine firmly and loosen
the keyless chuck 1 by turning the Allen key 21 in
rotation direction n. Loosen a tight-seated key-
less chuck by giving the long end of the Allen key
21 a light blow. Remove the Allen key from the
keyless chuck and completely unscrew the key-
less chuck.
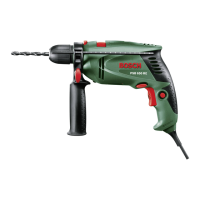
Mounting the Drill Chuck (see figure F)
The keyless chuck is mounted in reverse order.
The drill chuck must be tightened with a
tightening torque of approx. 20–25 Nm.
Operation
Starting Operation
f Observe correct mains voltage! The voltage
of the power source must agree with the
voltage specified on the nameplate of the
machine. Power tools marked with 230 V can
also be operated with 220 V.
Reversing the Rotational Direction
(see figure G)
The rotational direction switch 7 is used to re-
verse the rotational direction of the machine.
However, this is not possible with the On/Off
switch 6 actuated.
Right Rotation: For drilling and driving in screws,
push the rotational direction switch 7 left to the
stop.
Left Rotation: For loosening and unscrewing
screws and nuts, press the rotational direction
switch 7 through to the right stop.
Setting the Operating Mode
Drilling and Screwdriving
Set the selector switch 3 to the “Drill-
ing” symbol.
Impact Drilling
Set the selector switch 3 to the “Impact
drilling” symbol.
The selector switch 3 engages noticeably and
can also be actuated with the machine running.
Switching On and Off
To start the machine, press the On/Off switch 6
and keep it depressed.
To lock the pressed On/Off switch 6, press the
lock-on button 5.
To switch off the machine, release the On/Off
switch 6 or when it is locked with the lock-on but-
ton 5, briefly press the On/Off switch 6 and then
release it.
Adjusting the Speed/Impact Frequency
The speed/impact rate of the switched on power
tool can be variably adjusted, depending on how
far the On/Off switch 6 is pressed.
OBJ_BUCH-444-001.book Page 20 Wednesday, September 26, 2007 8:12 AM
 Loading...