Do you have a question about the Bosch TriTech+ ISC-PDL1-WA18G and is the answer not in the manual?
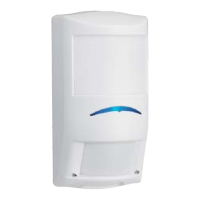
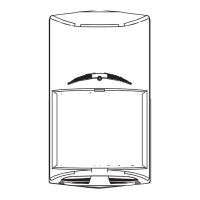
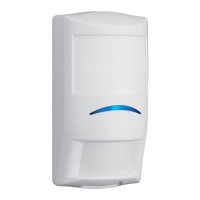
Instructions on how to unlock and remove the detector's front cover for access and installation procedures.
Guidelines for detector mounting height, placement, and avoiding environmental interference for optimal performance.
Using the detector's built-in bubble level to ensure accurate and level installation on two axes.
Procedure for mounting the detector using provided hardware and appropriate anchor holes.
Details on permitted wire gauges and proper installation techniques for connecting the detector's wiring.
Explanation of the detector's terminal blocks, including primary wiring and the use of spare terminals for EOL resistors.
Configuration of DIP switch 1 to enable the Walk Test mode for verifying detector coverage and functionality.
Setting DIP switch 2 to control the Alarm Memory polarity, used for storing and indicating alarm events.
Adjusting the detection range between short (25 ft) and long (60 ft) using DIP switch 3.
Configuring DIP switch 4 to enable or disable the Antimask feature, protecting against tampering.
Performing the local Walk Test by walking through the detection pattern to verify coverage and sensitivity.
Setting up Alarm Memory to flash the alarm LED for stored alarms, useful in multi-detector systems.
Method to recall the last trouble condition by pulsing the WT terminals, providing diagnostic information.
Adjusting the detector's coverage pattern to short or long range based on the environment and requirements.
Configuring the Antimask feature via switch settings to detect attempts to block or tamper with the detector.
Procedures for clearing Antimask trouble conditions, including automatic reset and latched methods.
| operating voltage | 9 VDC to 15 VDC |
|---|---|
| maximum current | 23 mA |
| standby current | 13 mA |
| relay power | 3 W |
|---|---|
| relay current | 125 mA |
| relay voltage | 25 VDC |
| temperature range | -20°F to +130°F (-29°C to +55°C) |
|---|---|
| relative humidity | 0 to 95%, non-condensing |
| protection rating | IP41, IK04 |
| width | 5.0 in. (127 mm) |
|---|---|
| height | 2.75 in. (69 mm) |
| depth | 2.25 in. (58 mm) |