5 REPAIR
5.1 Disassembly / Reassembly
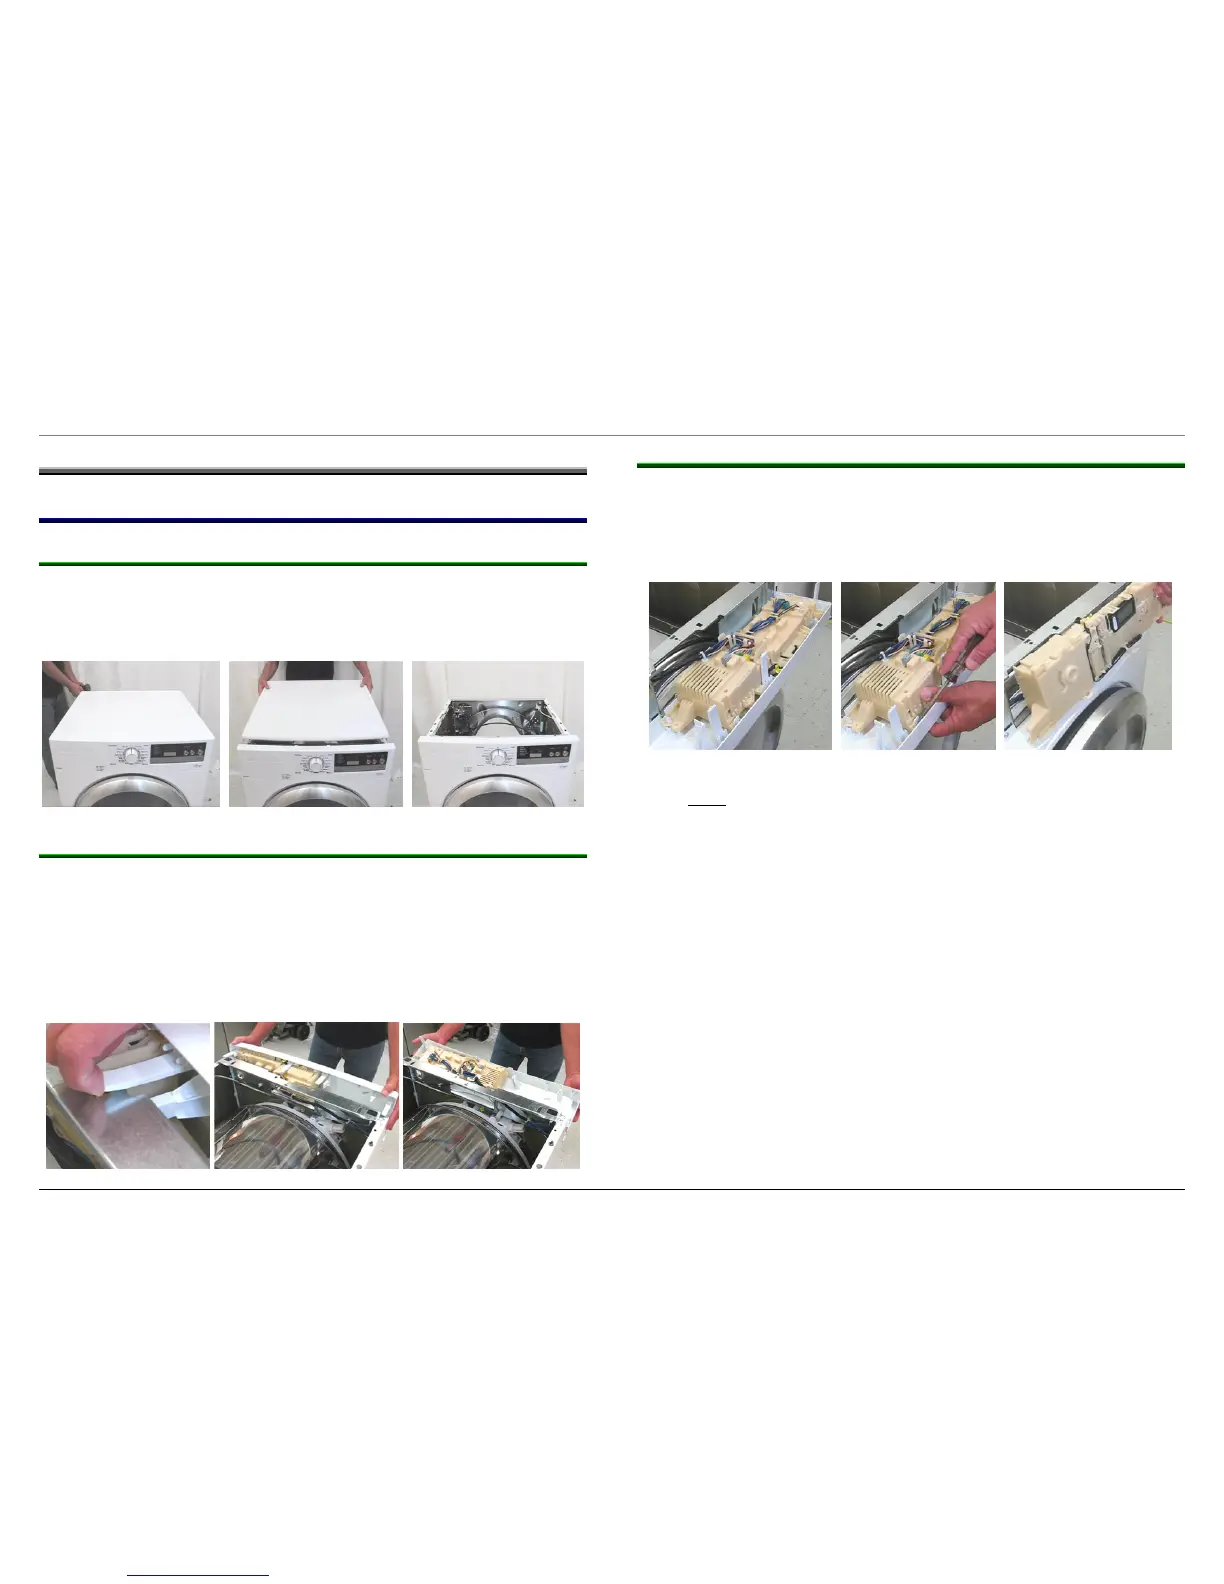
5.1.1 Top panel (worktop)
Remove two T-20 Torx screws (with washers) from top rear corners of
dryer, slide panel toward rear of dryer (~ ½ cm) and lift up panel.
When reassembling, slide panel forward and replace two screws.
5.1.2 Fascia (control) panel
Panels are held in place by plastic latches – no screws need to be
removed.
Remove top panel (5.1.1), then gently pry up top plastic latches.
When top latches are released, gently pull the panel straight out until
the bottom tabs release. Don’t tilt the panel to avoid breaking the
bottom tabs.
5.1.3 Control module
Remove control module from fascia panel progressively from left to
right, carefully releasing all plastic latches (so latches don’t break).
Gently pry up left side of control so latches don’t re-close. Control will
release from fascia panel and knob.
There are other latches, joining the control module housing together,
which don’t need to be released to remove the control module.
Don’t remove the knob to remove the control module. The control lifts
off completely from the panel, knob & buttons.
Don’t force controls out from fascia panels to avoid breaking plastic
parts. If modules don’t come out easily, the procedure hasn’t been
followed and plastic parts will break.
702_58300000143767_ara_en_a Page 15 of 33
 Loading...