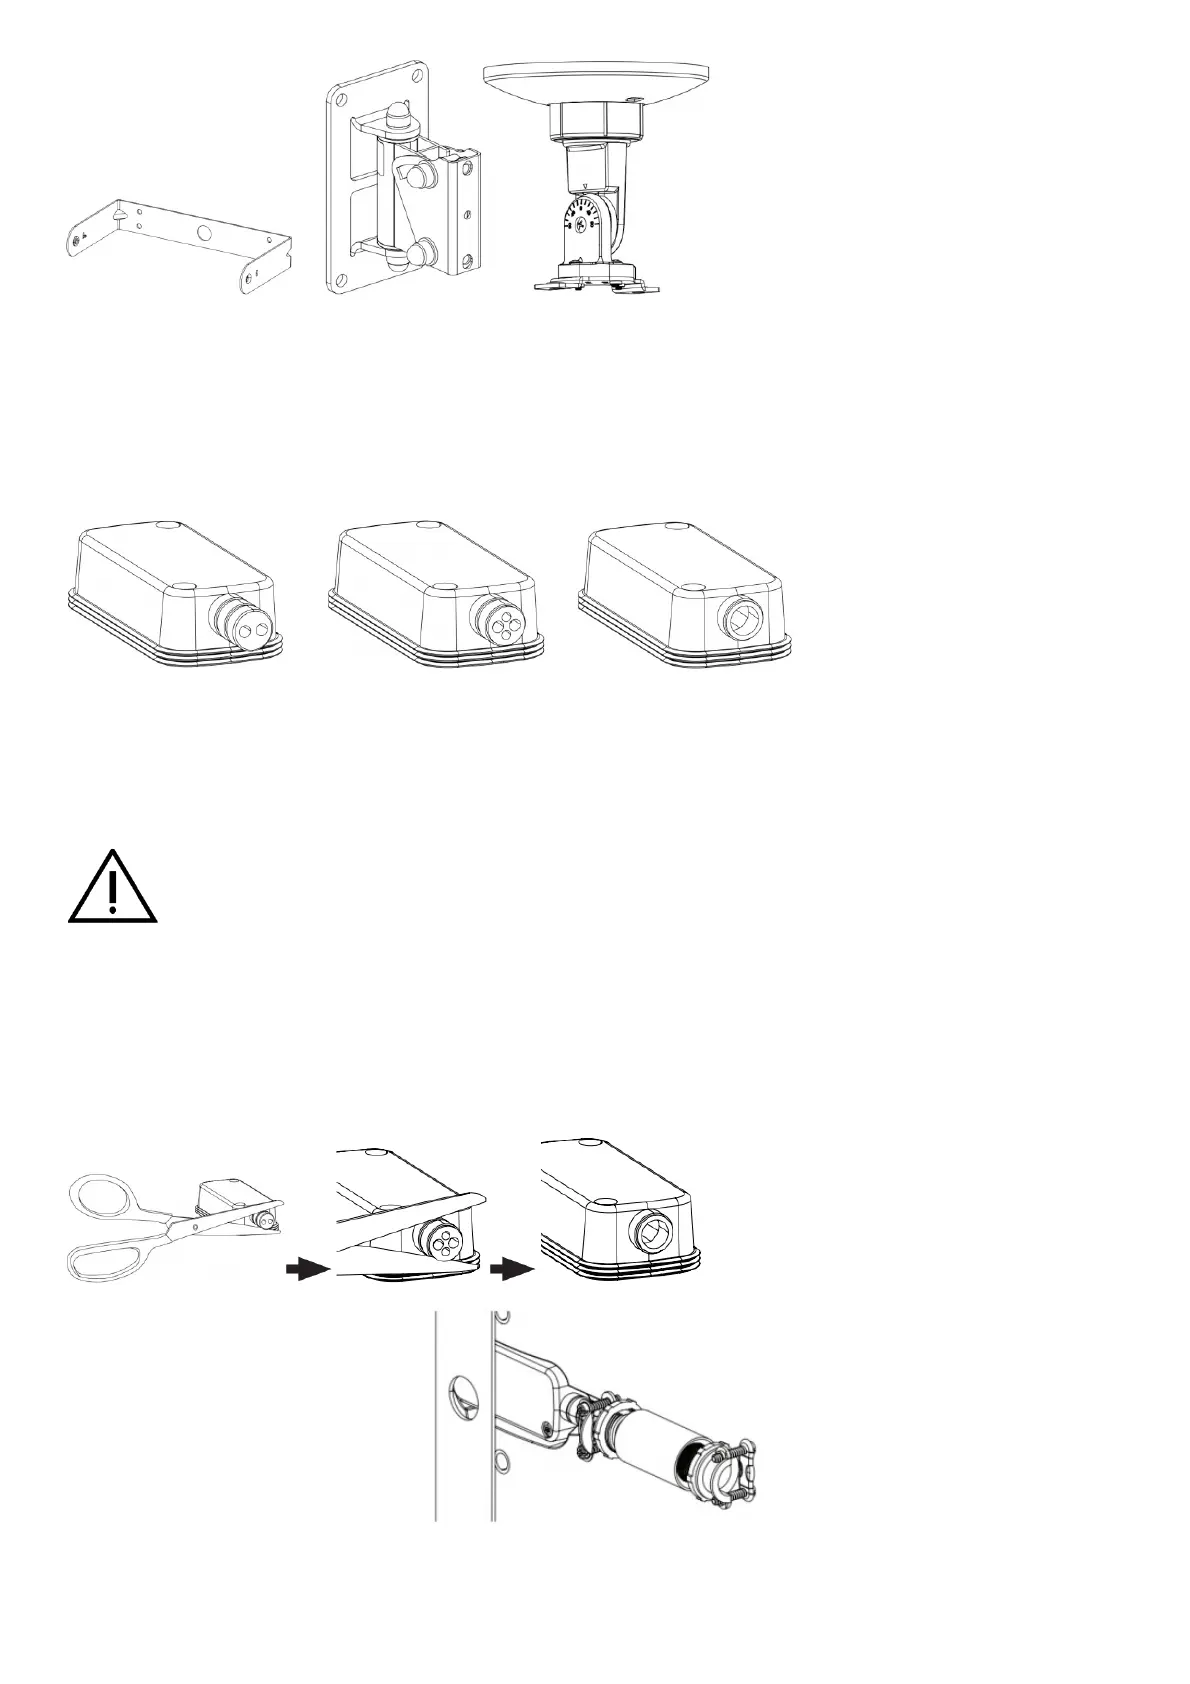
Installation Options and Accessories
(1) Mounting bracket (included)
(2) WBPWR-50 pan-and-tilt bracket (optional; for outdoors)
(3) RMUBRKT1 pan-and-tilt bracket (optional; for indoors)
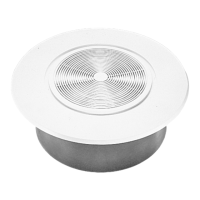
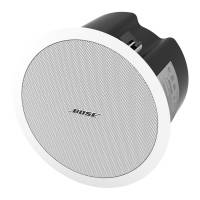
(4) CMBS2 ceiling-mount bracket (optional; for indoors only)
Single In In and Out Wide Open
Preparing the Input Cover
The input cover is designed for three different wiring scenarios (see above). To change the configuration of the input cover to
support your wiring scenario, cut along the perforation on the rubber conduit. Use one 1/2-inch to 1/2-inch threaded coupling and
two 3/8-inch trade size conduit fittings for 1/2-inch knockouts (see diagram below).
CAUTION: Do not use the wide open wiring scenario when installing the input cover with a flexible conduit.
CAUTION: To prevent water ingress, do not install the input cover facing upward.
Note: It is the installer’s responsibility to seal against water ingress into the Euroblock connector. Use outdoor or marine-grade
silicone to seal all wiring connections to ensure a tight seal.
Note: Flexible conduits and couplings must be UL Listed, suitable for the application, and installed in accordance with the local
authorities having jurisdiction.
Wiring the Loudspeaker
Wire Gauge