Do you have a question about the Bostitch CAP2560OL and is the answer not in the manual?
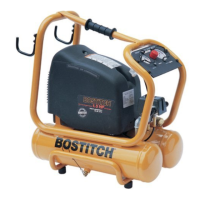
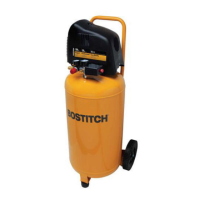
Congratulates user on purchase, highlights compressor design and need to read manual.
All users must read and understand the manual before operating or maintaining the compressor.
Keep body parts, hair, clothing, and jewelry away from moving parts; never stand on the compressor.
Do not exceed the maximum allowable pressure recommended for any attachment or accessory.
Ensure proper eye, hearing, and head protection conforming to relevant safety standards.
Use the handle to move; do not drag by cord. Always disconnect before transporting.
Drain tanks daily to prevent corrosion and risk of explosion. Do not weld tanks.
Ensure proper ventilation when spraying flammable liquids; avoid sparks and flames.
Avoid touching hot parts during or immediately after operation to prevent serious burns.
Product must be grounded. Use a properly installed and grounded outlet and plug.
Do not adjust or eliminate the safety valve; it prevents over-pressurization and serious injury.
Do not operate over 50% duty cycle. Match air volume requirements with compressor delivery.
Details motor, fuse requirements, operating pressure, safety valve, displacement, and air delivery.
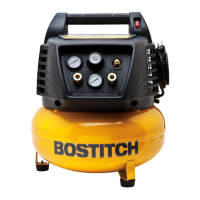
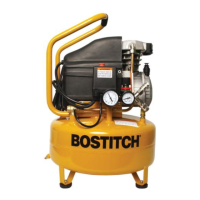
Identifies and describes key components like Pressure Switch, Gauges, Regulator, and Connects.
Describes the oil fill plug for adding oil and the oil drain plug for draining the crankcase.
Explains the twist-style valve used to drain moisture from the air tank.
Inspect compressor, check oil, drain tanks, verify air filter before starting.
Ensure switch off, pressure 0, attach hose, plug in, turn on, adjust regulator.
Push in the On/Off switch to the Off position to stop the compressor.
Check oil level when compressor is off and on a level surface, add oil to MAX notch.
Change oil every 50 hours or 3 months. Drain old oil and add 6.7 oz of 5W50 synthetic oil.
Tilt compressor and turn drain cock counter-clockwise to remove moisture from the tank.
Clean filter element with soap and water; replace if clogged or damaged. Do not use flammable liquids.
Check tank pressure, fuse, circuit, switch position, and power connection.
Tighten fittings, check with soapy water, do not overtighten.
Check air filter, cold weather, fittings, check valve, demand, head bolts, or gaskets.
Do not modify air tank; replace damaged or modified tanks immediately.
| Brand | Bostitch |
|---|---|
| Model | CAP2560OL |
| Category | Air Compressor |
| Language | English |