124
If you are not replacing the Motorized Lift Cover—go to Step 20.
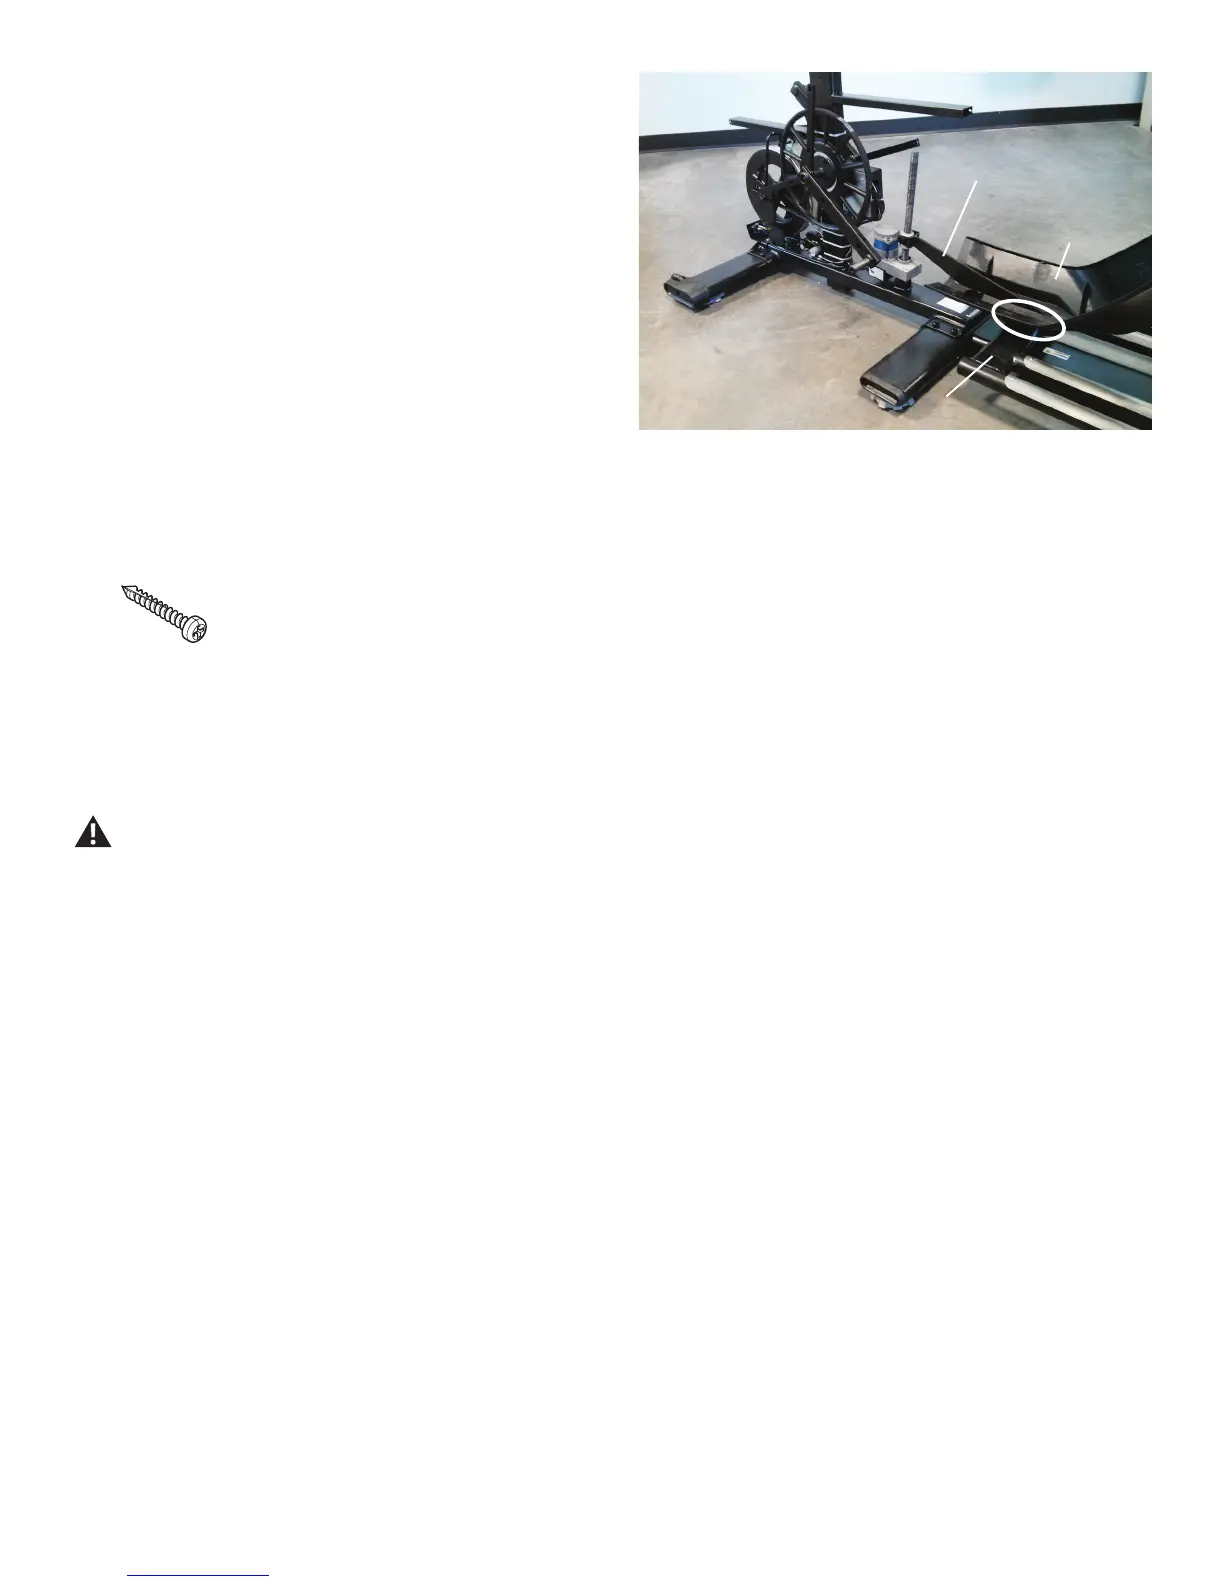
IfyouarereplacingtheMotorizedLiftCover—Usinga6mmhexwrench
anda13mmwrench,removethe2screws(indicatedbyoval,underthe
MotorizedLiftCover)thatattachtheRailAssemblytotheIncline Arm.
19. Remove the Motorized Lift Cover from the Incline Arm, and replace
with the new Cover. Be sure to orient it correctly.
20. Re-assemble the machine in the reverse order of when the parts were
removed.PuttheLeftShroudinpositionrsttoalignthescrewsforthe
RightShroud.Installthetopscrewsrst.BesurethetabsintheMotorized
Lift Cover snap into the Side Shrouds.
NOTICE: This step may require two people. Be sure not to crimp
any cables.
Note: Self-tapping screws attach the Shrouds to the Frame.
21. Inspect your machine to ensure that all hardware is tight and
components are properly assembled.
Do not use until the machine has been fully assembled and
inspected for correct performance in accordance with the
Owner’s Manual.
Motorized Lift
Cover
Rail Assembly
Incline Arm