16 17EN EN
• Before assembling make sure that the cappuccinator lid
and the container are dry. Install the cappuccinator lid
(14) on the container (16) and install the cappuccinator
on the coee maker.
DESCALING
• Scale inside the boiler aects the taste of ready coee,
slows down the coee making and reduces the service
life of the coee maker.
• Note that the thicker the scale, the more dicult it is to
remove, that’s why we recommen regularly removing
scale for eective operation of the coee maker (see
the table).
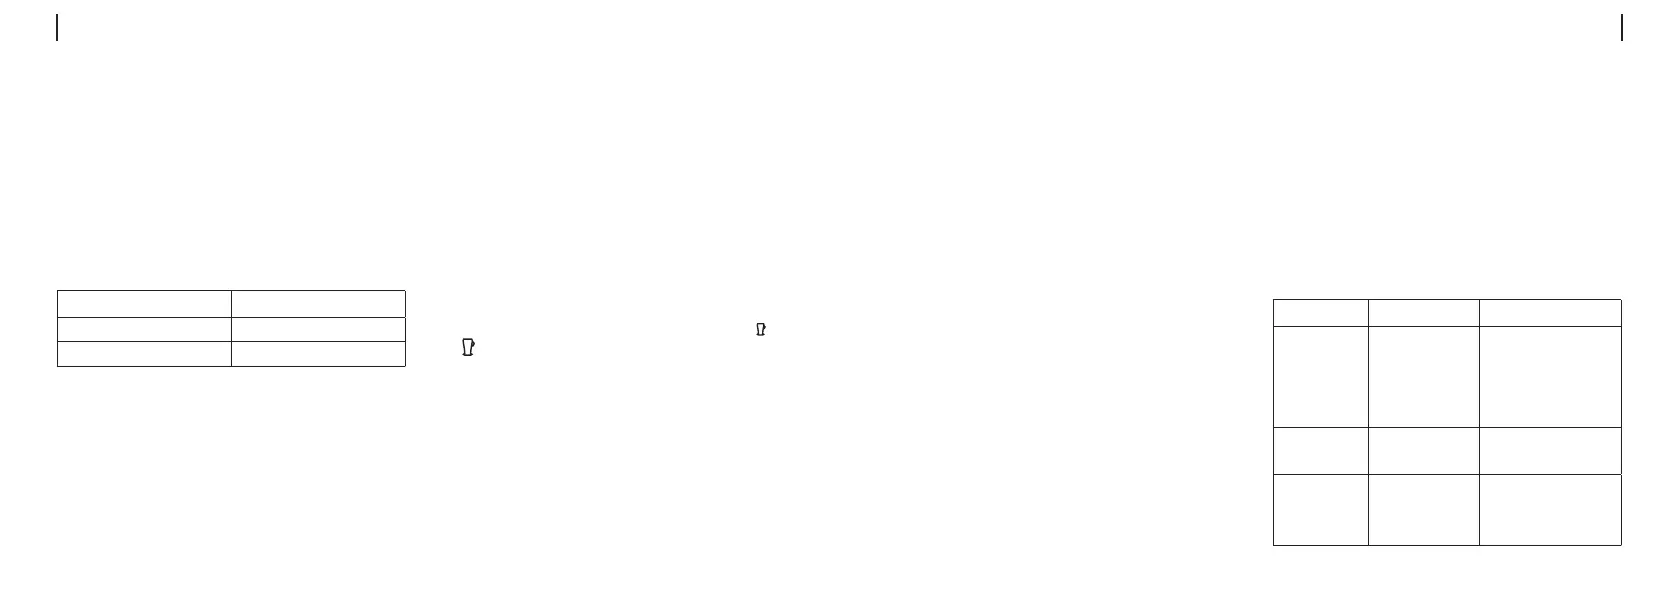
Water type Cleaning frequency
Soft (ltered) water Every 80 coee making cycles
Hard (tap) water Every 40 coee making cycles
• You can use special descaling agents for espresso
coee makers or coee machines to remove scale.
You can also use table vinegar or citric acid solution (2
teaspoons of citric acid per 1 liter of water).
• Follow the instructions on the usage of the descaling
agent, pour it into the water tank (10).
• Install one of the coee lters (19 or 20) into the lter
holder (18) matching the ledge on the lter (19 or 20)
with the hole on the holder (18) and turn the lter (19 or
20) counter/clockwise.
• Place a cup of suitable height and capacity on the tray grid
(2) (the cup capacity should be at least 325 ml).
• Fill the container (16) with water, do not exceed the
maximal level mark.
• Install the cappuccinator lid (14) on the container (16) and
install the cappuccinator back to its place until the lock
clicking.
• Direct the cappuccinator pipe (13) into the cup using the
cappuccinator pipe angle adjustment bar (12).
• Insert the power plug into the mains socket.
• Switch the coee maker on by setting the power switch
(11) «0/I» to the position «I», the indicator (6) will light up
and start ashing.
• When the coee maker is ready for operation, the light
indicator (6) will glow constantly.
• To switch the cleaning mode on press and hold the
«Latte»-button (8) for 3 seconds, the indicators «
» and
«
» and the indicator (6) will be glowing.
• After the cleaning is nished, remove the tank (10), drain
the remaining descaling solution and ll the tank (10) with
clean water. Install the tank (10) back to its place.
• Pour the descaling solution out from the cup, place the
cup on the grid (2).
• Once again press and hold the «Latte»-button (8) for 3
seconds to wash the boiler.
• After you nish cleaning the coee maker, switch the
coee maker o by setting the switch (11) «0/I» to the
position «0».
• Wait until the coee maker cools down, take the
container (16), pull it towards yourself and remove it
(pic. 1), remove the cappuccinator lid (14) from the
container (16).
• Pour the remaining water out of the container (16), wipe
the container with a dry cloth and dry the cappuccinator
lid (14).
CLEANING THE COFFEE MAKER
• Unplug the coee maker and wait until it cools down
completely.
• Clean the coee maker body with a soft, slightly damp
cloth and then wipe it dry.
• Do not use abrasive cleaners and solvents to clean the
coee maker body.
• You can wash the coee lters (19 and 20) in a
dishwashing machine. Clean the openings in the lters
(19, 20) with a small brush.
• Do not immerse the coee maker body, the power cord
and the power plug into water or any other liquids.
• Wash the water tank (10) and the milk container (16)
with warm water and soft detergent, then dry them.
• If mineral deposits have formed in the water tank (10),
pour table vinegar into the tank (10) and rinse the tank
(10) with water after dissolving the mineral deposits.
• Slightly lift the front part of the tray (1) and remove it,
pour the water out of it, remove the grid (2) from the
tray (1), wash the tray (1) and the grid (2) with water
and neutral detergent, dry them and install back to their
places.
STORAGE
• Before taking the coee maker away for long storage,
unplug it and let the unit cool down.
• Clean the coee maker.
• You can place the lter holder (18) and the
measuring spoon (21) on the coee maker body for
easy storing (pic. 14).
• Pack the coee maker in the original package.
• Use and store the coee maker at the temperature
above 0 °C.
• Keep the coee maker in a dry cool place out of
reach of children and disabled persons.
TROUBLES AND TROUBLESHOOTING
Problem Cause Solution
The coee
maker can't be
switched on
No voltage in the
mains socket.
The power plug is not
completely inserted
into the socket
Make sure that the mains
socket is operating by
connecting a known good
electric appliance to it.
Disconnect the power plug
and connect it into the
socket
Water leaks from
the lower part of
the unit
The water tray is full Pour out water from the tray
Coee leakage
from the lter
holder
Loose connection of
the lter and boiler
gasket, ground coee
got on the edges of
the lter
Clean the edges of the lter
 Loading...