Do you have a question about the Breadman TR810 and is the answer not in the manual?
Key safety measures for using the automatic bread maker.
Guidelines for safe use of power cords and extension cords.
Warnings on placement, hot surfaces, and child safety.
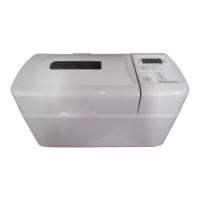
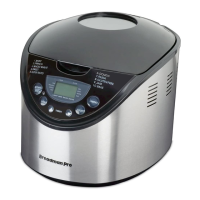
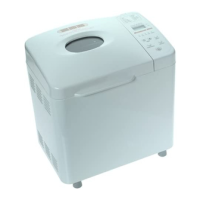
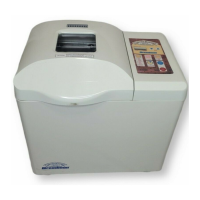
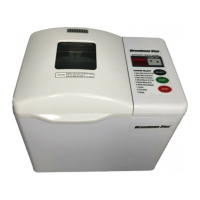
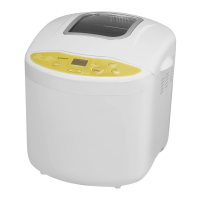
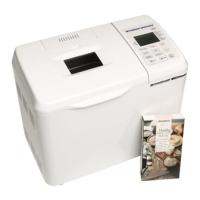
Identification of key components like lid, pan, and control panel.
Explanation and safety precautions regarding the polarized plug.
Explanation of display, timer, select, loaf size, crust, and start/stop buttons.
Using pre-packaged mixes and baking from scratch.
Utilizing specific cycles for dough, pizza, and jam.
How the machine handles power interruptions.
Procedure for placing and taking out the bread pan.
Safe procedures for removing a hot bread pan.
Advice on machine use, cleaning, and safety.
Warnings on placement, hot surfaces, and child safety.
Tips for cooling, removing paddles, and unplugging.
Warnings about utensils, water, and steam vents.
Overview of crust control, French, Rapid, Batter Breads, and Jam cycles.
Detailed timings for White and Fruit & Nut bread cycles by loaf size.
Detailed timings for Whole Wheat and Rapid Whole Wheat cycles.
Timings for French and Rapid cycles across loaf sizes.
Timings for Bread Dough and Pizza Dough cycles.
Timings for Jam and Batter Breads cycles.
Instructions for opening the lid and removing the bread pan.
How to place kneading paddles onto drive shafts.
Order of adding liquid, dry ingredients, and yeast.
Creating an indentation for yeast before kneading.
Placing the pan, closing lid, and plugging in the unit.
Using the SELECT button to choose a cycle.
Choosing the desired crust color.
Choosing the loaf weight.
Pressing START/STOP to begin the kneading process.
Procedure for removing the hot bread pan after baking.
Removing the loaf from the pan and cooling it.
How to remove stuck kneading paddles.
Tips for achieving optimal results with batter breads.
Step-by-step guide for using the Batter Breads cycle.
Notes on delay timer and cooling for batter breads.
Using the Dough setting for bread doughs.
Instructions for preparing pizza dough.
Tips for successful jam preparation.
Step-by-step guide for using the Jam cycle.
Notes on delay timer and hot pan for jam cycle.
Cycles for which the delay timer cannot be used.
Steps to set the delay timer for bread readiness.
How to begin and reset the delay timer.
Tips for accurate measuring and ingredient storage.
Advice on fresh ingredients and humidity impact.
How power interruptions affect the timer function.
How to wash the non-stick pan and paddles.
Wiping the lid and oven with a damp cloth.
Warnings against dishwashers, harsh chemicals, and soaking.
Solutions for offensive odors and sticky surfaces.
Troubleshooting the start button and timer functions.
Solutions for stuck paddles and dough consistency issues.
Addressing bread rising too high or dough lumpiness.
Solutions for caved-in bread and HE1/HE2 error codes.
Troubleshooting blank displays and ES1 error codes.
Contact details for missing or defective parts.
Details for writing, calling, or visiting the website.
| Model | TR810 |
|---|---|
| Type | Bread Maker |
| Brand | Breadman |
| Power | 600 watts |
| Display | LCD |
| Color | White |
| Crust Settings | Light, Medium, Dark |
| Preset Programs | 12 |
| Voltage | 120V |
| Crust Control | Yes |
| Viewing Window | Yes |
| Capacity | 2 lb |
| Loaf Size | 1.5 lb, 2 lb |
| Delay Timer | Yes |