17
Chapter 2: Bed Cabinet assembly.
Stand the Bed Cabinet
upright and against
the wall at the desired
location. The Bed
Cabinet should be at
against the wall. Keep
at least a 1/2” clearance
on the sides to allow for
later adjustment.
If your baseboard is
larger than the base
notch provided, please
see the Troubleshooting
section on Page 7.
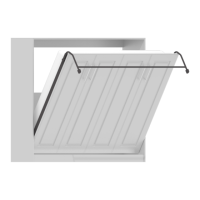
FIG. 2E
STEP 5
STOP
Using a #1 Phillips screwdriver, verify all cams are locked to the
connecting cam screw.
Are all cam fittings locked?
• Cam ttings on the Top Nailer and Headboard should face the wall
and NOT be visible from the front.
• Cam ttings on the Bed Cabinet Top should face down and WILL be
visible from below.
If any of these parts are backwards, they must be ipped around.
Are cams facing down (horizontal
parts) or the wall (vertical parts)?
If you have any question, contact us (phone: 1-855-466-4781, email:
service@bredabeds.com or live chat: https://bredabeds.com) before proceeding.
*** STOP - SAFETY CHECKLIST ***
The items listed on this page are some of the most common errors during assembly
and can lead to structural failure of the Murphy Bed if not done properly.
DO NOT PROCEED PAST THIS PAGE WITHOUT FIRST VERIFYING THE FOLLOWING: