24
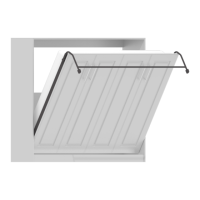
Chapter 4: Assembling the Bed Face Panel unit.
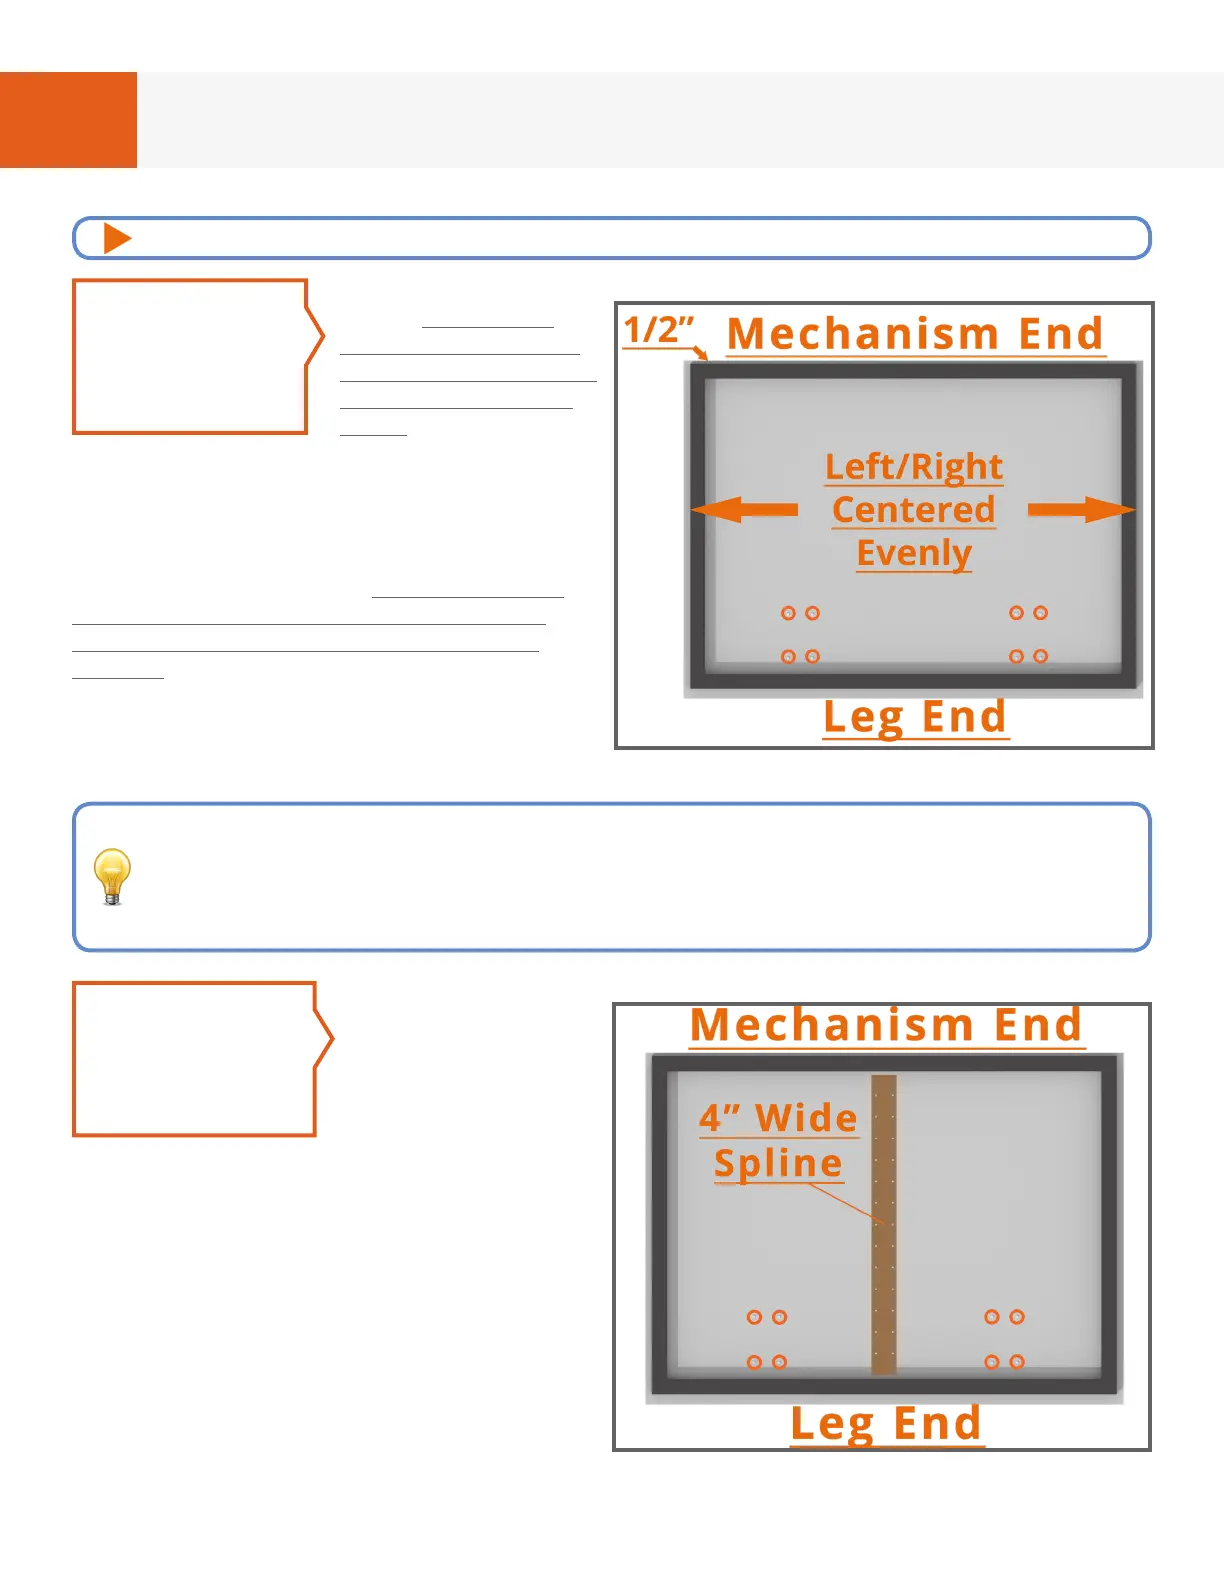
Position the
frame 1/2” from
“Mechanism End”
and centered along
the left and right
sides. Attach frame
to doors using screws from Hardware
Package #7. We highly recommend using
a bit holder and a #2 square drive to
insert screws. When attaching screws,
attach the 4 corners rst, which will help
keep the frame aligned. The position of
the frame over the doors is crucial, so
double check alignment as you insert
screws.
Full & Queen beds: Make sure the doors
are pushed together so there’s no gap
between the doors and they are even on
the ends. It can be helpful to add a strip of tape between the doors.
FIG. 4G - OVERHEAD VIEW
STEP 3
Critical Step
TIP: If you have trouble with screws being inserted at an angle or improperly, using a bit
holder on your drill will keep your screws vertical and use a #2 square drive (also
known as a Robertson or Scrulox) to prevent screws from breaking or camming
out. If you continue to have issues with screws, you can pre-drill for the screws with
a 1/16” drill bit, but be careful not to drill through to the front of the doors.
FIG. 4H - OVERHEAD VIEW
Horizontal Full
& Queen sized
Murphy Beds
utilize a 4” wide
x 3/4” thick wood
“Spline” to join
both bed doors together and keep
them in the same plane.
Referring to Fig. 4H position the 4” wide
spline directly over the middle joint
between the doors and attach with
screws from Hardware Package #17 at
each of the pre-drilled holes.
Twin/Twin-XL Beds: Skip this step.
STEP 4
Full & Queen Beds
For video instructions of this specic chapter, visit: breda.us/frame