Do you have a question about the Brinsea ChickSafe Advance and is the answer not in the manual?
Lists all items included in the ChickSafe Advance package for installation.
Details the necessary tools for mounting and setting up the ChickSafe Advance.
Provides critical safety notes and guidelines for installing AA batteries.
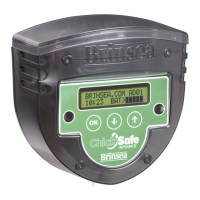
Explains the low-power sleep mode and how to wake the device display.
Describes how to manually open or close the door using 'Open Now' and 'Close Now' functions.
Details how to disable automatic functions for manual control.
How the display indicates the current battery charge level.
Guide for initial setup of language, current time, and day of the week.
Configuration options for when the door opens: by light, time, or manually.
Setting timed delays for door opening based on light or set time.
Options for when the door closes: by light, time, or a combination.
Adjusting the light sensitivity threshold for automatic door closing.
Configuring the door's opening behavior based on light, time, and setting specific open times.
Adjusting weekday and weekend delays for the automatic door opening.
Configuring the door's closing behavior and setting specific close times.
Procedure for saving or rejecting the settings made to the device.
Instructions for safely cleaning the ChickSafe Advance unit.
Steps to resolve a blocked door situation and reset the system.
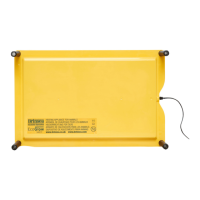
Procedure to reset the cord mechanism if it becomes detached or during initial setup.
| Product Type | Automatic Chicken Coop Door Opener |
|---|---|
| Timer Control | Yes |
| Light Sensor | Yes |
| Manual Override | Yes |
| Weatherproof | Yes |
| Power Source | 4 x AA Batteries |
| Material | Plastic |
| Installation | Easy to install |
| Operating Modes | Light sensor, Timer, Manual |
| Dimensions | 150mm x 80mm x 55mm (5.9" x 3.1" x 2.2") |