ENGLISH 5
!
Hand tighten only. Do not use any tools when
attaching the diverter to the tap.
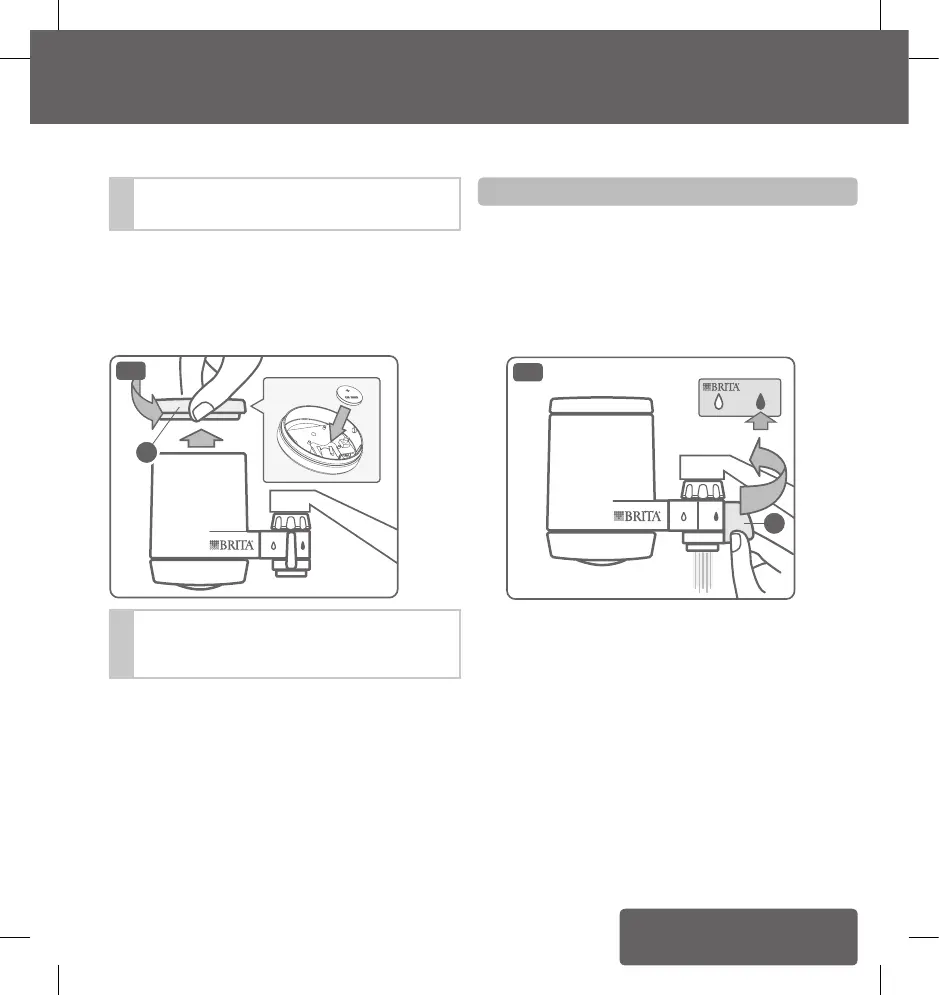
Step 3:
To remove the top cap (H) carefully turn the cap to the
right (see Fig. 3). Insert the supplied battery to the battery
mount. Reinsert the top cap and tighten it. The three lights
in the top cap will blink twice consecutively. The electronic
cartridge change indicator is now ready to go.
H
3
!
Always make sure that the BRITA logo on the
housing is facing downwards when connecting it to
the diverter (see Fig. 3 above).
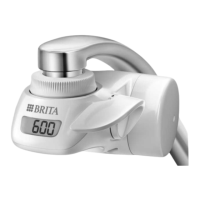
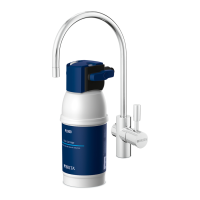
5. Initial operation
Step 1:
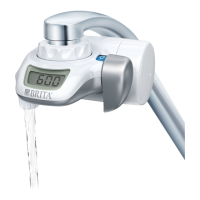
The BRITA On Tap water filter system has separate outlets
for filtered and unfiltered water.
Unfiltered water:
If you move the lever (F) to the right (at 3:00 o’clock
position), unfiltered water will come out of the regular
outlet.
F
4
Filtered water:
To get filtered water, move the lever (F) to the left (1/4 turn
towards you until it faces you directly). Filtered water will
come directly out of the filtered outlet.
4. Installation / 5. Initial operation
Step 2 with external thread
Screw the diverter (A) onto the tap. No adapter is
necessary.
Step 2 with internal thread:
To attach the diverter (A) to an internal thread you will need
to use the flat gasket (D) and adapter (E) which you will find
in the packaging. First insert the flat gasket into the internal
thread on the tap. Now screw the adapter to the tap, and
then screw the diverter (A) tightly onto the adapter.
1017032-00-ELA_OnTap_GA_Asia.indb 5 17.12.18 09:22