1
2
3
5
4
6
7
12
11
13
15
8
9
17
16
18
10
14
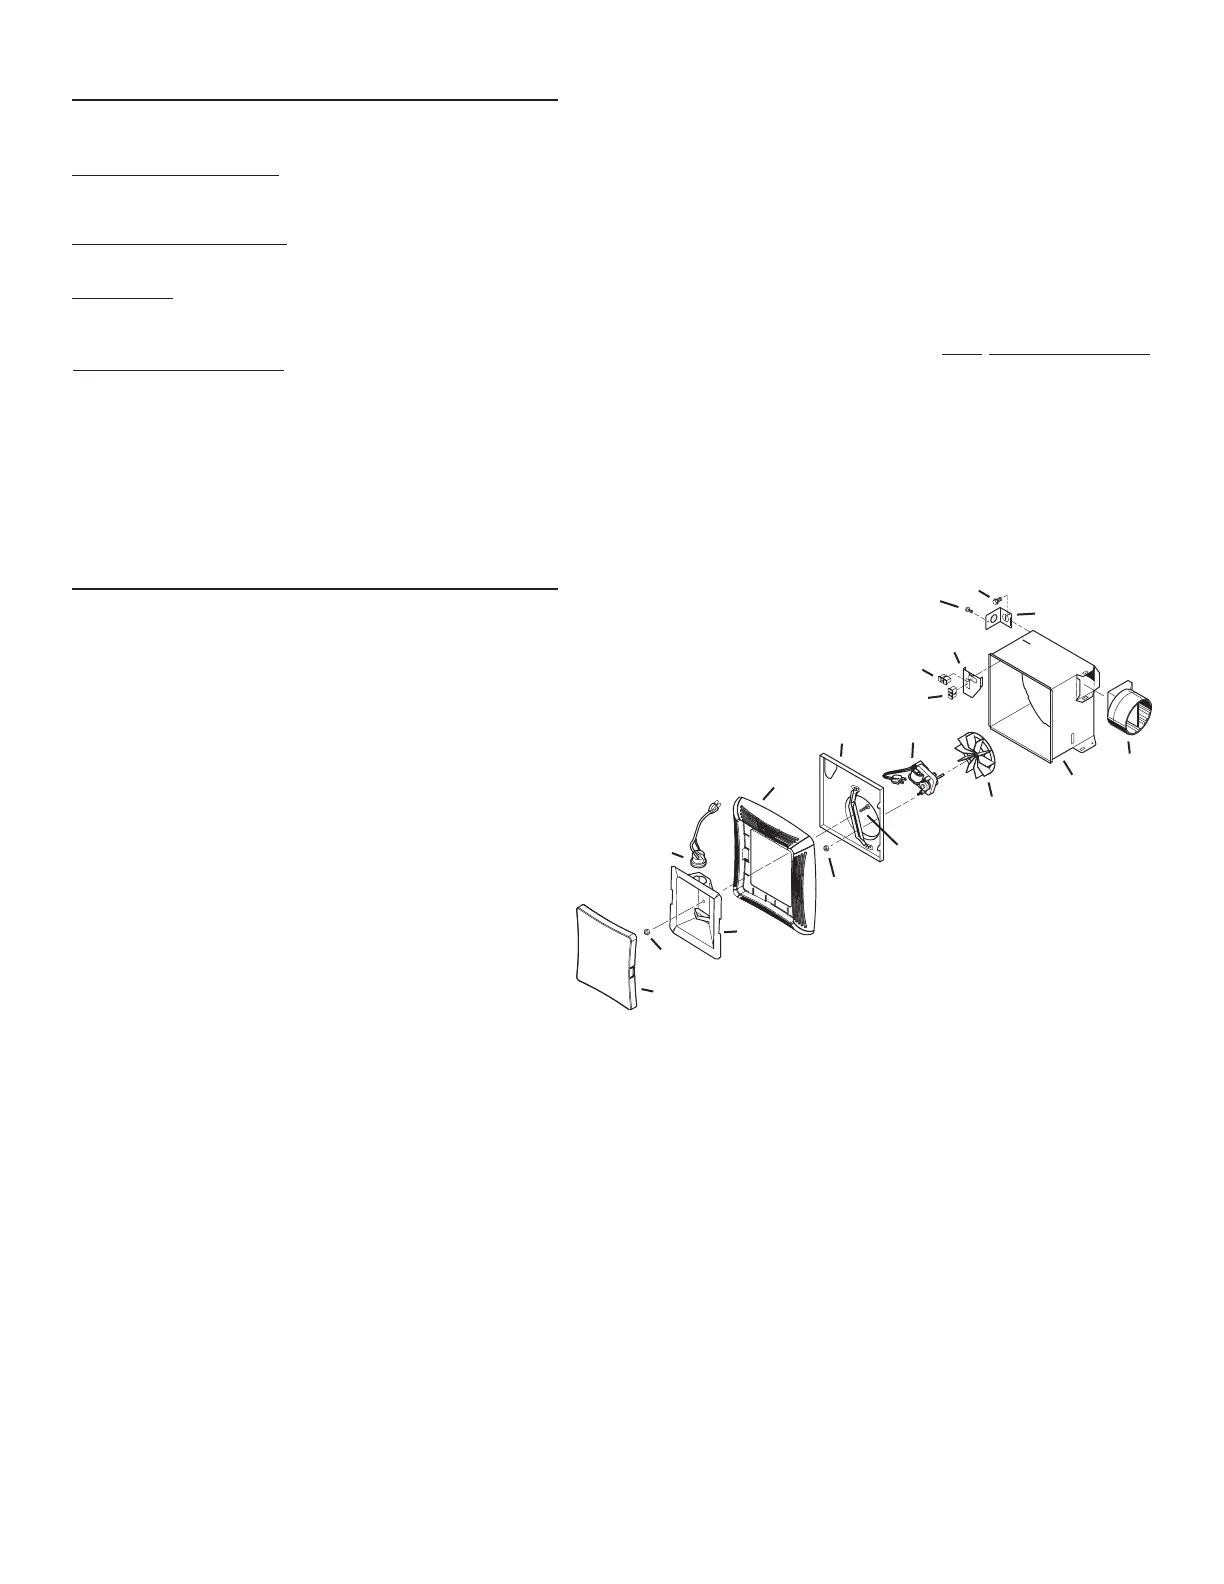
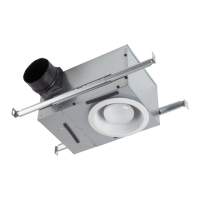
KEY PART NO.
DESCRIPTION
1 99111381
2 97005316
3 1101299
4 97014211
* 97014212
Light Lens
Acorn Nut
Bulb Holder
Light Reflector
Light Reflector (includes Key Nos. 3 & 4)
5 1100802
6 97014926
7 99080738
8 99111002
9 99260428
10 99150582
* 97020199
Grille
Motor Plate
Motor
Impeller
Motor Nut (2 req.)
Grille Screw
Blower Assembly (Includes Key Nos. 6, 7, 8, 9, 10)
11 99270982
12 99270981
13 98009612
* 97015171
Receptacle (Black)
Receptacle (White)
Wire Panel
Wire Panel Assembly (includes Key Nos. 11, 12, 13)
14 97014922
15 97014185
16 98008868
17 99150575
18 99150471
Housing /
Damper
Wiring Plate
Screw, #8-18 x .375
Ground Screw
* Not shown assembled.
Order replacement parts by “PART NO.” - not by “KEY NO.”
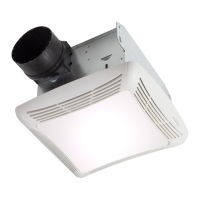
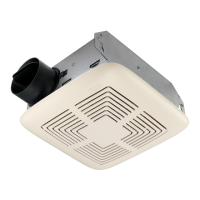
USE AND CARE
WARNING: DISCONNECT ELECTRICAL POWER SUPPLY AND LOCK OUT SERVICE PANEL BEFORE CLEANING OR SERVICING THIS UNIT.
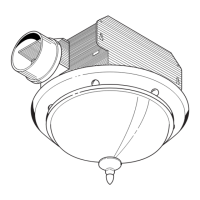
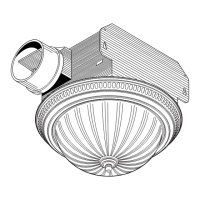
BULB REPLACEMENT
Remove lens by gently depressing sides and pull down.
Use 100 Watt maximum incandescent bulb.
MOTOR LUBRICATION
The motor is permanently lubricated. Do not oil or disassemble motor.
CLEANING
TO CLEAN LENS AND GRILLE:
Remove light lens and bulb. Remove nut in center of reflector and lower assembly. CAUTION: Grille
and reflector are separate units. Unplug light from WHITE receptacle.
Plastic parts can be cleaned with mild, soapy water (use a mild detergent, such as dishwashing liquid) and dried with a soft cloth. Do not use abrasive cloth, steel
wool pads, or scouring powders.
TO CLEAN FAN ASSEMBLY:
Unplug fan assembly (BLACK receptacle). To remove motor plate: Find the single tab on the motor plate (located next to the receptacles). Push up near motor plate tab while pushing
out on side of housing. Or insert a straight-blade screwdriver into slot in housing (next to tab) and twist screwdriver. Gently vacuum fan, motor and interior of
housing. METAL AND ELECTRICAL PARTS SHOULD NEVER BE IMMERSED IN WATER.
SERVICE PARTS
Discover other home ventilations on our website.