Do you have a question about the Broil King 7123-64H and is the answer not in the manual?
Assembling the grill's base structure and attaching wheels.
Connecting the main side panels to the grill base.
Securing internal components and support brackets.
Attaching internal shelves and lower cabinet panels.
Joining major sections of the grill's main body.
Finalizing the assembly of the wheeled cabinet base.
Completing the main structural assembly of the grill cabinet.
Attaching the exterior handles to the grill's side panels.
Installing the main doors onto the grill cabinet.
Connecting internal grill components and gas mechanisms.
Mounting the side shelf assemblies onto the grill.
Fastening the side panels to the main grill body.
Installing essential internal support brackets.
Connecting gas supply lines and the pressure regulator.
Verifying correct installation of internal grill parts.
Attaching the grill lid and inserting cooking grates.
Installing storage drawers and compartments.
Connecting the propane gas tank to the grill system.
Installing the rotisserie motor and drive components.
Completing the attachment of the rotisserie spit and forks.
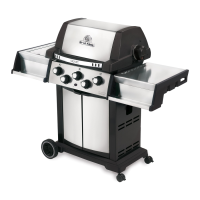
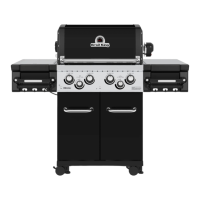
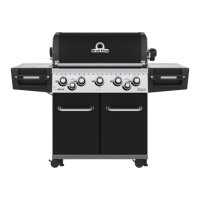
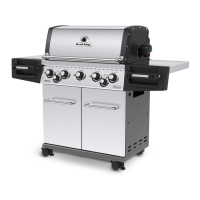
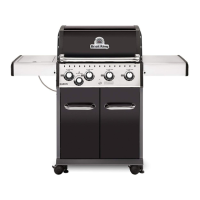
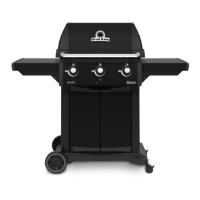
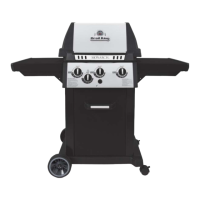
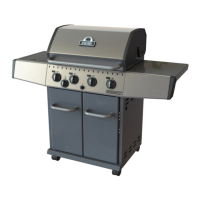
| Grill Material | Stainless Steel |
|---|---|
| Grill Category | Gas |
| Cooking Surface Material | Cast Iron |
| Fuel Type | Propane |
| Ignition | Electronic ignition |