The machine must be fitted with an earthed/fused plug.
Turn the sheet over.
LS2346004
UK/IRE/SAF
Printed in China
a. When the LCD shows this
message, press OK.
a. The LCD shows this message:
Note
The control panel warning
LED will stay on until you have
installed the ink cartridges.
3
Install the ink cartridges
5
e. Unpack the ink cartridge.
Remove the protective yellow cap ❶ if it is still
attached.
Note
If you make a mistake and want to start again,
press Stop/Exit to go back to step a.
g. Lift each lock release lever and gently push it
until it clicks, and then close the ink cartridge
cover.
■If all lines are clear and visible, press ▲
(Yes) to nish the quality check.
■If you can see missing short lines, press ▼
(No) and answer the LCD questions.
Connect the power cord
Set the LCD contrast (if needed)
7
6
Check the print quality
c. Press ▲ (Yes) to conrm the
language setting.
c. Pull all the lock release levers ❶ down. d. Remove the yellow
protective part ❶.
a. When the preparation process
has nished, the LCD shows
this message.
OK
Poor
Set the date and time
8
a. Press Menu.
b. Press ▲ or ▼ to choose
0.Initial Setup, and then press OK.
c. Press ▲ or ▼ to choose
2.LCD Contrast, and then press OK.
d. Press ▲ or ▼ to choose Dark or Light.
e. Press OK and then Stop/Exit.
a. Press Menu.
b. Press ▲ or ▼ to choose
0. Initial Setup, and then press OK.
c. Press ▲ or ▼ to choose
1. Date&Time, and then press OK.
4
Set the language
Important
DO NOT
connect the
USB cable yet.
b. Open the ink cartridge cover.
b. Check the quality of the four colour
blocks
❶
on the sheet.
(black/yellow/cyan/magenta)
d. Press ▲ repeatedly to enter the
last two digits of the year, and then press OK.
(e.g. Enter 07 for 2007.)
e. Repeat for Month and Day, and Hour and Minute in
24-hour format.
f. Press Stop/Exit.
b. Press ▲ or ▼ to choose
your language and press
OK.
Quick Setup Guide
CD-ROM
User's Guide
Ink
Cartridges [x4]
Black (LC970BK)
Yellow (LC970Y)
Cyan (LC970C)
Magenta (LC970M)
Power Cord
Start Here
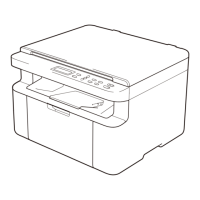
Unpack the machine and check the components
Note
・The components of your box may differ.
・Save all packing materials and the carton in case for any
reason you must ship your machine.
・A USB cable is not included.
You need to purchase a USB 2.0 cable that is no longer
than 2 metres.
1 2
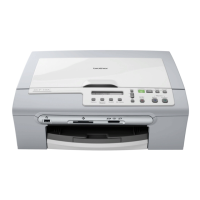
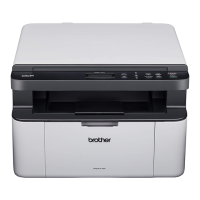
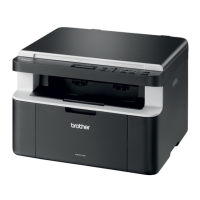
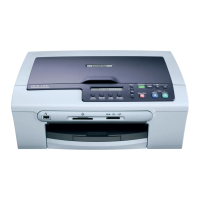
Illustrations in this Quick Setup Guide
are based on the DCP-135C.
a. Pull out the paper tray. b. Lift the output paper tray cover ❶.
Load plain A4 paper
d. Fan the stack of paper well.
e. Gently put the paper into
the paper tray.
Check that the paper is at
in the tray.
f. Make sure that the paper
side guides and paper
length guide touch the
edges of the paper.
a. Remove the protective
tape and lm.
b. Remove the foam
bag containing the ink
cartridges from on top
of the paper tray.
Note
・If you set the wrong
language, you can change
it again after setting the
date and time.
(For details see Changing
LCD language in
Appendix B of the User's
Guide.)
g. Close the output paper tray
cover and slowly push the
paper tray back into the
machine.
h. Pull out the paper support
❶
until it clicks, and then unfold
the paper support ap
❷
.
c. Make sure you have all components. c. Press and slide the
paper side guides
❶ and paper length
guide ❷ to t the
paper size.
Quick Setup Guide
DCP-135C DCP-150C
DCP-153C DCP-157C
Important
Do not push the
paper in too far.
a. Connect the power cord.
Important
DO NOT connect the USB
cable yet.
Warning
If ink gets in your eyes, wash them out with water
at once, and if irritation occurs consult a doctor.
Warning
Note
The machine prepares the ink tube system.
This process will take approximately four minutes.
Press Colour start.
Important
❶
❷
❶
f.
Install each ink cartridge in the direction of the arrow on the label.
Take care to match the colour of the lock release lever ❶ with the
cartridge colour ❷.
❷
❶
❶
❶
❶
❶
❷
❶