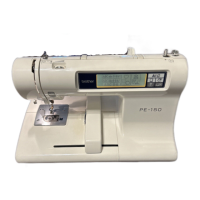
KNOWING YOUR SEWING MACHINE —————————————————————————————————————————————
4
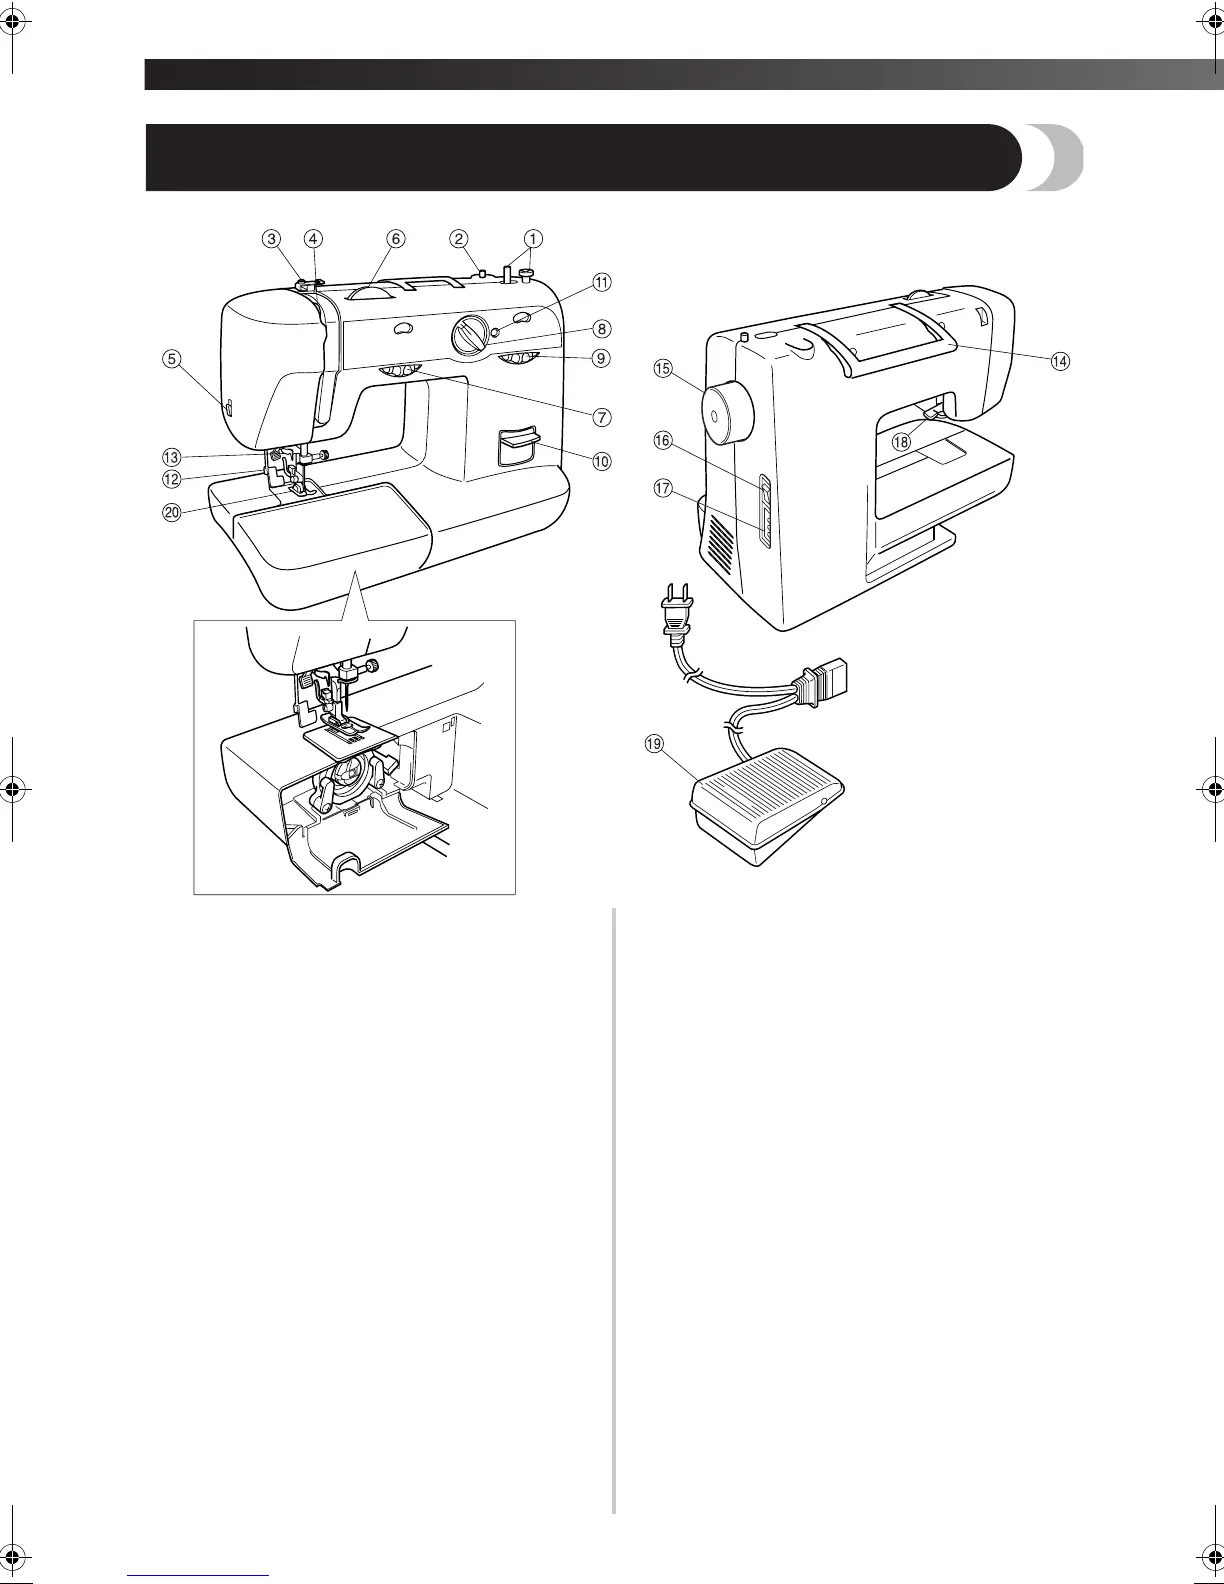
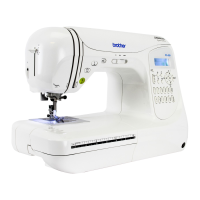
PRINCIPAL PARTS
1 Bobbin-winding assembly (page 15)
This winds the thread onto the bobbin, which you use
for the lower thread.
2 Spool pin (page 15 and 18)
Holds the spool of thread.
3 Bobbin-winding tension disc and thread guide
(page 15)
4 Thread take-up lever (page 18)
5 Thread cutter (page 26)
6 Upper tension-control dial (page 22)
This controls the tension of the upper thread.
7 Stitch width dial (page 14)
This controls the stitch width.
8 Pattern selection dial (page 10)
You can turn this in either direction to choose the stitch
you want.
9 Stitch length dial (page 13)
This controls the length of the stitches.
0 Reverse-sewing lever (page 14)
You can push this to stitch in the reverse direction.
A Buttonhole fine adjustment screw (page 33)
B Buttonhole lever (1-Step automatic buttonhole)
(page 30)
C Needle threader (page 19)
This is only available on certain models.
D Handle
E Balance wheel
Turn toward you (counterclockwise) to raise and lower
the needle.
F Main power/sewing light switch (page 7)
You can turn the main power and sewing light on and
off.
G Foot controller receptacle (page 6)
Plug in the foot controller plug and connect the
machine to the power supply.
H Presser foot lever (page 8)
This raises and lowers the presser foot.
I Foot controller (page 7)
You can use this to control the sewing speed, and to
start and stop sewing.
J Zigzag presser foot
XL5000us.book Page 4 Tuesday, October 28, 2003 11:01 AM