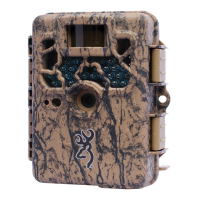
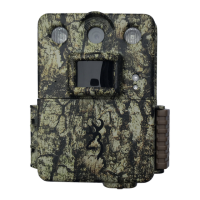
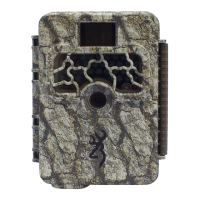
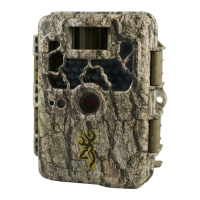
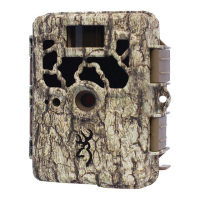
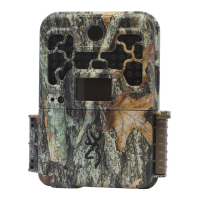
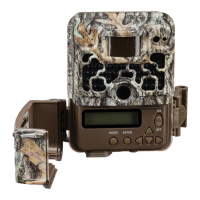
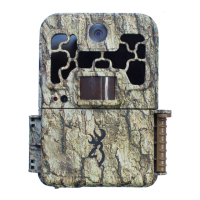
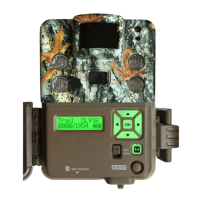
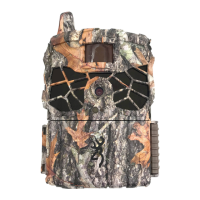
Do you have a question about the Browning BTC-1XR and is the answer not in the manual?
Instructions for ejecting the battery tray and inserting batteries and an SD card.
Guide on using the control pad to set the camera's time and date.
Instructions on pressing the MODE button for a 30-second delay before capturing images.
Lists the items included in the trail camera package.
Captures still pictures of game during day and night upon motion detection.
Allows the camera to take timelapse images during the day.
Captures timelapse images during day and motion-activated pictures day/night.
Records HD video clips of game during day and night.
Explains the available resolution options: Low, Med, High, Ultra.
Sets the 'timeout' interval between capturing still pictures or videos.
Default setting; camera takes only 1 picture when triggered.
Allows capturing 1-8 shots per trigger, e.g., 4 shots spaced 3 seconds apart.
Enables rapid image capture of 2-4 shots with 0.3 seconds between them.
Explains HIGH (1280x720) and LOW (640x480) resolution for video clips.
Allows selection of video clip length (5-120 seconds), with night video limits.
Procedure for naming the camera using alphanumeric characters.
Option to display temperature in Fahrenheit or Celsius on the info bar.
Helps aim the camera by indicating motion detection with a red LED.
Prints time, date, moonphase, temp, and camera ID on each photo.
Sets the interval for taking timelapse pictures (seconds or minutes).
Controls how many hours per day timelapse images are captured (e.g., All Day, 2-4 Hours).
Resets all camera settings to factory defaults.
Erases all images and reformats the SD card.
Adjusts TV signal output between NTSC (US/Canada) and PAL (Europe/Asia).
Instructions for upgrading the camera's software via the website.
Steps to insert SD card into computer and locate image files (DCIM/100_BTCF).
Using a USB cable to connect the camera as an SD card reader.
Controls for opening still pictures or timelapse files for viewing.
Buttons for Rewind, Pause, Play, and Image Advance.
Buttons for Activity Search, Settings, Zoom, and Share/Save.
Advice on mounting height (3 feet) and using strap loops.
Recommends Browning Tree Mount and use of security cable loops with locks.
Details coverage, limitations (abuse, modifications, damage, animals), and warranty service.
Steps for contacting customer service, obtaining RMA, and requirements for return.
High performance camera batteries.
Guidance on compatible SD cards for storage.
Protective enclosures for the trail camera.
Mounting solutions for installing the camera on trees.
Estimates photos per SD card size (4GB-32GB) at various resolutions.
Estimates video clips per SD card size (4GB-32GB) at high/low resolution.
Estimates timelapse segments per SD card size (4GB-32GB).
| Trigger Speed | 0.5 seconds |
|---|---|
| Detection Range | 80 feet |
| Storage | SD Card (up to 32GB) |
| Battery Life | up to 6 months |
| Operating Temperature | -20°F to 120°F |
| Water Resistance | IP66 |
| Recovery Time | 1 second |
| Video Resolution | 720p |
| Flash Type | IR LED |
| Battery Type | AA Batteries |
| Flash Range | 80 feet |
